
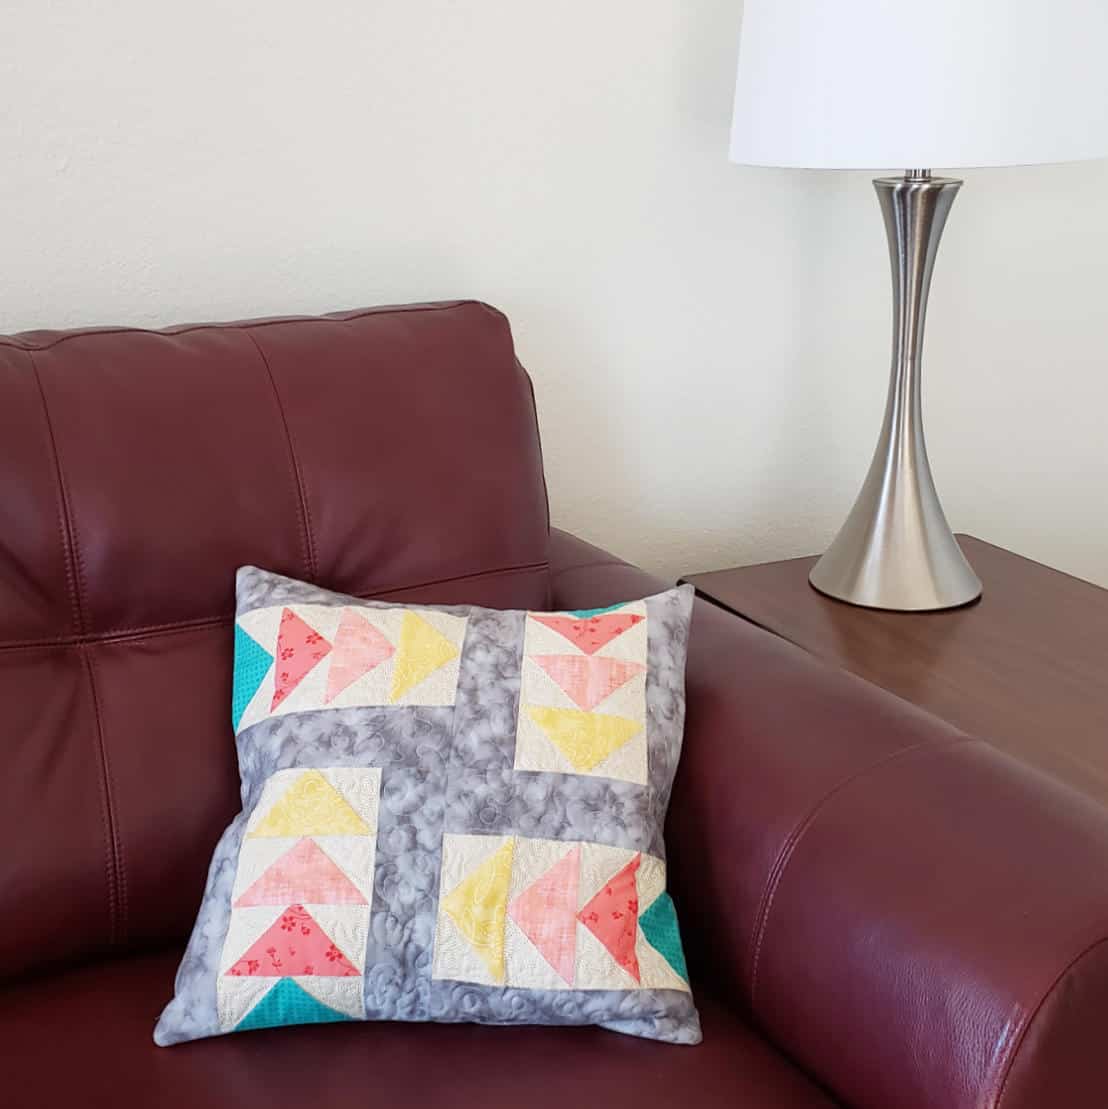
Simple Flying Geese Pillow
This post may contain affiliate links which won’t change your price but will share a commission.Do you enjoy making pillows? They make a wonderful gift, a great way to add color to a room, and best of all, they are a great way to practice a new quilt block or some free motion quilting.
In my last post, I shared a tutorial for making 4 flying geese at one time. If you missed it, be sure and click the link and check it out or get the PDF that includes both tutorials.
16-inch Flying Geese Pillow
- ¼ yard teal
- ¼ yard orange
- ¼ yard light orange
- ¼ yard yellow
- ¼ yard cream
- ¼ yard gray
- ½ yard for pillow back
- 16-inch pillow form
Make the flying geese blocks in the 2″ x 4″ finished size (using the sizing chart).

Cutting Directions:
- Cut (1) 5¼-inch square from the teal, orange, light orange, and yellow
- Cut (16) 2 7/8-inch squares from the cream
- Cut (8) 2½-inch x 8½-inch rectangles from the gray
Make the 4 at a time flying geese blocks
- Make (4) different colors of flying geese blocks
- Using one of each color – sew 4 flying geese blocks together
- This will measure 4½-inches x 8½-inches
- To make a 8½-inch square block, add a 2½-inch x 8½-inch piece to each side
- Your block will now measure 8½-inches square

Repeat this step for all 4 blocks keeping the colors in the same order.

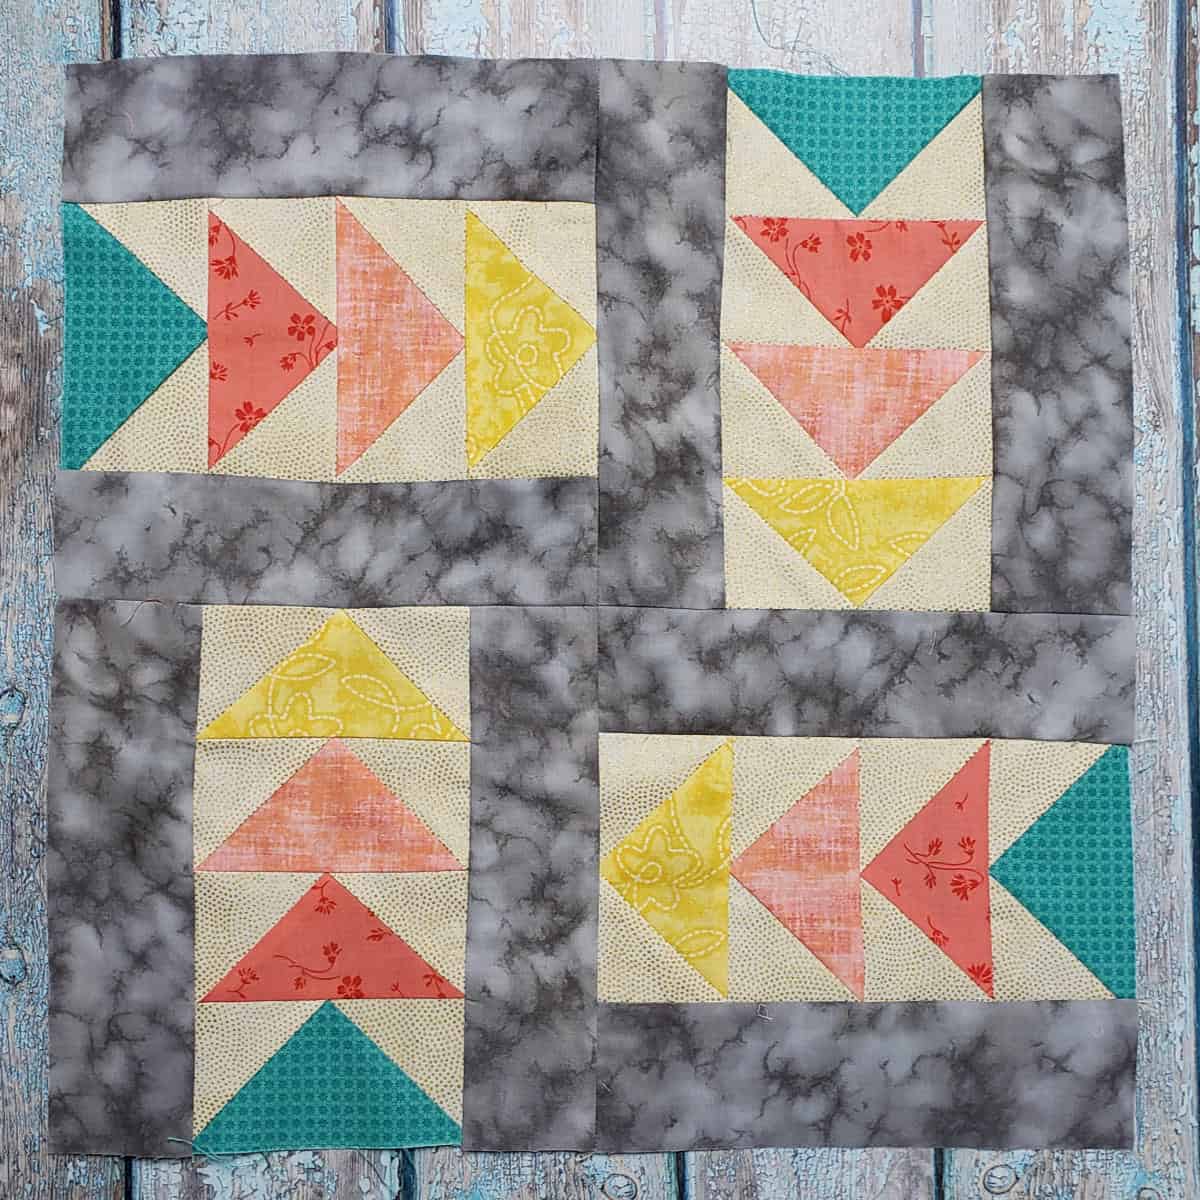
Layout your blocks and then sew them together.

Your pillowtop will measure 16½-inches square. You could also use this for a table topper.
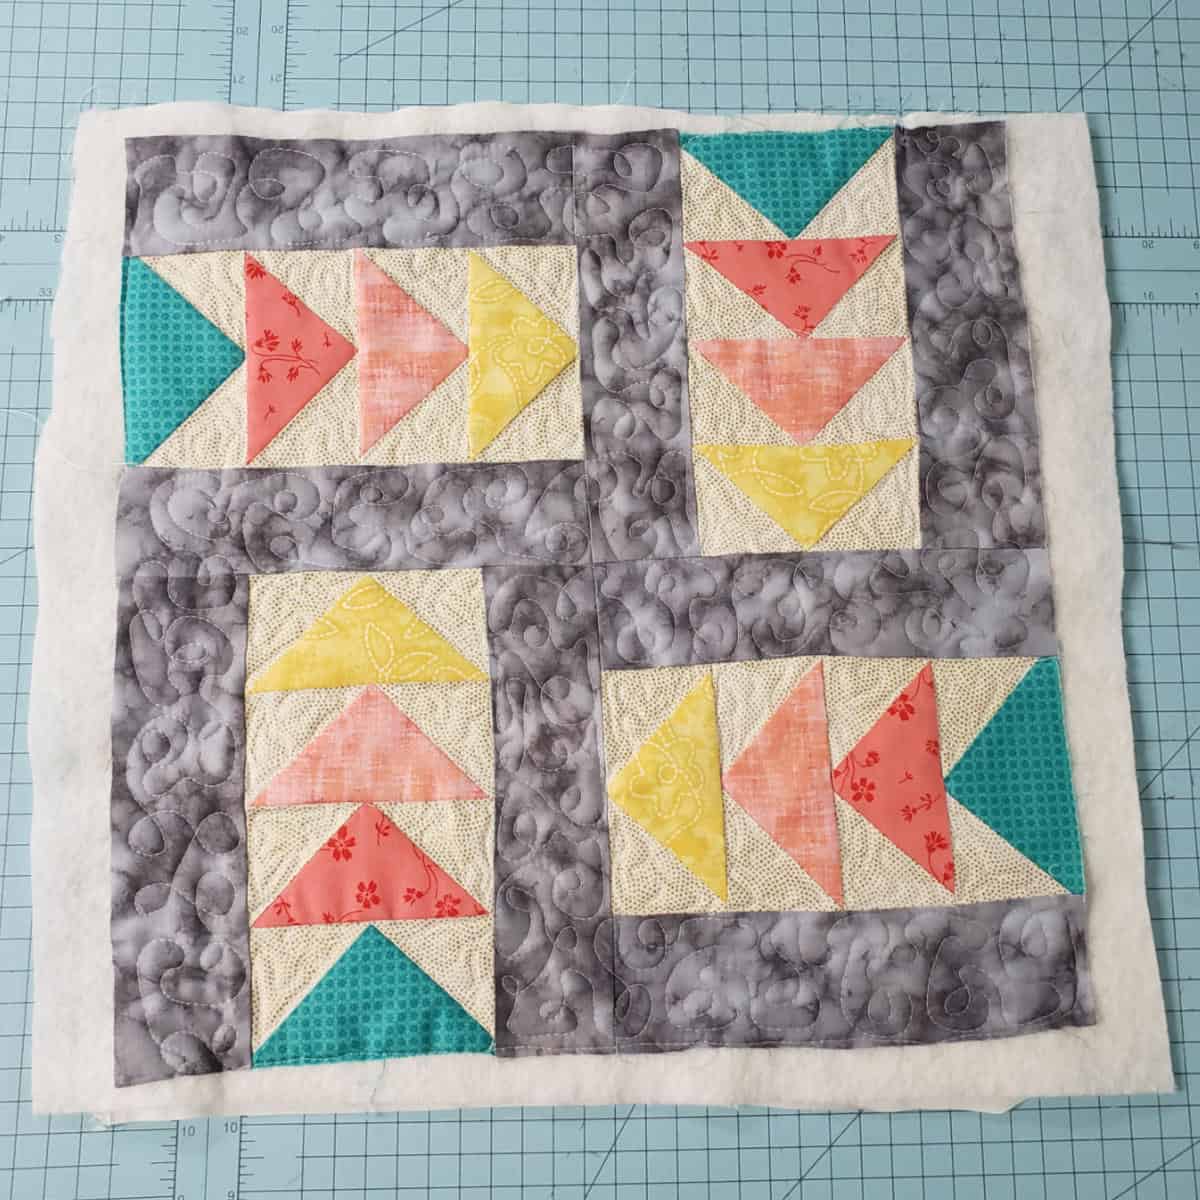
Add batting and quilt. I also like to add a layer of muslin as a backing to my pillows. It is up to you whether you do this.
I used a gray thread on the gray fabrics and did some free motion swirls and then changed to a cream thread to quilt with a small stipple design around the flying geese.
Once again I am using fabric from my stash and I didn’t have enough of the gray for the back of the pillow. I found a fabric that was a pretty good match and used it.

FINISHING THE PILLOW
ENVELOPE STYLE PILLOW BACK:
For this pillow, I decided to do an envelope-style pillow back.
Each backside piece will be the same width as the front side and ½ of the length plus 4 inches.
This will account for seams and create an overlap which is the envelope part. If you make the pieces too short, you will have a gap when you insert the pillow form.
For example, my pillow is 16½-inches so 1/2 of that is 8-inches + 4= 12-inches.
Cut two pieces of the print 16″½ x 12″ for the pillow back. On each piece fold the one side under ¼” and press.
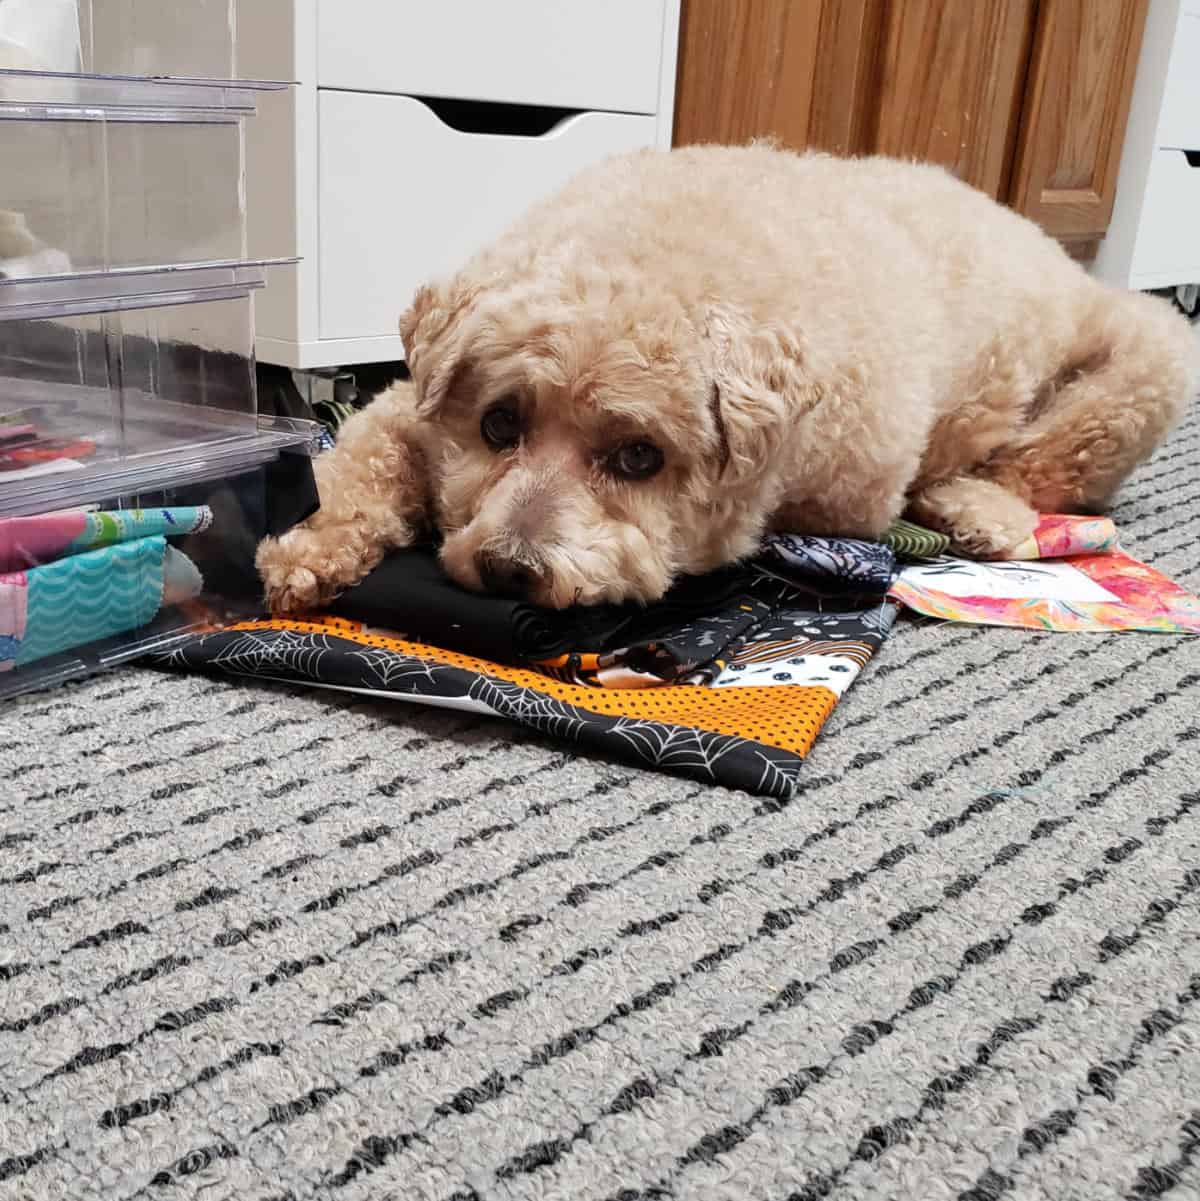
Mr. Mickey joined me in my quilt studio and found a pile of fabric that he could lie on. Looks like a quilt project for Halloween that never got finished!

Would you like a downloadable PDF of this tutorial?
Purchase an ad-free printable version of this tutorial which will include directions to make the 4 at a time flying geese blocks, a chart for other sizes of blocks, and the flying geese pillow tutorial.
Please note that this post contains affiliate links, which means I’ll earn a small commission if you purchase through my link at no extra cost to you. Please see the full disclosure here. As an Amazon Associate, I earn from qualifying purchases.
Great deals for you!
Looking for great buys on fabric and things? Check out these links
- Connecting Threads
- AccuQuilt Deals
- Fat Quarter Shop Daily Deals
- Green Fairy Quilts – Daily Deals
- Missouri Star Quilt Co – Daily Deals
- Scrapbooking
- The Quilt Keeper
- SewingMachinesPlus
- Electric Quilt
- My Amazon Store for all the quilting things I use and more

About Connie
Hi, I’m Connie Kresin Campbell, the quilter, writer, and photographer behind Freemotion By the River. I enjoy inspiring others with my quilt tutorials and patterns. You’ll also see my sweet adopted dogs from time to time.
Be sure and subscribe to my newsletter for more free tutorials and printables.
Thanks for your tutorial of Flying Geese and for the documents of different sizes, it is so helpful! From Catarina in Sweden
That is my favorite way to make flying geese. And I love the bloc loc rulers for squaring them up.
Comment from British Columbia, I think Mr Mickey is saying, “I have my fabric picked out now it is my turn to get a new Doggy Blanket. Everyone should Vote a YES on this one. And I like Mr Mickey’s new hair cut. Our Mr Buddy needs groomed also. To cold here yet for that. Got up to 9 c. here today. That is the same as 48F. We still have a lot of snow on the ground. I love the flying geese pillow. Still working on the Rail Fence quilt. My husband had a stroke, my sewing his almost come to a slow crawl. Hope this finds you warming up in Iowa. Happy stitches…
Cute pillow design with nice colour combinations and easy to follow instructions.
Thanks for the extra cute picture of Mr Mickey. He’s adorable and so photogenic.
Lovely pillow Connie and great tutorial. Colors look perfect for the seasonal change from Winter to Spring.