
Easy Christmas Churn Dash Table topper and Placemats Tutorial
This post may contain affiliate links which won’t change your price but will share a commission.
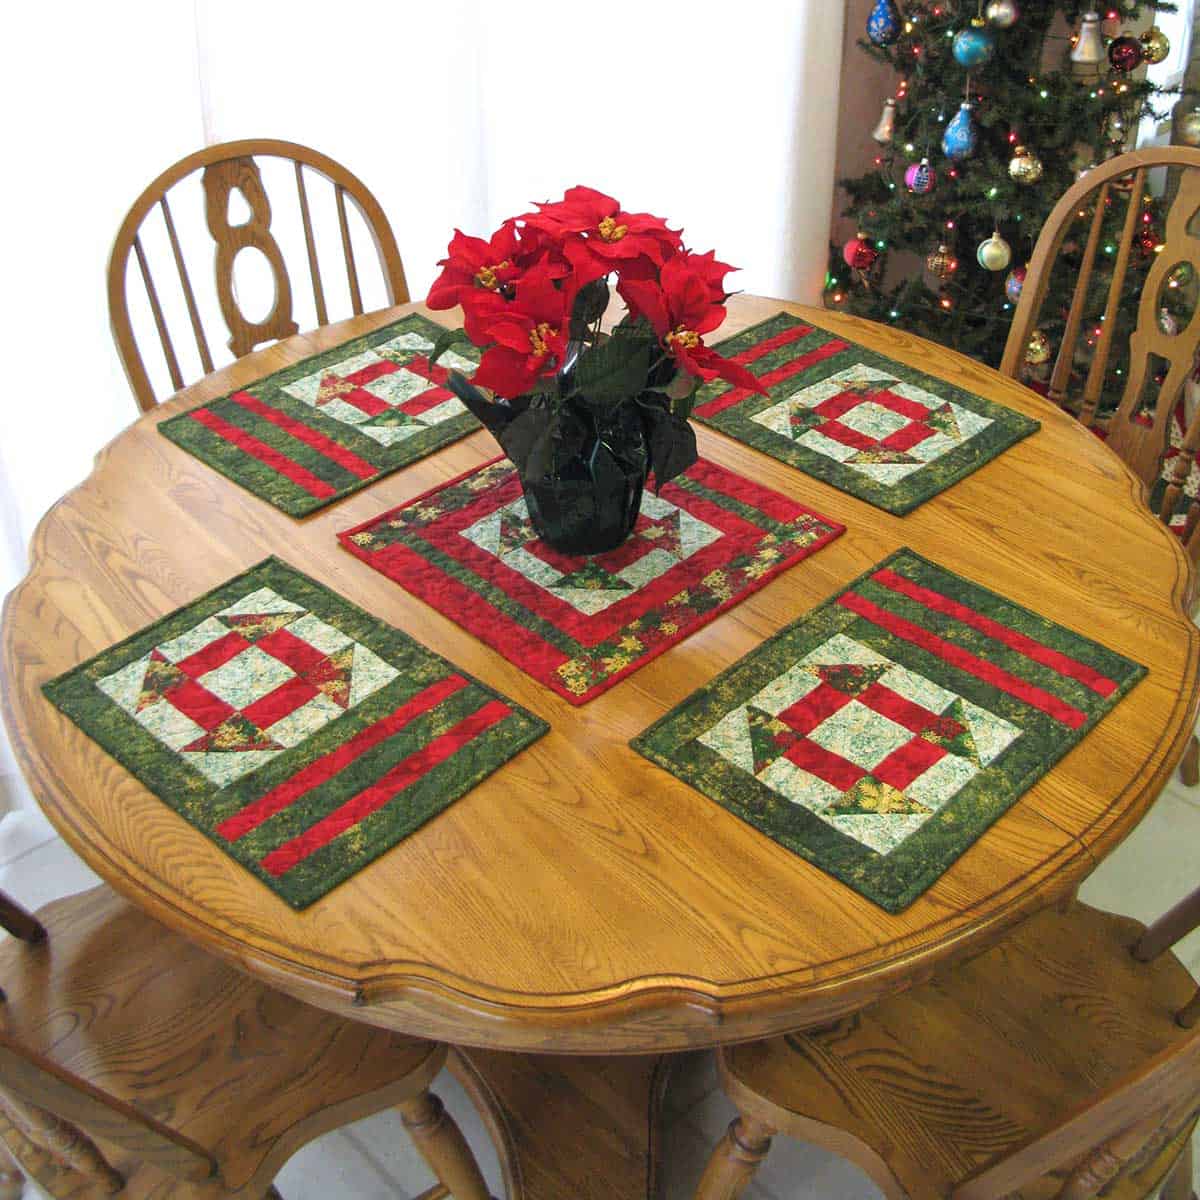
This Christmas Churn Dash table topper and placemats tutorial is the perfect quilt project! Are you thinking about making some placemats and maybe a table topper for the holidays?
My Christmas Churn Dash table topper and placemats tutorial would be easy to make and perfect for a Christmas gift or on your table!

Christmas is just a few weeks away and I thought it would be fun to share a fast and easy tutorial for making placemats and a centerpiece.
You’ll see the quilted table topper and placemats made here in Christmas fabrics but you could also make a set in other colors that could be used all year.
Christmas Churn Dash Table Topper and Placemats Tutorial
The place mats finish at approx 12″ x 17″ and the table topper at 15″ x 17″

Click the link below to get a printable PDF of this.
Christmas Churn Dash Table Topper & Placemats Tutorial
It was warm enough outside to take a picture but…..too cold to eat out there!
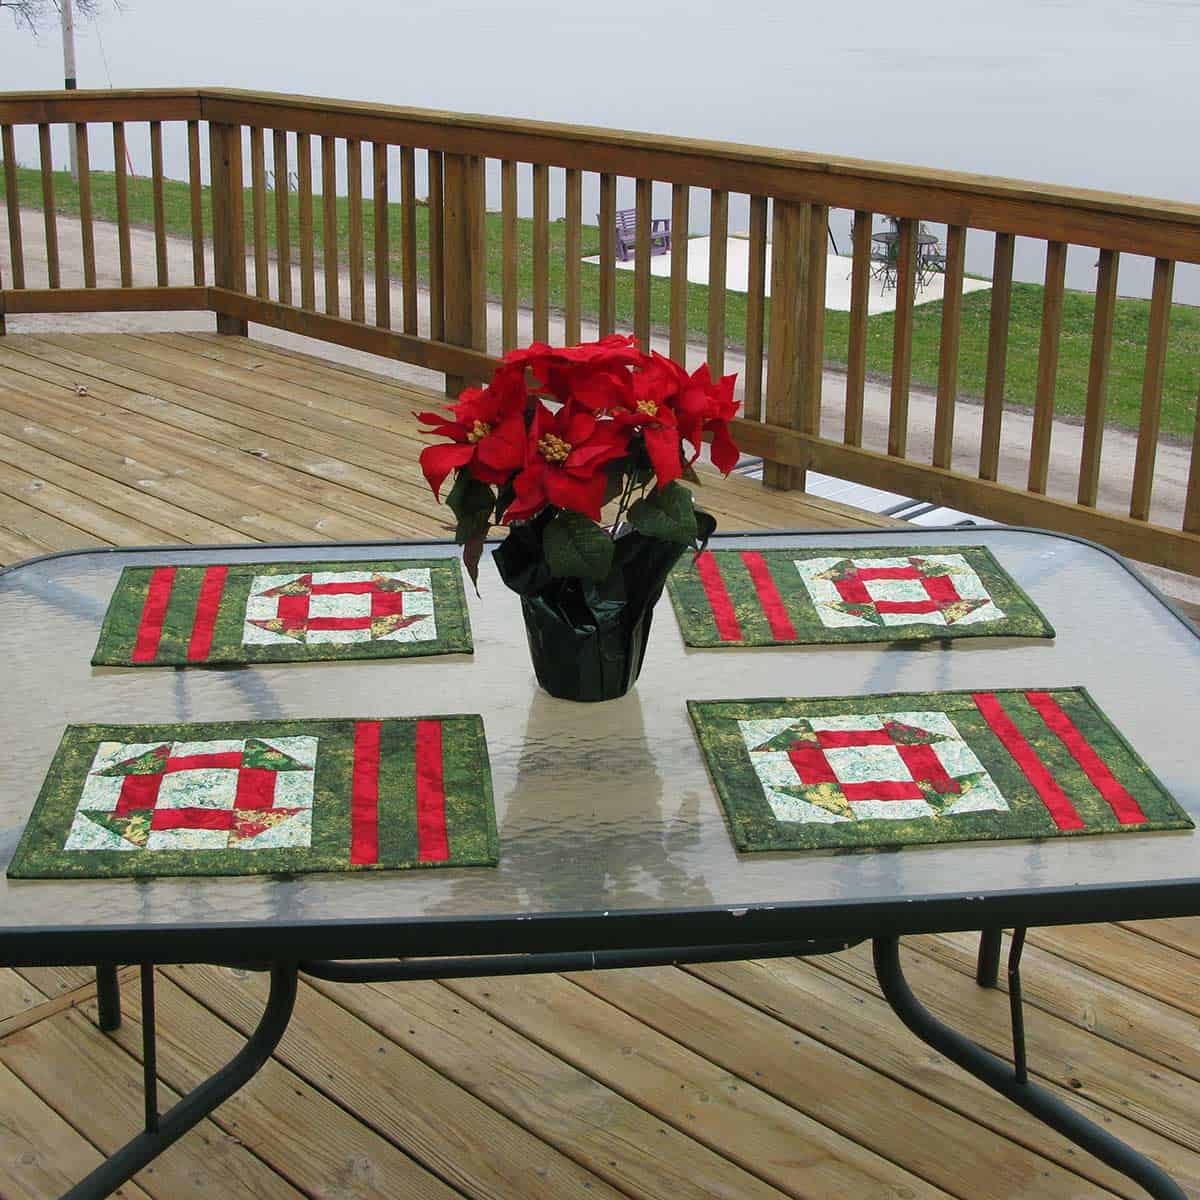
The placemats finish at 12-inch x 17-inch and the centerpiece is 15-inch x 17-inch.
Fabrics:
½ yard – Red fabric
¾ yard – Green fabric
¼ yard – Christmas print fabric
¼ yard – Light print fabric
2 yards – Backing fabric and binding
4 placemats & the table topper
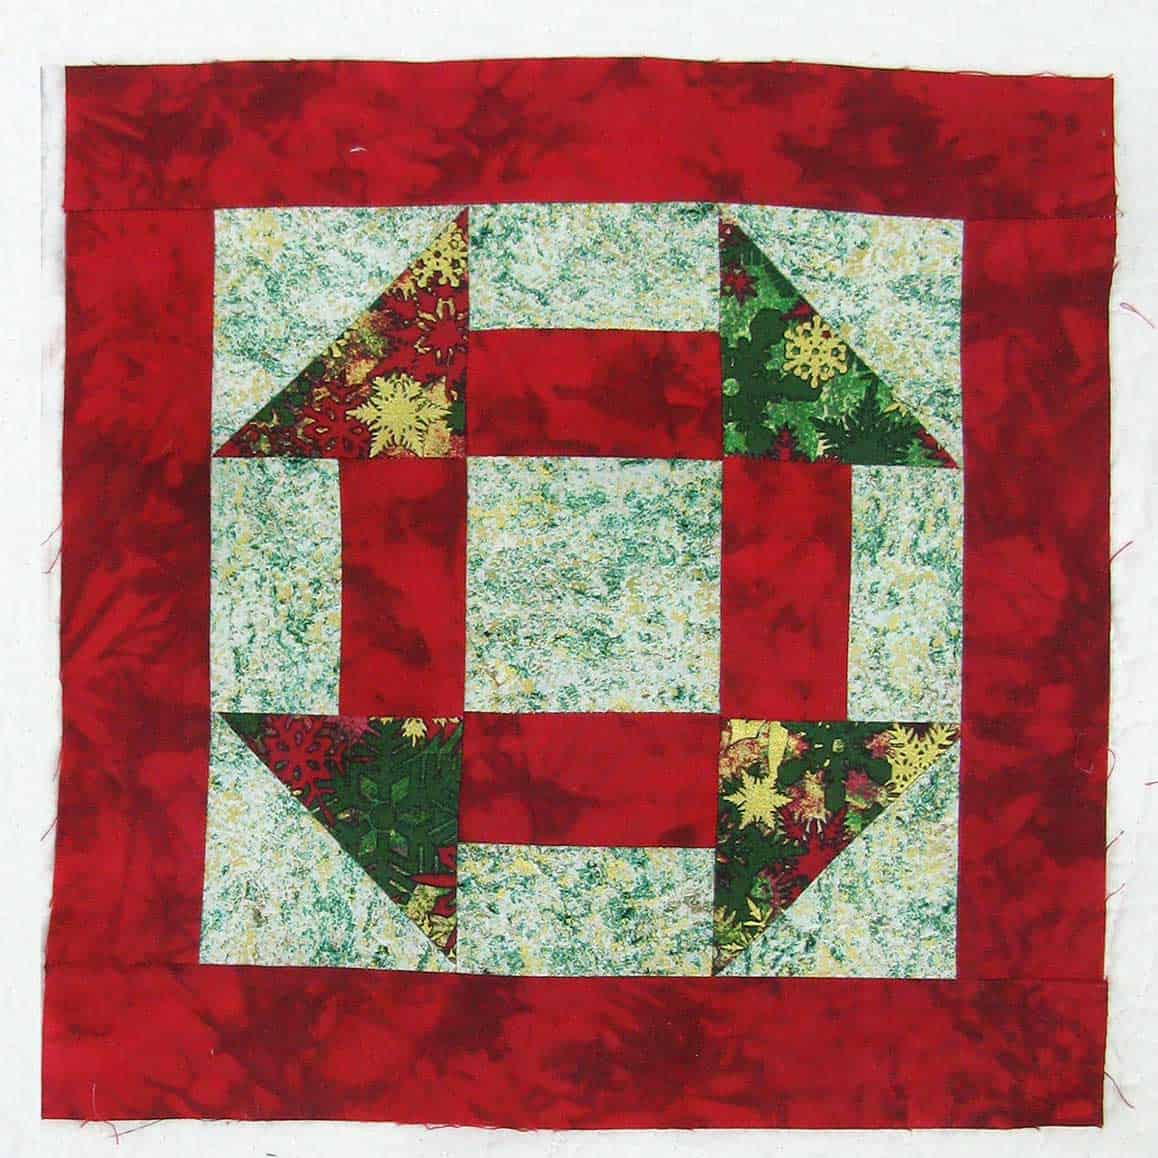
Make 5 Churn Dash blocks
- Christmas print – cut (10) 3 7/8-inch squares
- Red print – cut (20) 2-inch x 3½-inch rectangles
- Light print – cut (5) 3½-inch squares
- Light print – cut (10) 3 7/8-inch squares
- Light print – cut (20) 2-inch x 3½-inch rectangles
Each Churn Dash block consists of:
(4) – 3½-inch green/white half-square triangles
(1) – 3½-inch white square
(4) – 2-inch x 3½-inch white rectangles
(4) – 2-inch x 3½-inch red rectangles

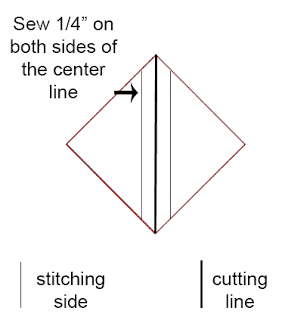
Each block will have (4) – half-square triangle blocks – cut (2) – 4-inch squares of white and green prints. Lay the white one on top with the right sides facing each other. Draw a line down the center of the square. Stitch 1/4″ on each side, cut on the centerline, and press. Square each piece up to 3 1/2″.
Use a 1/4 inch seam allowance.
Sew the pieces together as shown below. Press your seams to the dark fabric or open.

Now sew the rows together. Make (5) Churn Dash blocks.

Placemat Borders
Add the following borders for each placemat:
- cut (2) – 2-inch x 9½-inch strips
- cut (2) – 2-inch x 12½-inch strips
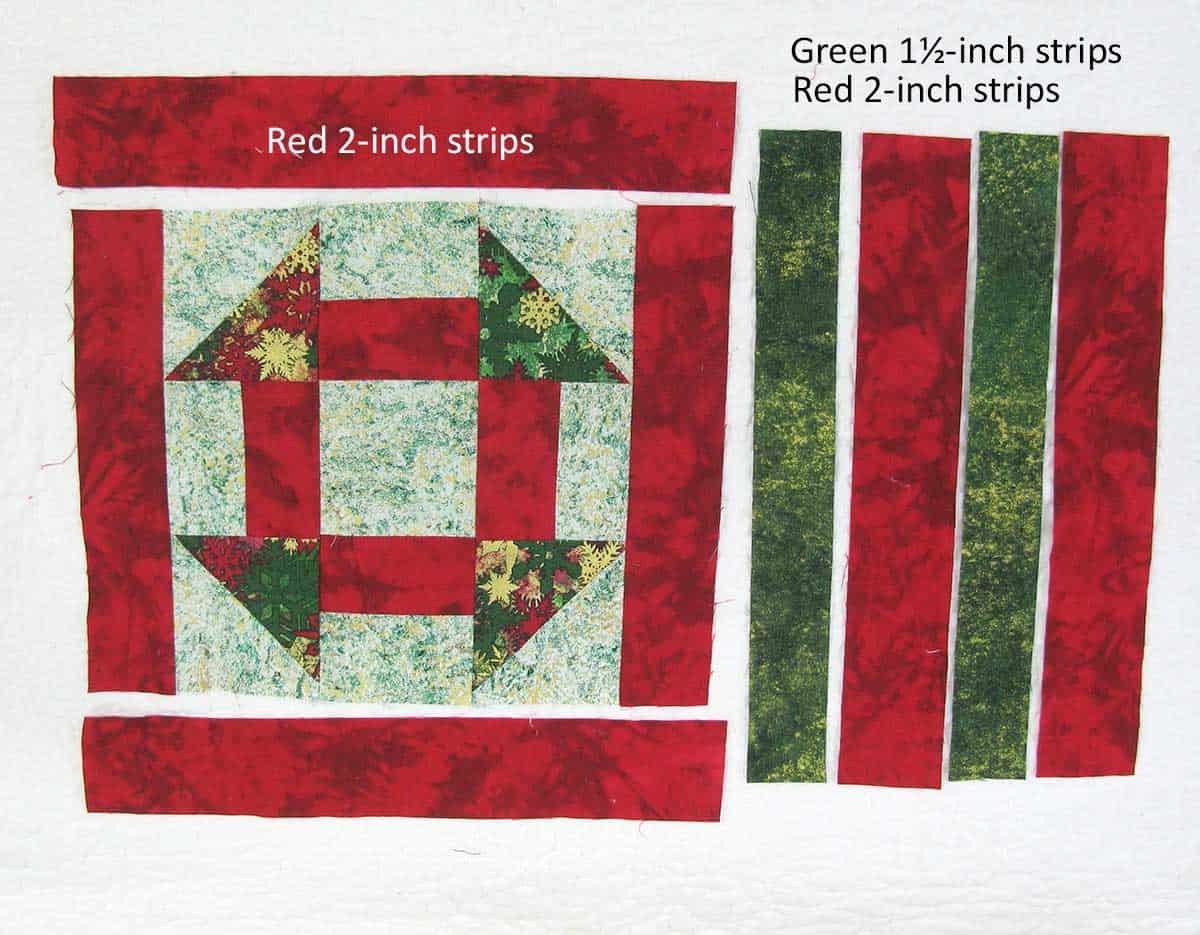
After adding the borders, you will add (2) – 2-inch strips and (2) – 1½-inch strips to the right side of the churn dash block. (I forgot to take a picture when I was making the placemats sorry….this photo shows red instead of green. Just reverse the colors.
Here are the placemats with the strips added on one side in the correct colors.
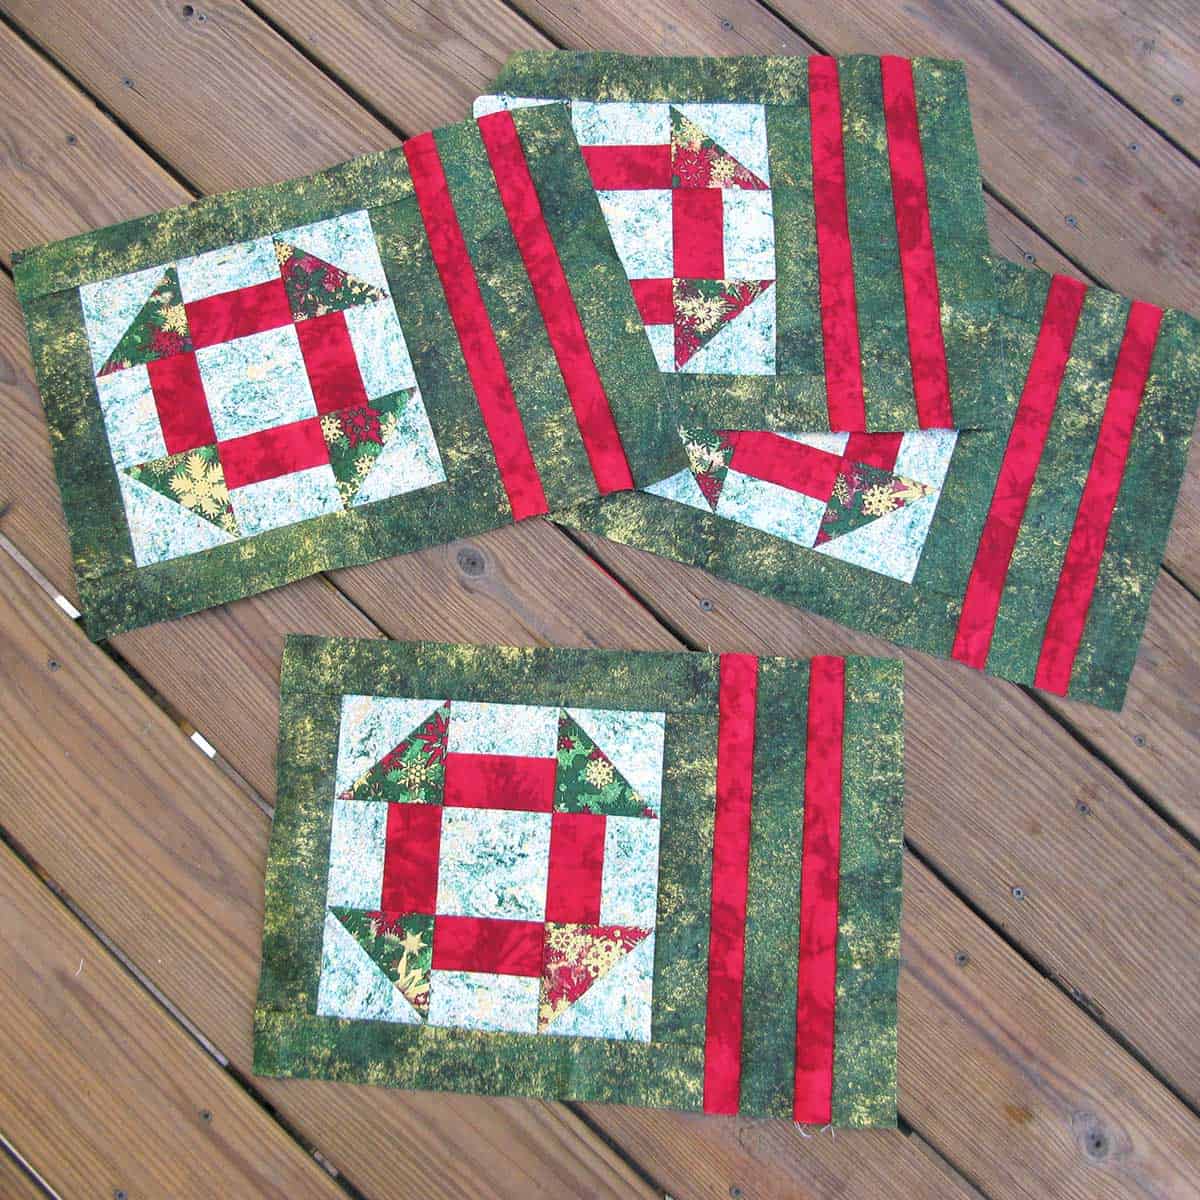
Table Topper Borders
For the table topper, cut the borders from the red fabric. You will need the same sizes as you used for the placemats only in red.
- cut (2) – 2-inch x 9½-inch strips
- cut (2) – 2-inch x 12½-inch strips
Add these to the block.
Additional borders
- Cut (2) 1½-inch x 12½-inch strips of green and add to the sides.
- Cut (2) 2-inch x 12½- inch strips of red and add to the sides.
You could also use this design for your placemats.

Final Border
Next cut (2) 2½-inch x 17-inch strips of the print fabric.

Quilt and bind
- Layer the placemats and table topper with batting and backing
- Quilt as desired
- Trim after quilting
- Cut your binding strips 2½-inches and follow my binding tutorial to add the binding
Please note that this post contains affiliate links, which means I’ll earn a small commission if you purchase through my link at no extra cost to you. Please see the full disclosure here. As an Amazon Associate, I earn from qualifying purchases.
AccuQuilt Directions
Do you use the AccuQuilt GO! cutting machine and dies? To create the tutorial you can use the following:
- GO! Big Electric Fabric Cutter
- GO! #55164 Churn Dash 9″ die – which creates a whole block with just one die
- GO! #55111 10″ x 10″ mat
- GO! #55164 1″, 1 1/2″, and 2″ inch Strip Cutter
- GO! #55113 6″ x 24″ mat
- GO! #55017 2 1/2 Strip Cutter
- GO! 10″ x 24″ mat
You can also use the 2 1/2″ strip cutter for the bindings.
Cut your fabrics a little wider than the area on the die that you will cut. Follow the directions on the Churn Dash die.

To make four place mats and a center piece cut the following:
- 20 – half square triangles of the Christmas print
- 20 – half square triangles of the White print
- 20 – rectangles of the Red print
- 20 – rectangles of the White print
- 4 – squares of the White print
For each block you will need the following:
- 4 – half square triangles of the Christmas print
- 4 – half square triangles of the White print
- 4 – rectangles of the Red print
- 4 – rectangles of the White print
- 1 – square of the White print
I hope you have enjoyed the Christmas Churn Dash table topper and placemats tutorial!
Click the link below to get a printable PDF of this.
Christmas Churn Dash Table Topper & Placemats Tutorial
Great deals for you!
Looking for great buys on fabric and things? Check out these links
- Connecting Threads
- AccuQuilt Deals
- Fat Quarter Shop Daily Deals
- Green Fairy Quilts – Daily Deals
- Missouri Star Quilt Co – Daily Deals
- Scrapbooking
- The Quilt Keeper
- SewingMachinesPlus
- Electric Quilt
- My Amazon Store for all the quilting things I use and more

About Connie
Hi, I’m Connie Kresin Campbell, the quilter, writer, and photographer behind Freemotion By the River. I enjoy inspiring others with my quilt tutorials and patterns. You’ll also see my sweet adopted dogs from time to time.
Be sure and subscribe to my newsletter for more free tutorials and printables.
At the beginning of this article you indicate that a ‘free’ pdf is available, however, when I click on the pdf you are asking for $5.00 for the pattern. Is this free or not.
Beautiful placemats and topper! Thank you for the pretty pictures and directions!
Lovely Churn Dash tabletopper and placemats. So festive.
Thank you Connie, I love churn dash patterns and love how it looks in Christmas prints and the way you designed it. I don’t think I will have time to make it this Christmas but after Christmas while I am still in Christmas mode, I think I will make a few for gifts for next Christmas as well as for me.
I thank you so very much for the PDF of these patterns! They will be so much fun to make. Wishing you a very Merry Christmas!
Vickie
Thank you so much for the patterns! I just love that churn dash pattern and what a festive table set you have shared!
Thank you Patti, I’m so glad you like it!
Thank you once again for the terrific tabletopper and placemat pattern downloads! I have an accuquilt cutter and a lot of dies including the churndash. You have provided many cute ideas for using the dies for things other than just quilts and wallhangings. For that I really thank you. Happy holidays to you and your family.
Sincerely, Patti
You’ll enjoy how fast you can cut out the pieces with your AccuQuilt cutter and dies!
Thank you Connie. What a lovely surprise to wake up to.
I like the large sized placemats that compliment the table topper perfectly. The colours of the season are great. Other colour combinations could also blend with decor for each season.
You are so welcome Robyn!
Is the Christmas churn dash placemat not a free tutorial any longer?