
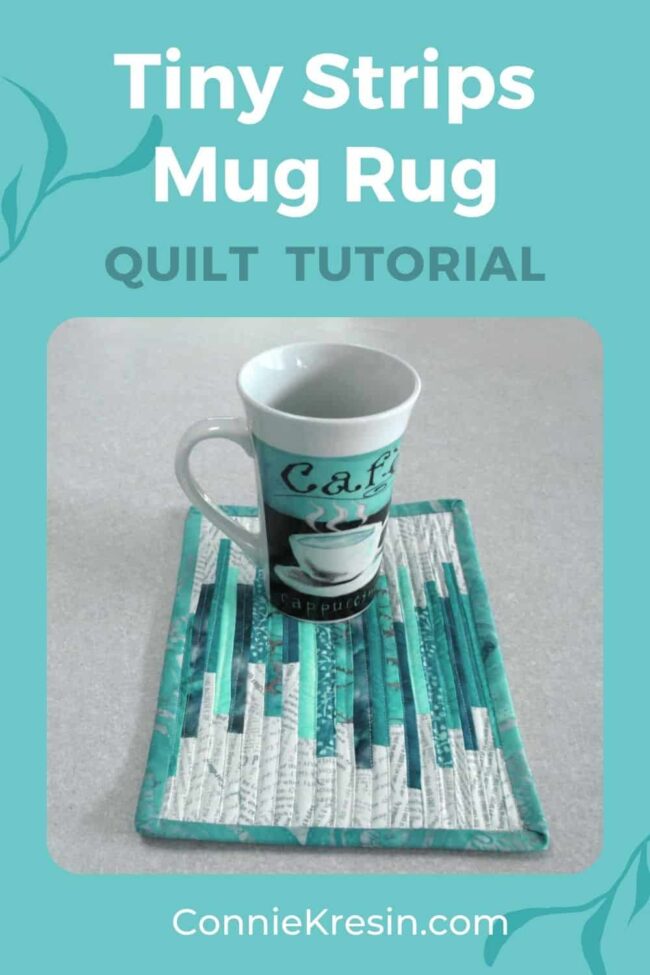
Tiny fabric strips mug rug tutorial
This post may contain affiliate links which won’t change your price but will share a commission.Have you ever wanted to make a small quilt project? This little strip pieced mug rug is perfect for using up your scraps and practicing your quilting, especially using a walking foot. I used scraps of a collection from Island Batik called Bonfire Batiks.

Tiny fabric strips Mug Rug tutorial
7″ x 10″
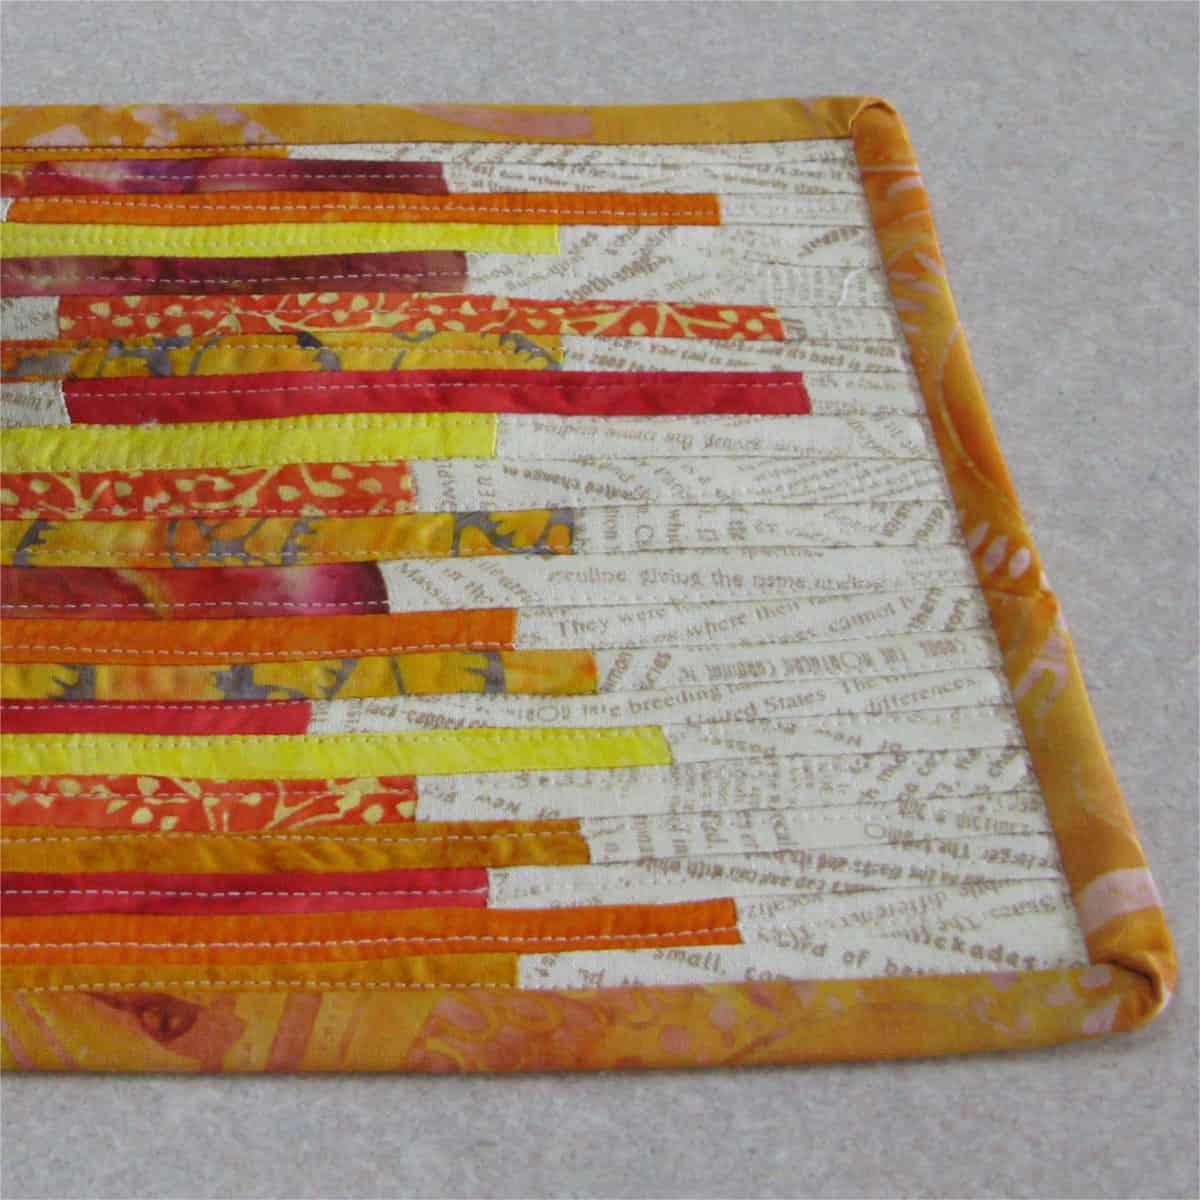
Do you have lots of scraps? Sometimes teeny, tiny pieces? Make a tiny string mug rug with them! Here is a close-up view of a small mug rug that I made. Follow along and I’ll show you how to make it.
A little mug rug is a perfect fast and easy project that makes a perfect gift for a friend or your child’s school teacher. Pair it with a coffee cup from the dollar store and you’ll always have a great gift on hand.
I had some 5-inch charm squares of batik and decided to cut them into 3/4-inch strips. I think 1-inch strips would have been easier if you are doing this for the first time.
I also had a fat quarter of this fun fabric with writing on it, I can’t remember who made it and I don’t have a selvage strip…..hmmm…..I wonder if I cut it off. I know my selvage bag is overflowing….might be time to work on a project with them.
I cut the background strips at 3/4-inch x 6 1/2 inches and added them to the sides of the batiks strips.

If you don’t want to use 6 1/2-inch strips of background fabric, you could cut shorter pieces and layout a design like I’m showing below.

I pressed each seam as I finished it and then sewed all the strips together.
I trimmed the piece up to a good mug rug size. My finished piece is 7 x 10. I then added batting and a backing to it and did some straight-line quilting to hold it all together. Look back at the closeup photo to see how close I quilted it.

This really makes me think of fall leaves and bonfires! Do you like working with small pieces like this?
For quilting, I just used a walking foot and quilted along the edge of the foot for my width.

I had a batik in my stash that matched pretty well for binding. You can do double binding or single binding for this tiny string mug rug. If you do single binding just cut your strips 1 1/2″ wide, double binding should be 2 1/4″.
Add your binding by machine using my machine binding tutorial.

If you make a tiny fabric strips mug rug after reading this tutorial, I would love to see it!

Click on the image below and pin to Pinterest

Here are some other posts that will inspire you:
Different Colors – for the Tiny Fabric Strips Mug Rug Tutorial


Great deals for you!
Looking for great buys on fabric and things? Check out these links
- Connecting Threads
- AccuQuilt Deals
- Fat Quarter Shop Daily Deals
- Green Fairy Quilts – Daily Deals
- Missouri Star Quilt Co – Daily Deals
- Scrapbooking
- The Quilt Keeper
- SewingMachinesPlus
- Electric Quilt
- My Amazon Store for all the quilting things I use and more
Please note that this post contains affiliate links, which means I’ll earn a small commission if you purchase through my link at no extra cost to you. Please see the full disclosure here. As an Amazon Associate, I earn from qualifying purchases.

About Connie
Hi, I’m Connie Kresin Campbell, the quilter, writer, and photographer behind Freemotion By the River. I enjoy inspiring others with my quilt tutorials and patterns. You’ll also see my sweet adopted dogs from time to time.
Be sure and subscribe to my newsletter for more free tutorials and printables.


Connie,
Great project for using scraps. Adding some Insul-bright would also make great hot pads like this.
Enjoy you sharing your gardening pictures and expertise.
Thanks for this Mug Rug pattern, Connie. You’ve shown lots of colour combinations and they are all lovely.
Who wouldn’t like one of these with a nice coffee mug as a gift?
You never fail to inspire – thanks for this fun tutorial.
Love the tiny mug rugs Connie .. Love all your work.
Love the mug rugs, and i can make from scraps. They will make great Christmas presents. Thank you so much.
Love these cute mug rugs! How about an update on your new place! How’s the quilting studio coming along? Hope you and Builder Bob are happily settled in your new place.
Thrilled that Leanne (Devoted Quilter) shared this! I’m always looking for ways to use up my fabric “crumbs” and love cute mug rug designs. Like that it can also be quickie quilting practice.
What a fun piece! Lovely! Thanks for sharing!
This is really cute. I've been in a bit of a crunch finishing up some things but am looking forward to some small projects … your mug rug is making me want to do some.
So has the food gotten any better there? LOL love the mug rug! Bright and fun!
This is soooo neat!! Perfect for a quick gift! Thanks for sharing a great idea.
What teeny tiny strips! It looks amazing Connie xxx
Love the look of this mug rug. A great sunset look to it.
Super finish, Connie! Looks like a fun project. The warm colours against the text print is perfect! Congrats! And hope you had a fun time at Chucky's!
What a fun way to play with some bits – it look wonderful. I think I did Chuckie once (30 yrs. ago)- that was enough! The noise and confusion was too much for me.
It is that time of year, eh….this piece is very nice Connie
Oh my! Love the pop of colors in this cute little project! Definitely makes me think of bonfires and smores :*)
This would be a great idea for all those little leftovers! Cute!
Cute!
That is a really modern mug rug, and I LOVE IT! It does look like a fire! Try to control yourself at Chucky Cheese…..after all, it IS your granddaughters birthday! LOL
That is so cute, and such a good way to use up little strips. I love the bright colors.
Great mug rug! OHHHH I remember Chucky Cheese……many, many years ago.
What a great idea – and so bright & cheerful !!
That's really nice, Connie, and the fabrics are wonderful for it.
Love those little matchstick size pieces! It turned out great!
that's adorable Conne 🙂 can't believe they are 1/4" wow
how wide do you cut your selvage strips to keep, I really don't need another bucket of stuff, just asking 😉