
Updated Sleeping Bag Tutorial
This post may contain affiliate links which won’t change your price but will share a commission.
Two years ago I made my first cute little sleeping bag tutorial (link below) and I decided to make a couple this year and update the pattern to make it a little easier.
Updated Sleeping Bag Tutorial
- Cut 2 pieces of fabric for the back of the sleeping bag – 10 inches x 18 inches and one piece of batting.
- Layer the right sides together with the batting on the back and stitch around the sides leaving an opening for turning it right side out.
- Stitch with a 1/4 inch seam allowance.
- Turn right side out.

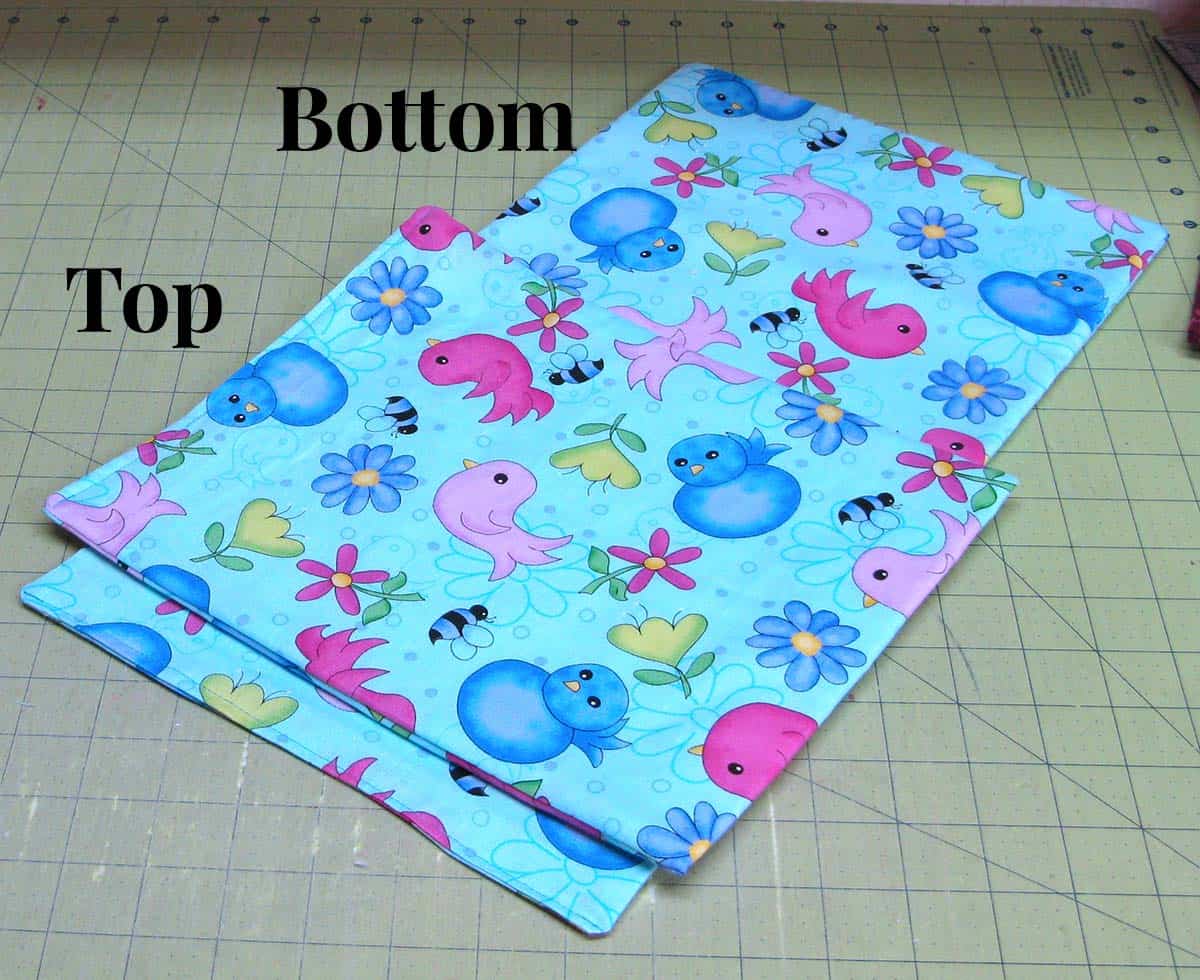
- Cut 2 more pieces 11 inches by 9 inches. The top will be wider than the bottom.
- You could also cut 1 piece 22 x 9 inches and fold it over.
- Stitch around the outside leaving an opening for turning.
- Turn right side out.

In the photo below you can see that the top is wider. If you would like to do some quilting on the bag, now is the time to do it.
Place the top on the bottom matching up the sides seams. The bottom will be too big and you will want to make 2 pleats or tucks.
Top-stitch around the sides and bottom. I caught the openings for turning in my top stitching.

You could always use clips instead of pins to hold the pieces together.

Fold down the top part of the backing to make a little pillow. Top-stitch on one side and the bottom, then stuff and stitch down the other side.

I also made one that has binding around it. Actually, I made it first…..then I decided on making the sleeping bag even faster…..without binding.

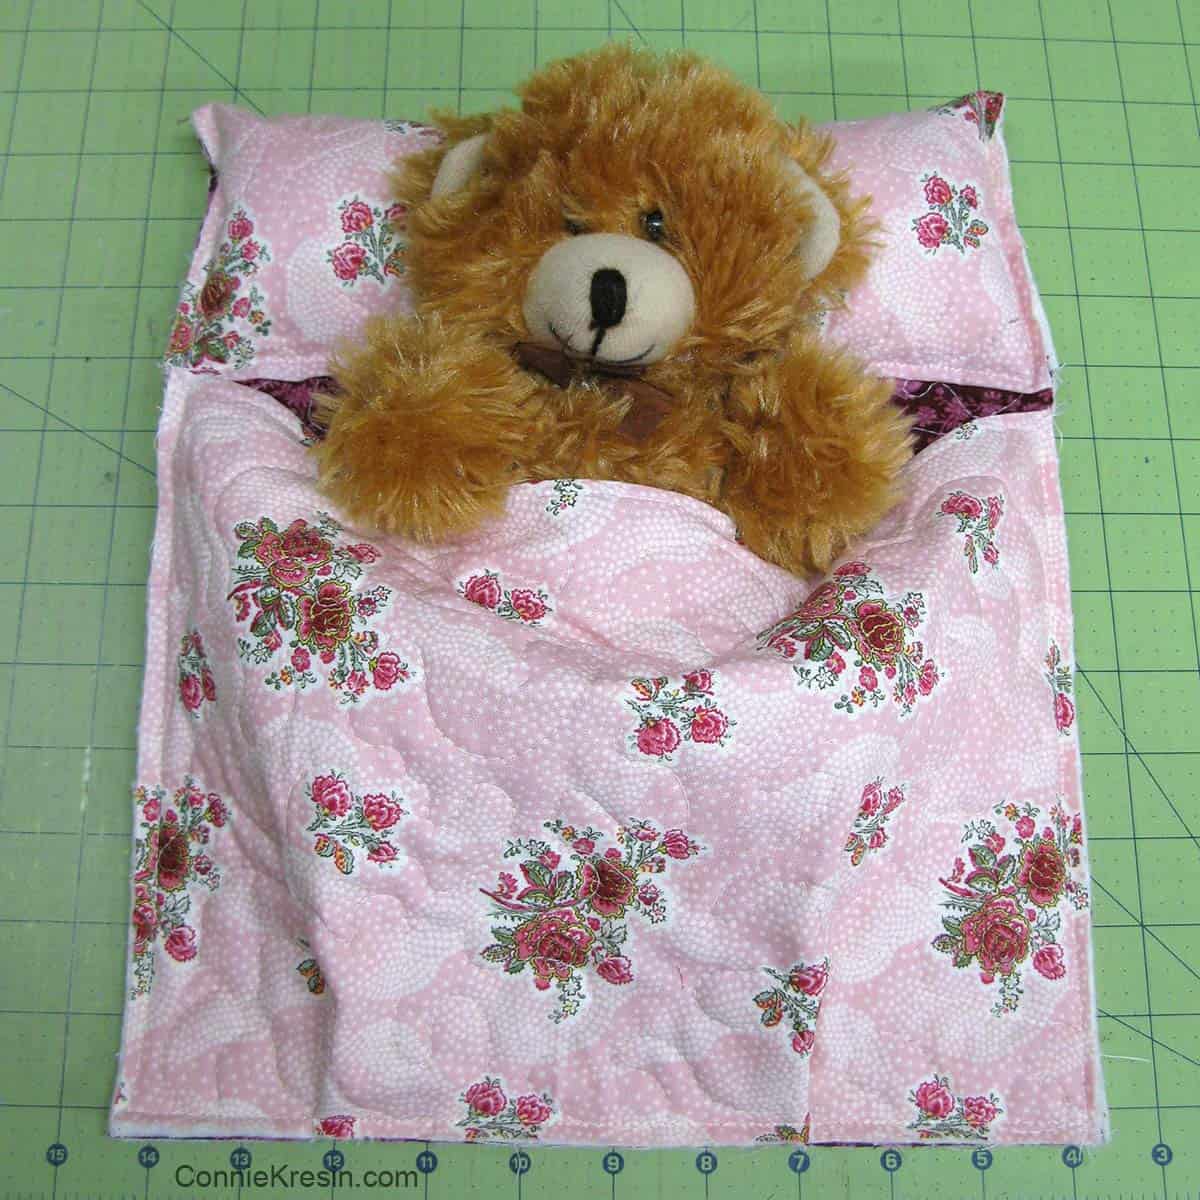
Here you can see the sleeping bag is all done except putting a binding around the sides and bottom. I cut my binding 2 1/4 inches.

This one was actually a little wider.

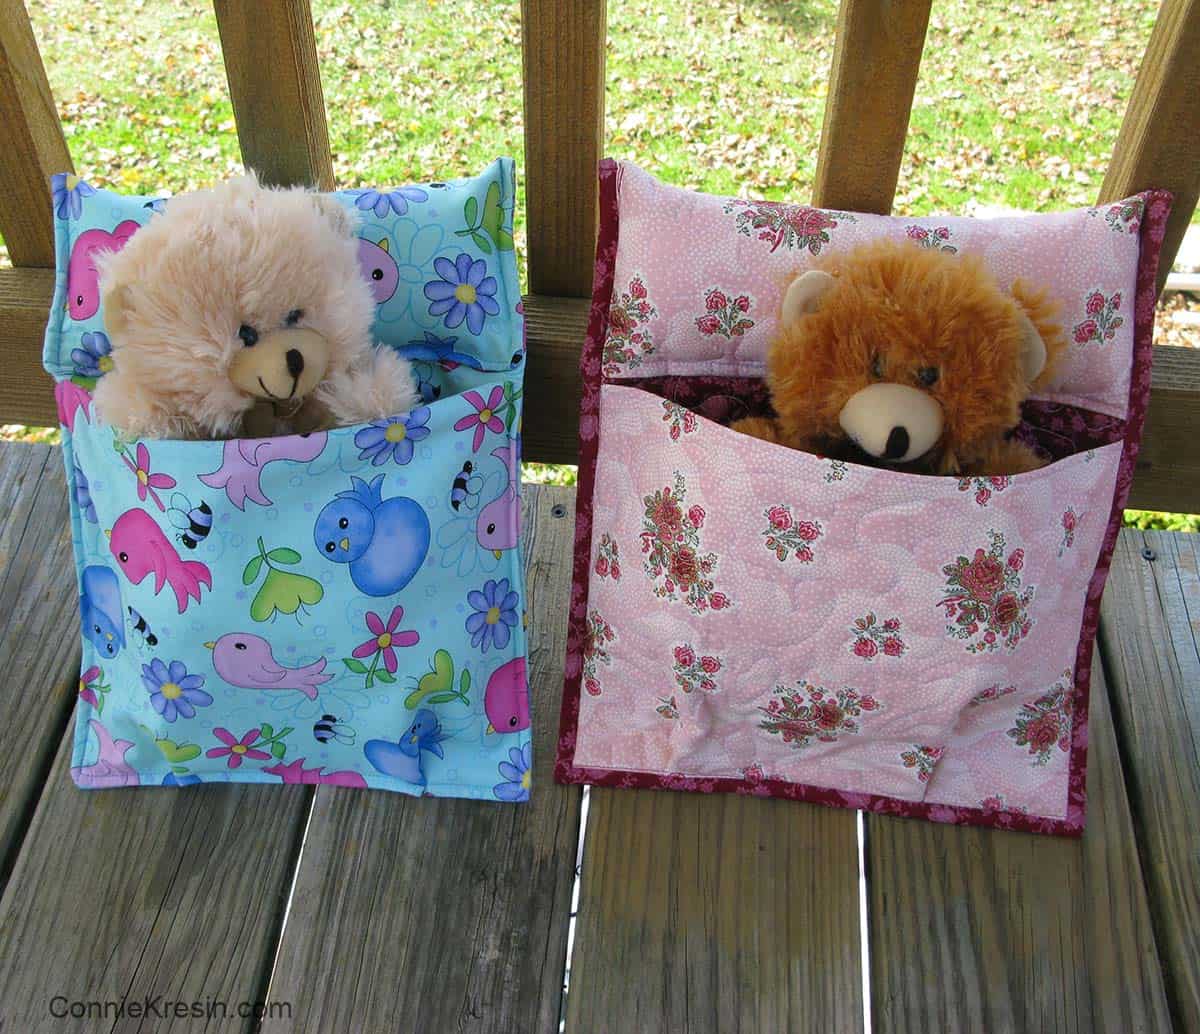
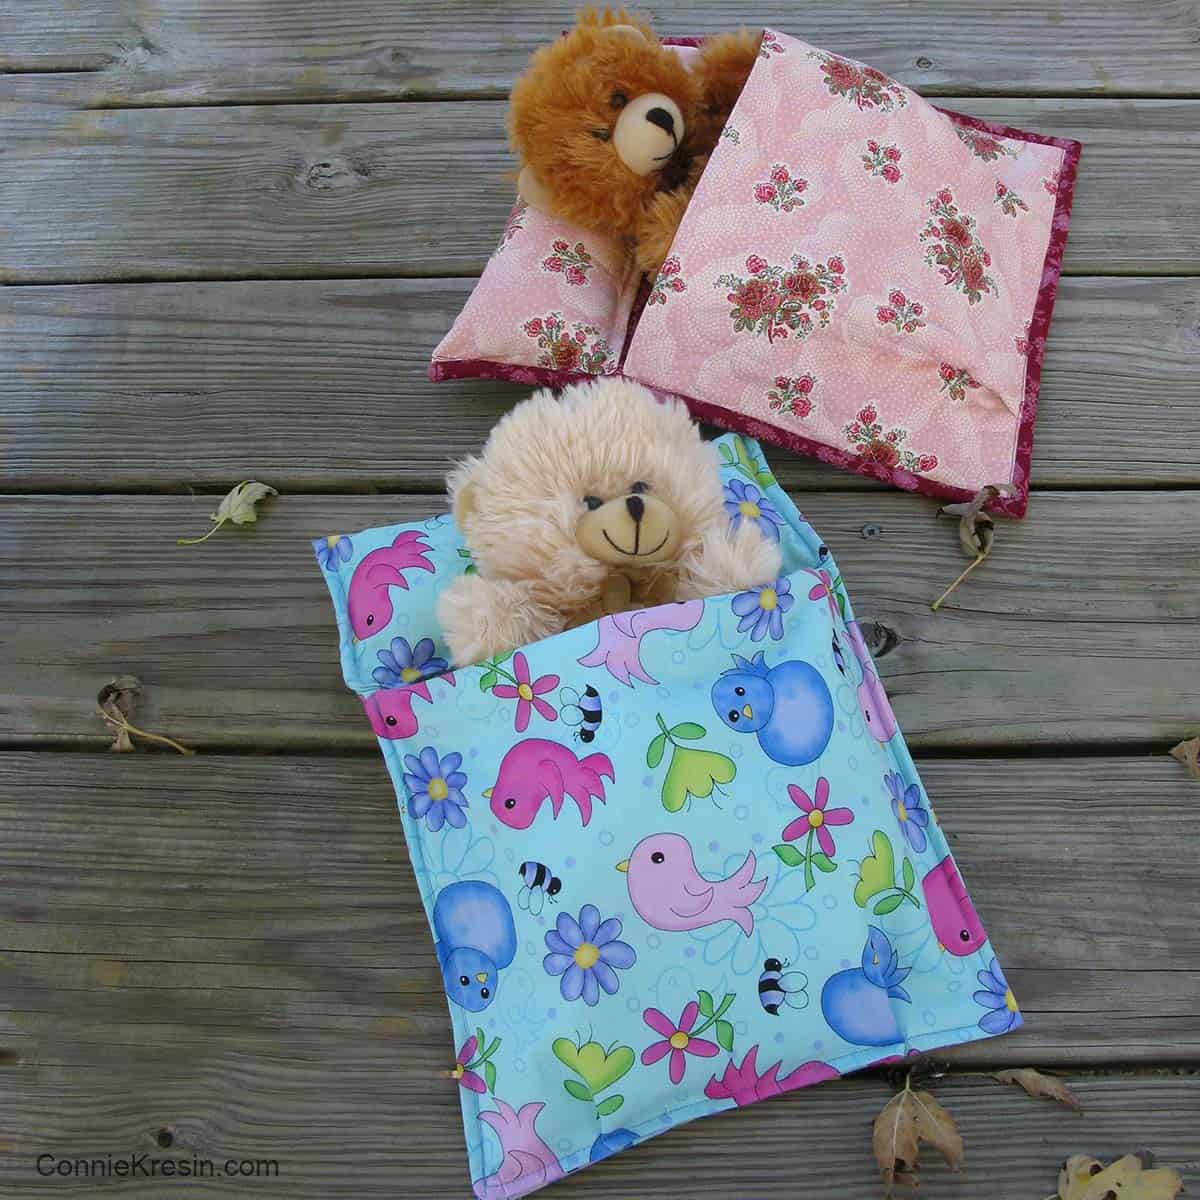
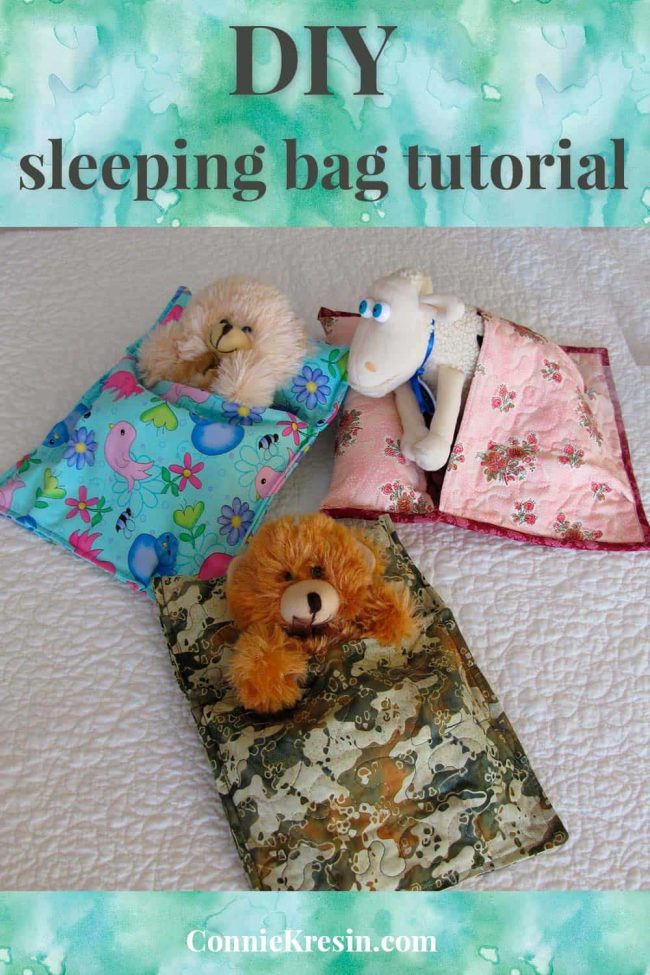
These would make a great last-minute gift. The little bears below were bought at the Dollar Tree.
Of course, I had to make a sleeping bag out of batiks……this is from Island Batik and is from the Quilts of Valor group.

Be sure and check out my other Easy doll sleeping bag tutorial!
Please note that this post contains affiliate links, which means I’ll earn a small commission if you purchase through my link at no extra cost to you. Please see the full disclosure here. As an Amazon Associate, I earn from qualifying purchases.
Great deals for you!
Looking for great buys on fabric and things? Check out these links
- Connecting Threads
- AccuQuilt Deals
- Fat Quarter Shop Daily Deals
- Green Fairy Quilts – Daily Deals
- Missouri Star Quilt Co – Daily Deals
- Scrapbooking
- The Quilt Keeper
- SewingMachinesPlus
- Electric Quilt
- My Amazon Store for all the quilting things I use and more

About Connie
Hi, I’m Connie Kresin Campbell, the quilter, writer, and photographer behind Freemotion By the River. I enjoy inspiring others with my quilt tutorials and patterns. You’ll also see my sweet adopted dogs from time to time.
Be sure and subscribe to my newsletter for more free tutorials and printables.
Hi Connie,
This pattern is so cute. Thank you for posting it. Can you tell me the approximate finished size?
Love the sleeping bag idea can’t wait to make some.
Hello Connie Dear. These little sleeping bags are so adorable. They would make wonderful Comfort gifts with the stuffed animal for children in the system removed from their homes or whatever their circumstance. Hospital children would love one of these. I wonder if elderly homes would also be good to give to? You always have the best tutorials and ideas. Thank You so much.
They’re so cute! Thanks for the tutorial.
Love the sleeping bag idea! Thanks!!! Hope both dogs improve. They certainly have the right home.
Hello Connie love reading your emails in the mornings what a truly fun idea to make sleeping bags I make fabric dolls I made one for my brother for his grand daughter so have when she visits how fun it would of been to make a sleeping bag for it to oh well am going to make your twister pillows today not a good month here to many sad things going on so I keep busy trying to push thru them all ready for Christmas but might do couple final quick gifts praying for rusty’s eye to be ok my puggy has cataract in one eye and glocoma in the other some days I have to hand feed her which is ok I tell her mama will take care of her no matter what we’ll need to go till next time Linda
Love the sleeping bags. Just made one each for my great grandies . Super easy. Thank you
These softies sleeping bags are adorable. And I love the birdie fabric!
Just saw you at Clever Chicks. What a cute idea.
Ah, my potential-step-granddaughter-to be would love one (or more!) of these… will share this with her mum as I bet they'd have fun creating some on one of their crafty afternoons
These are just too cute Connie! Every little kid needs a few too!
I have been wanting to make a stuffed toy as a gift and adding a bag to go with it would be interactive and fun.
Thanks so much for sharing your tutorial, Connie. These little sleeping bags are adorable. Especially with a built in pillow! Wishing you and yours a very Merry Christmas!
So adorable! Happy Holidays! Great tutorial!
I saved the tutorial. Belle is only 12 months old but I can see making these for her in the next year!
I want to stop over and show you the 25 full sized pillowcases and 7 travel size cases I made for Christmas. I still need to make 4 more travel size and one full size but they are going up north and I will send them home with my brother when he come to visit in January.
You are so creative! These are really super duper cute!
These are very sweet and would make wonderful gifts for charity drives. Thank you for sharing your excellent tutorial. Christmas Blessings Dear…
love the sleeping bags! is that the counting sheep from a mattress company , it almost looks like shawn the sheep too
Inspirational project and excellent idea. Totally love it. Thanks for sharing.
And I hope you enjoy the Craftsy Class with Cindy. I am.
SewCalGal
http://www.sewcalgal.blogspot.com