
Turning a Quilt Block into Something Else
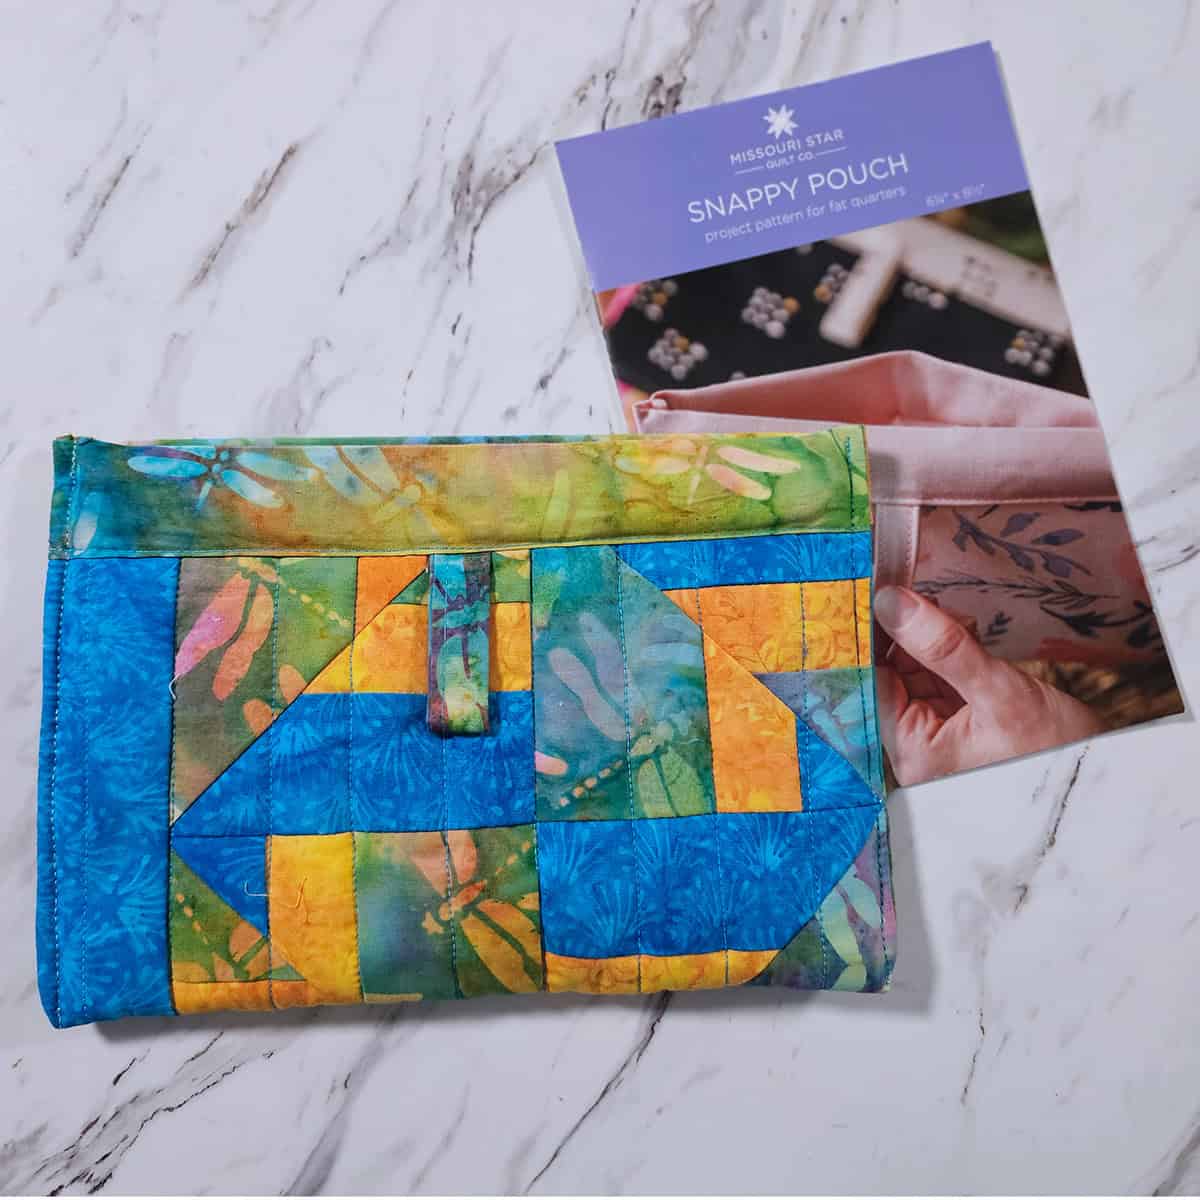
This post may contain affiliate links which won’t change your price but will share a commission.Batik Snappy Pouch
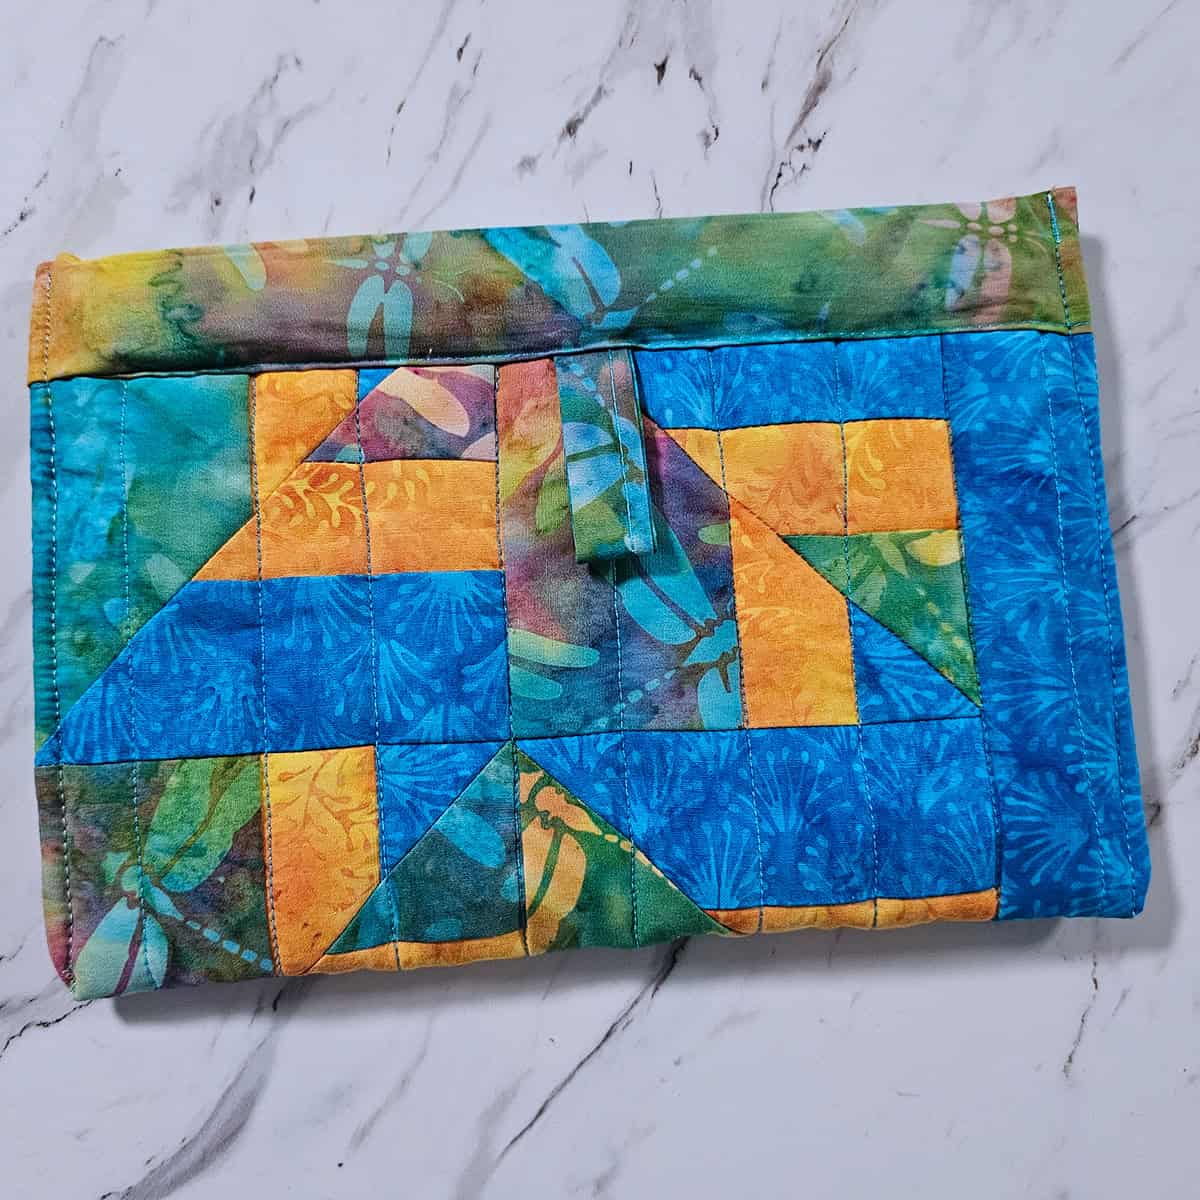
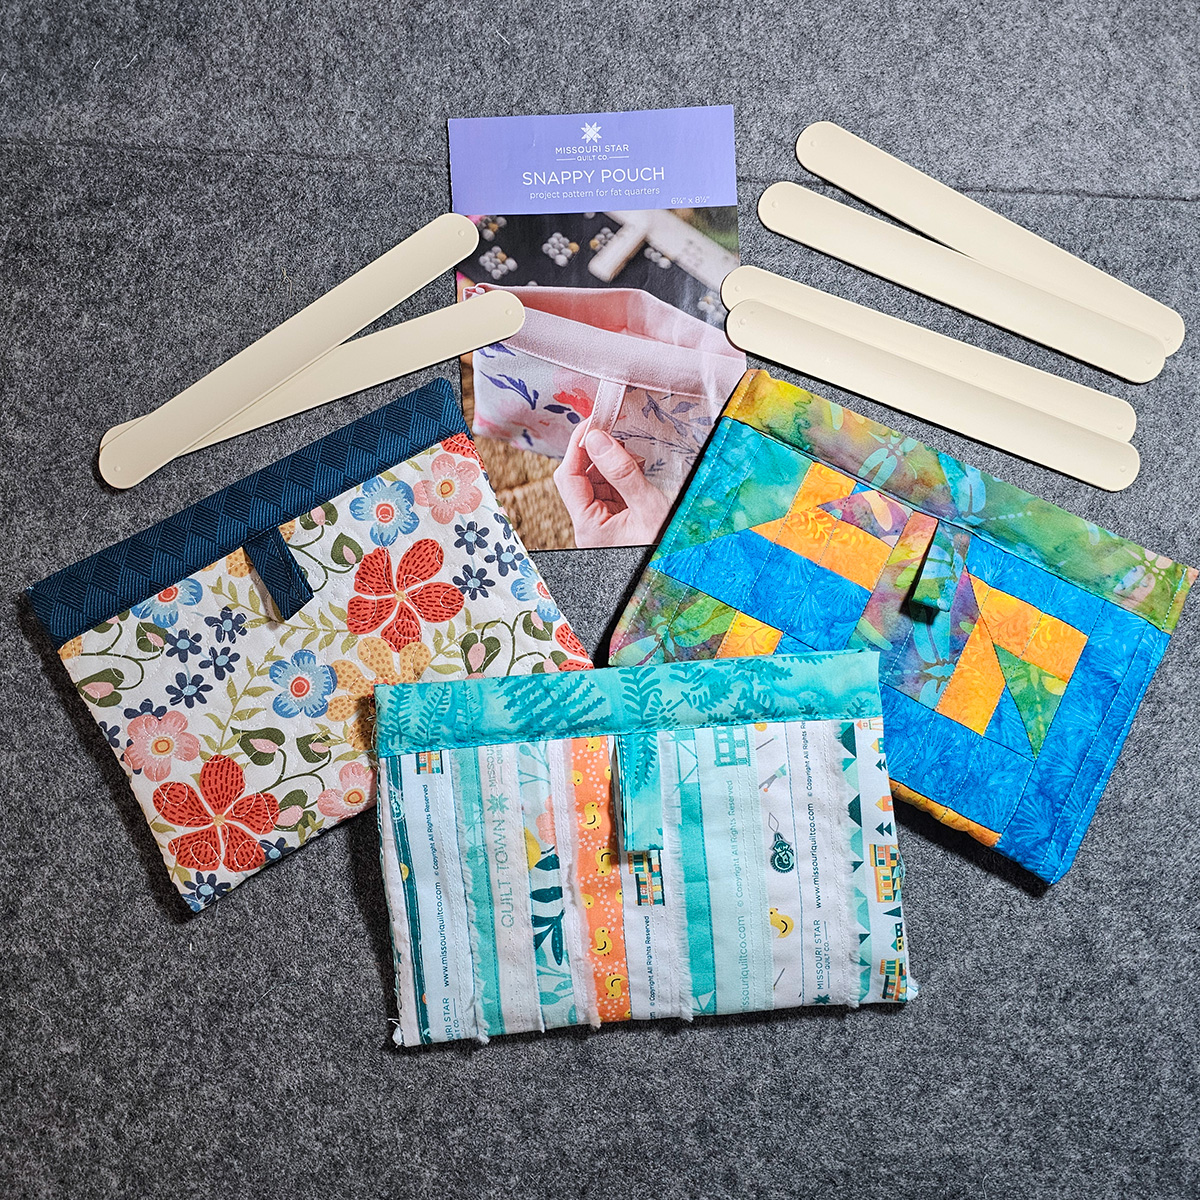
I made this cute little Snappy Pouch using batik fabric scraps.
Turning a Quilt Block into Something Else
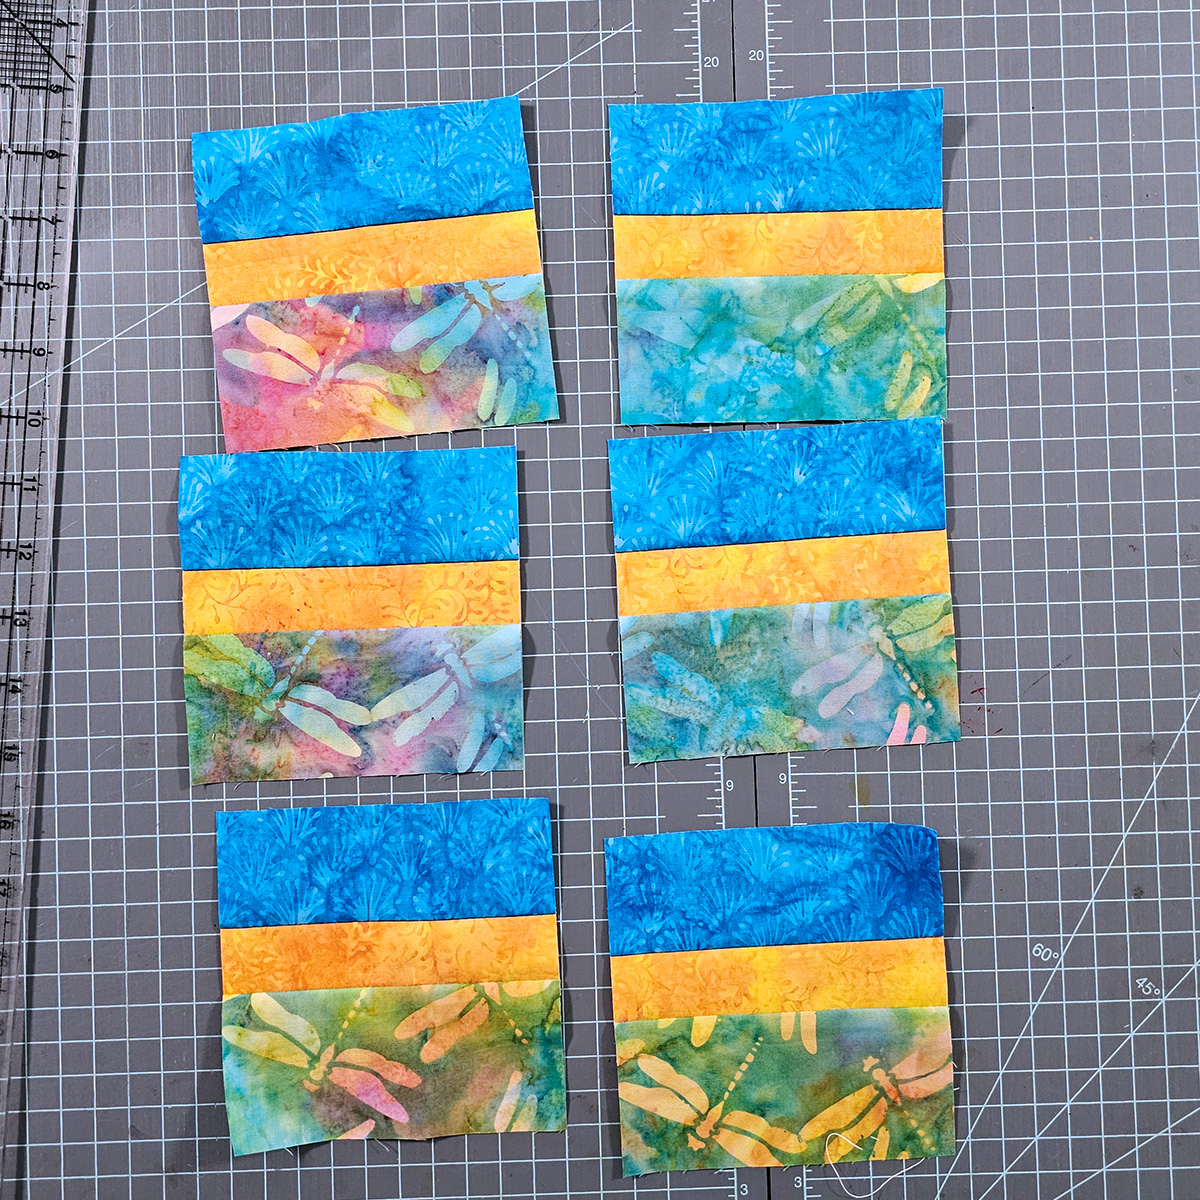
The other day I decided to play around with some fabric and blocks. I cut several batik scraps into strips and then sewed the strips together with a 1/4-inch seam allowance.
- 1 1/2-inch strip of yellow
- 2-inch strip of blue
- 2 1/2-inch strip of a print
The strip set was 5-inches wide so I sub cut the blocks to 5-inch x 5-inch square.
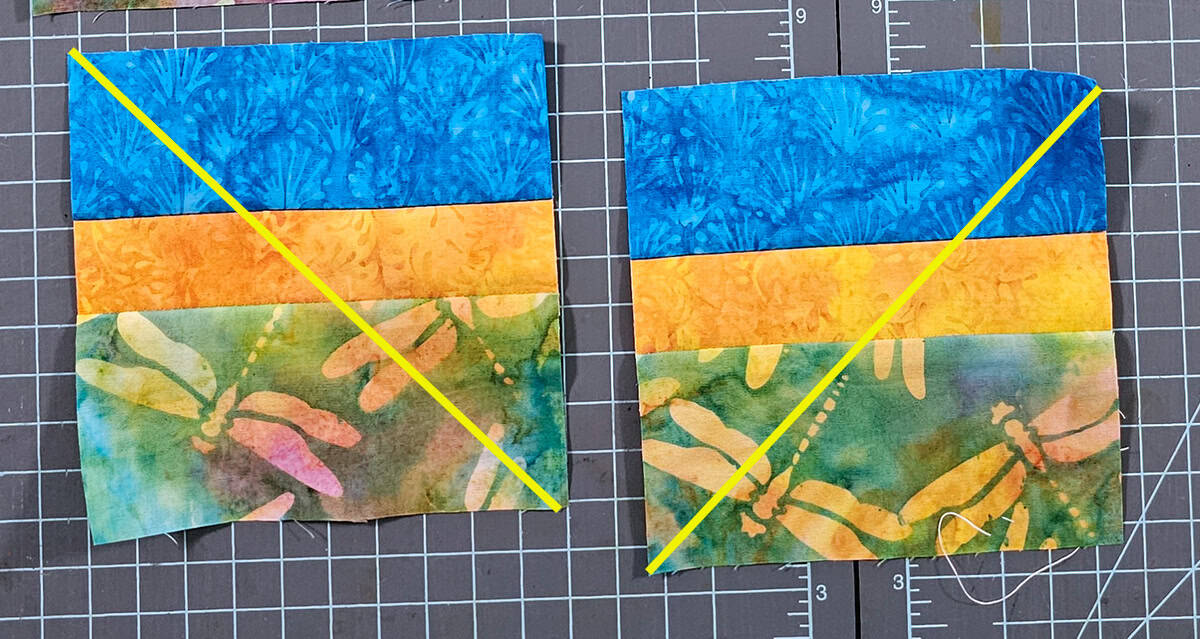
Cutting the Blocks
Next I cut the blocks diagonally with 3 going in one direction and the other 3 going in the opposite direction.
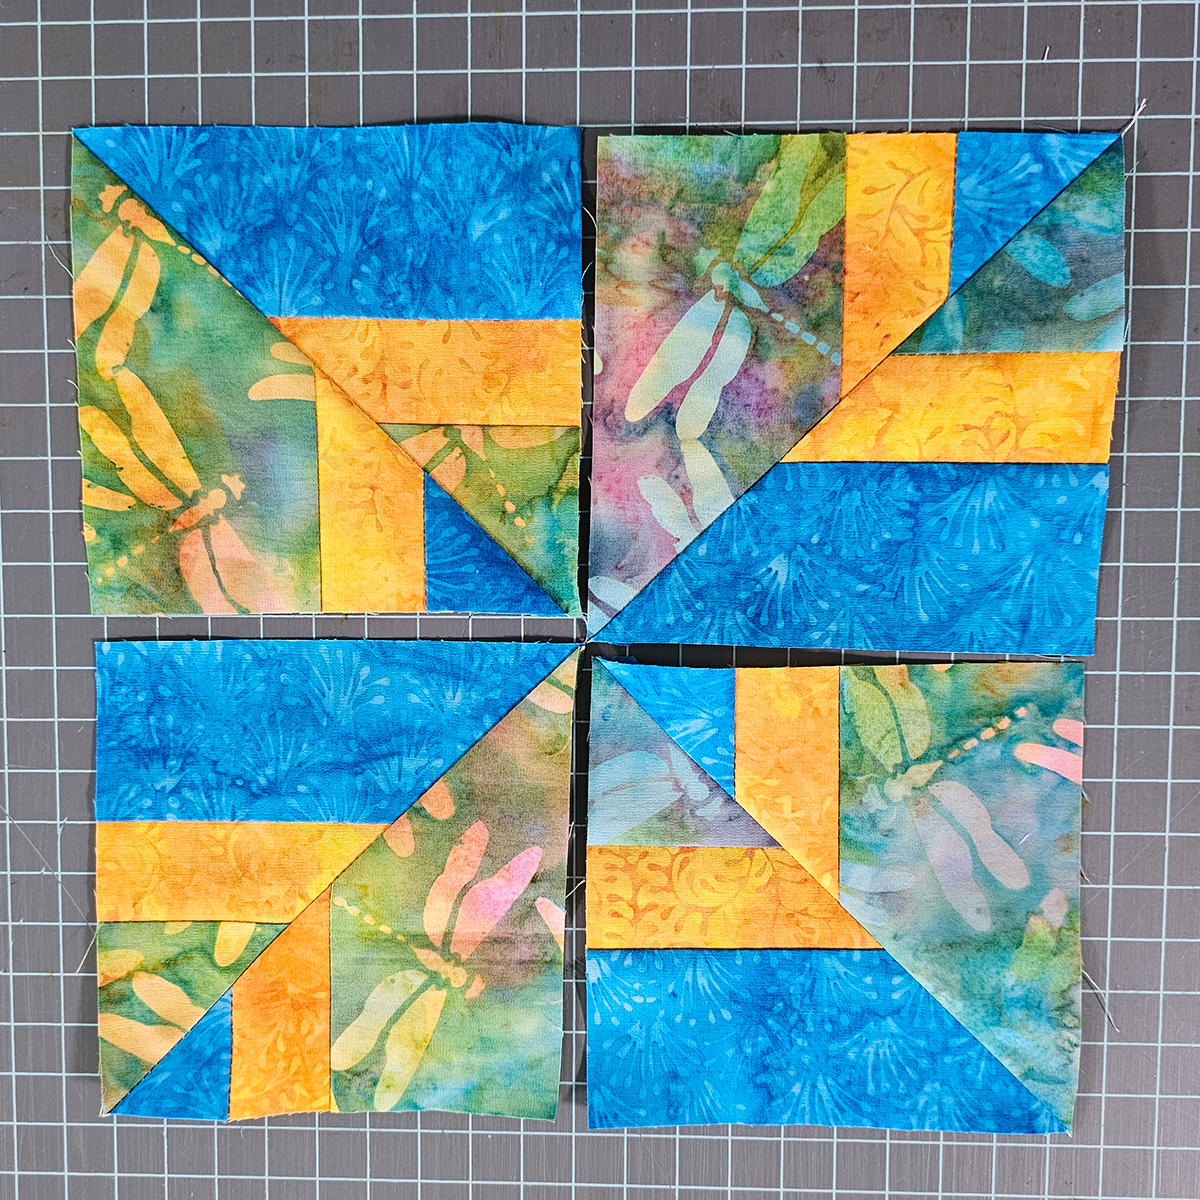
Strip Blocks
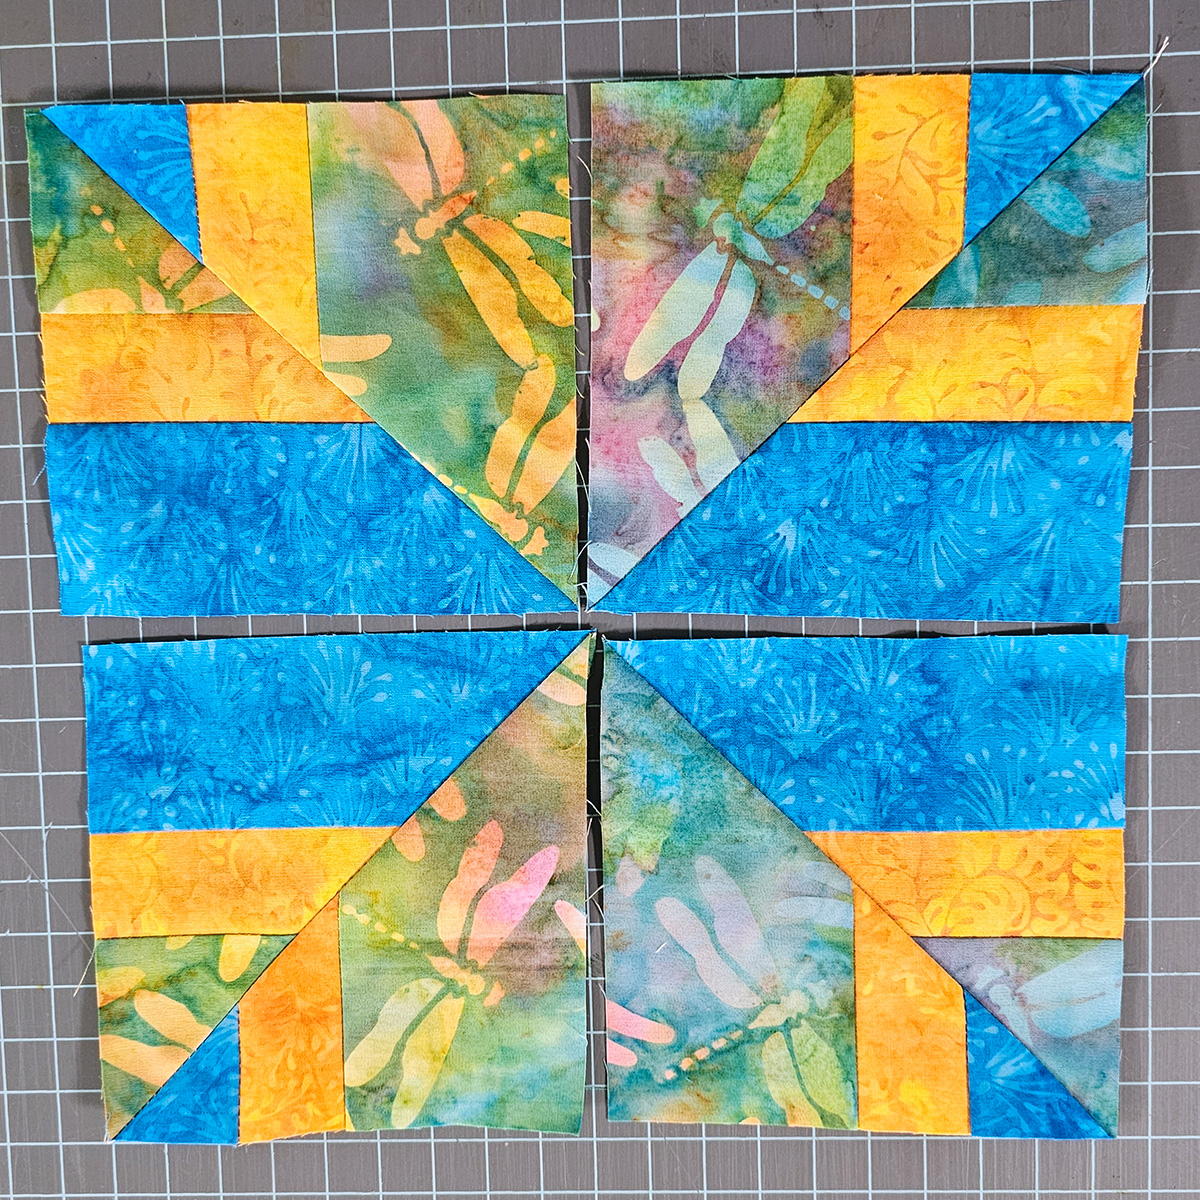
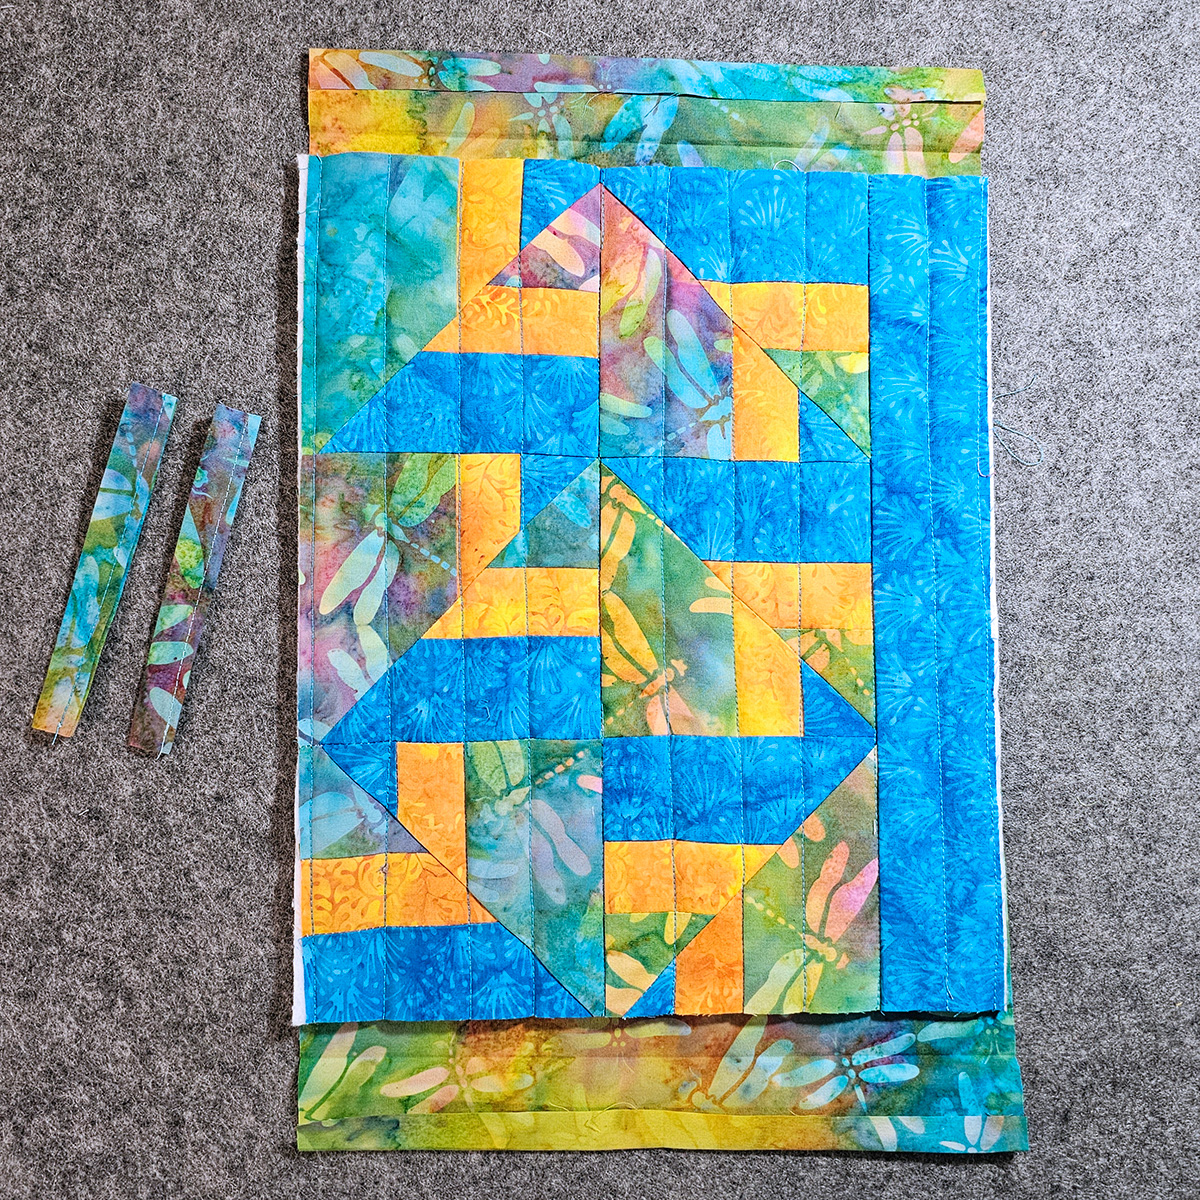
Then I randomly sewed the pieces back into blocks. Next I wanted to sew 4 blocks together. Take a look at some of the ways I could arrange the quilt blocks.
Example 1
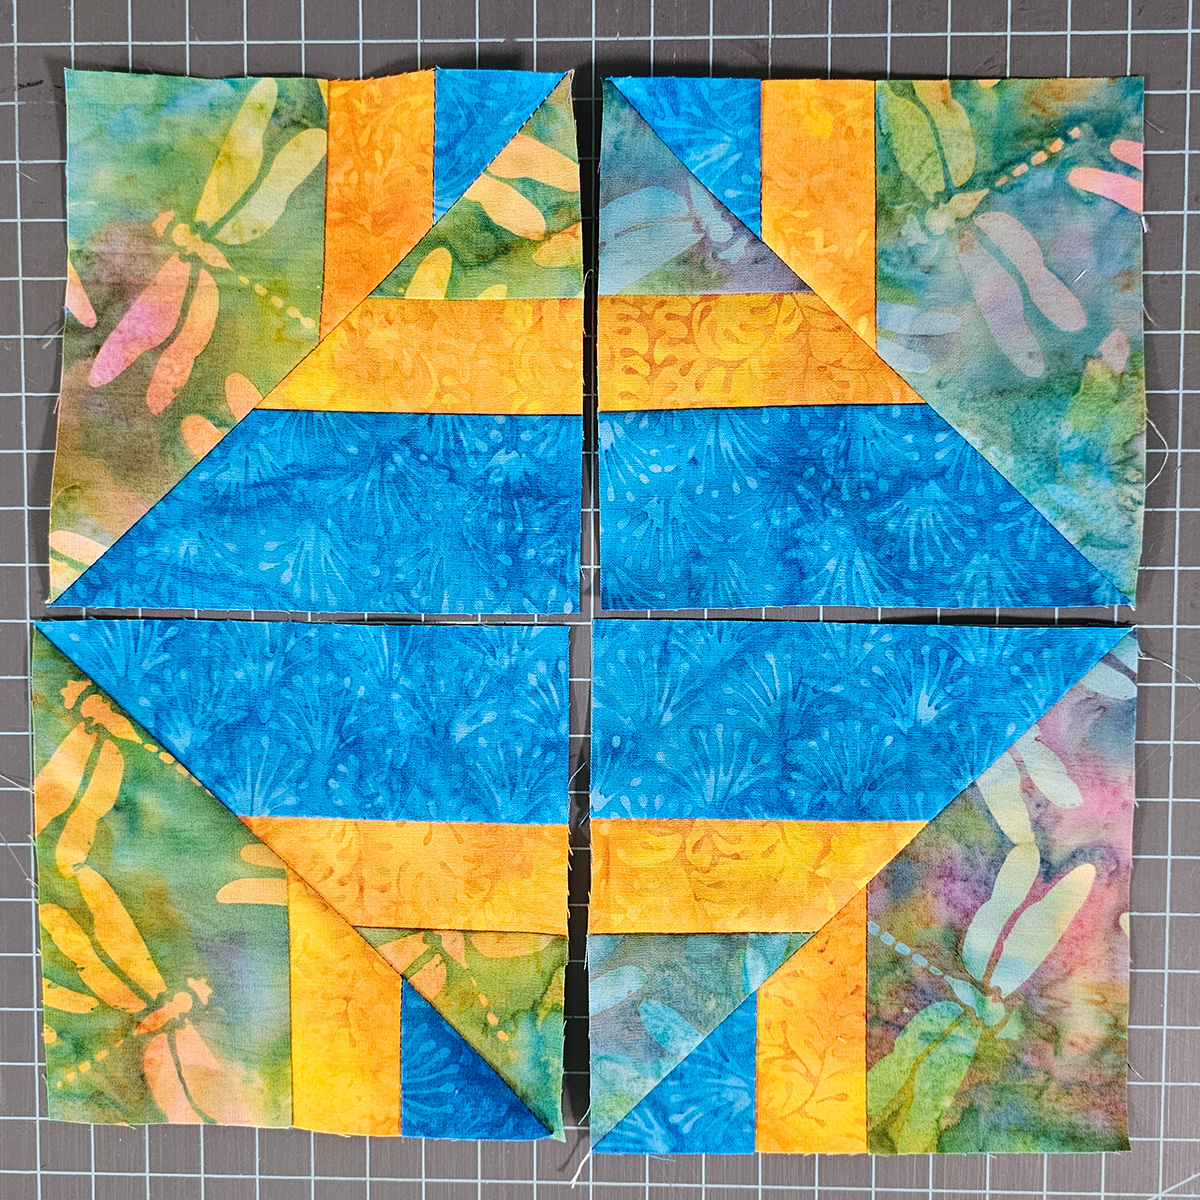
Example 2
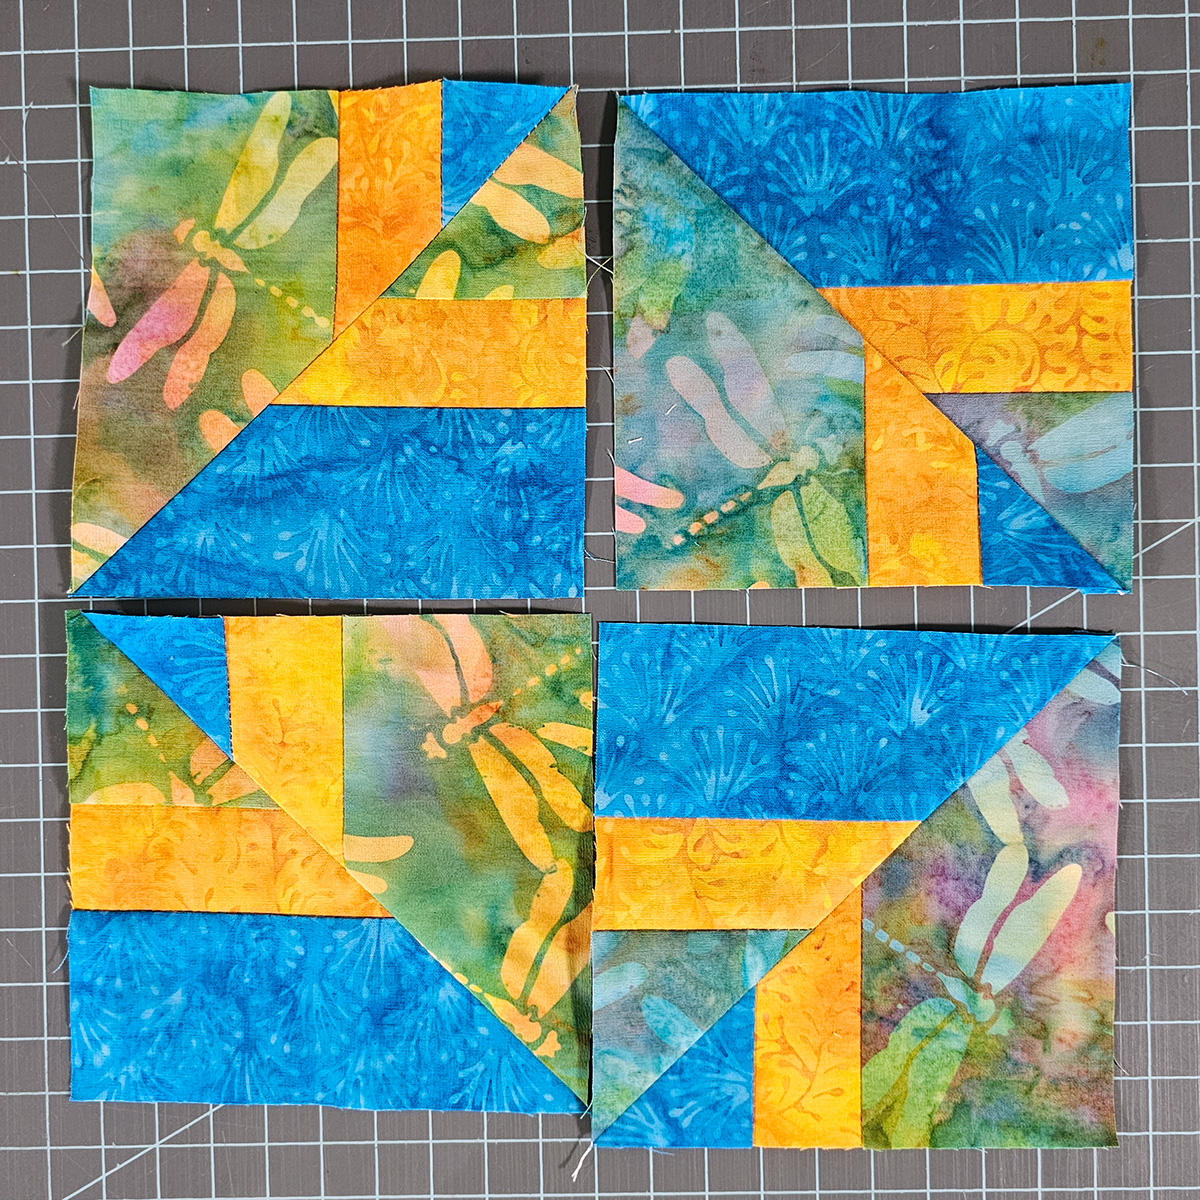
Example 3
Example 4
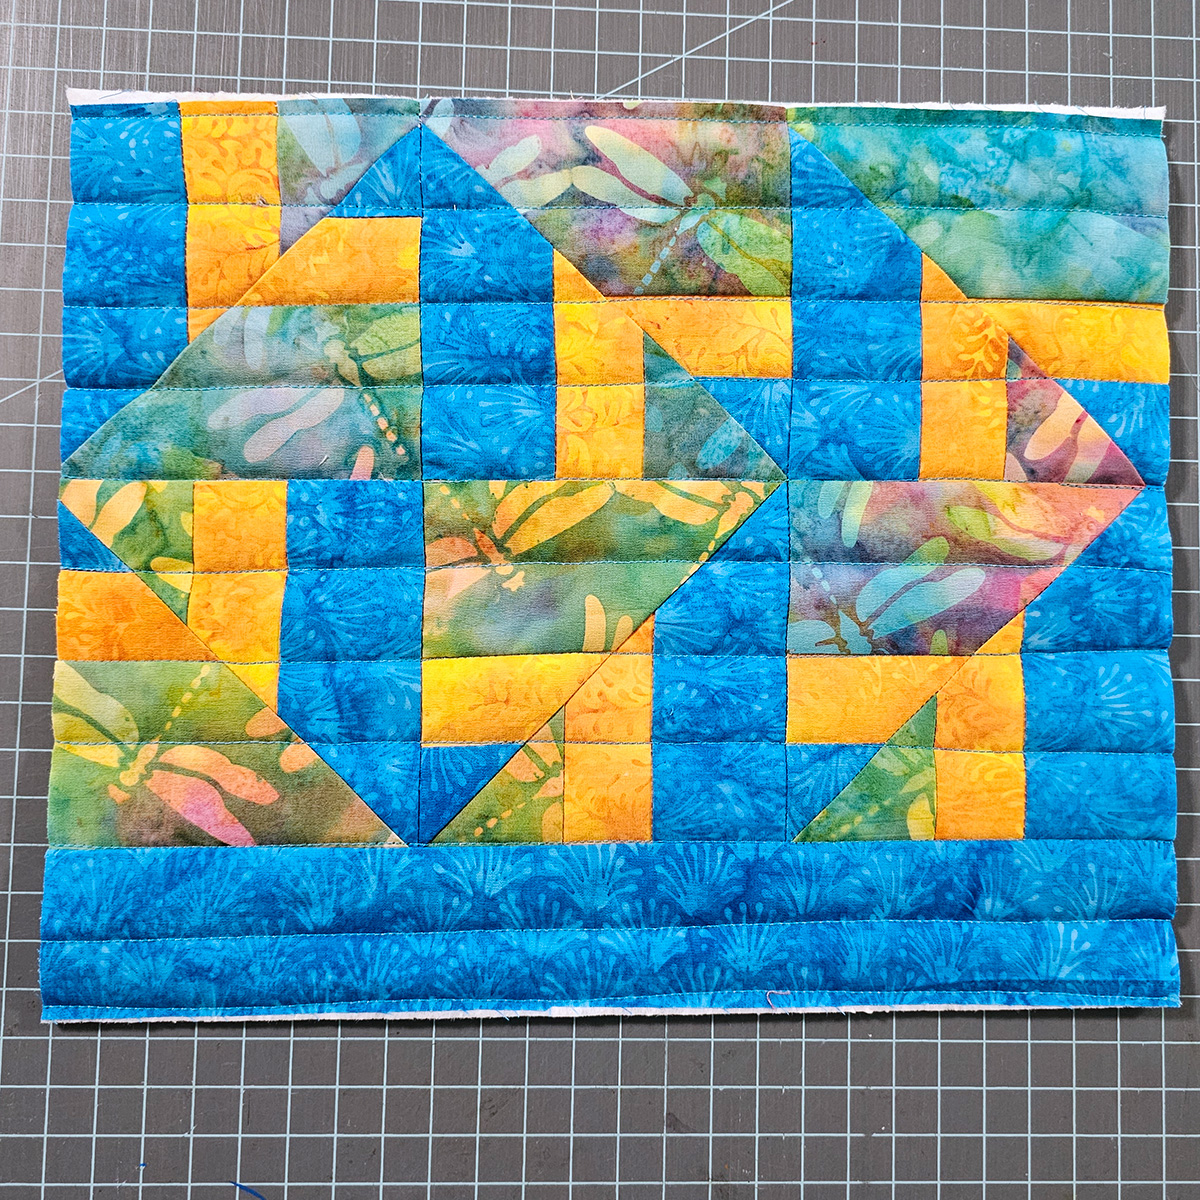
Creating Fabric
I ended up sewing all of pieces together and made a piece of fabric that I could use to make a Snappy Pouch.
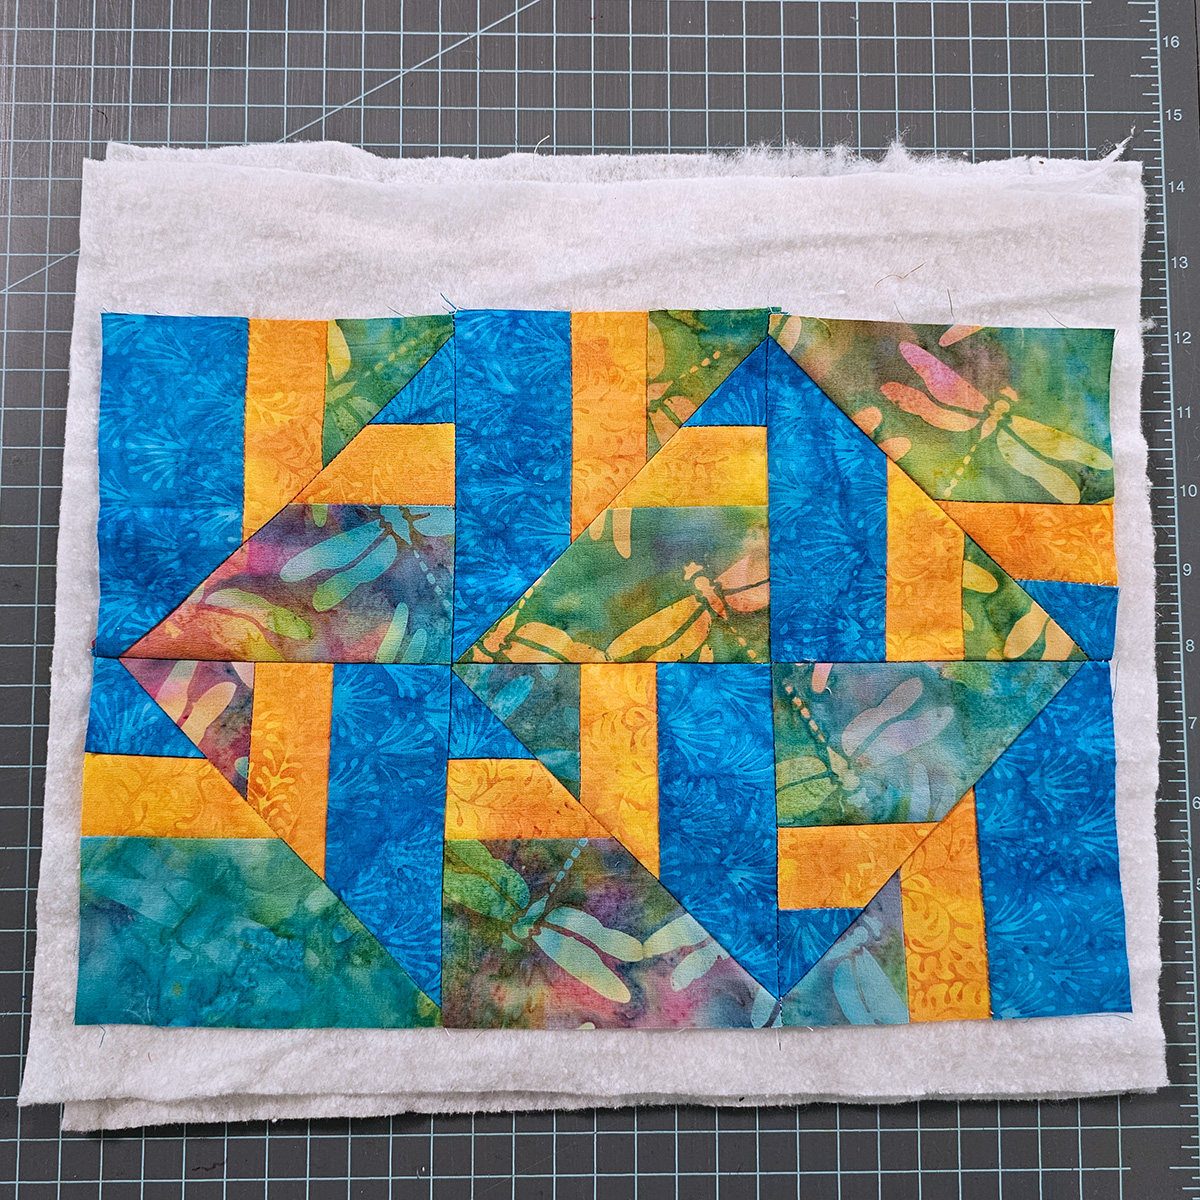
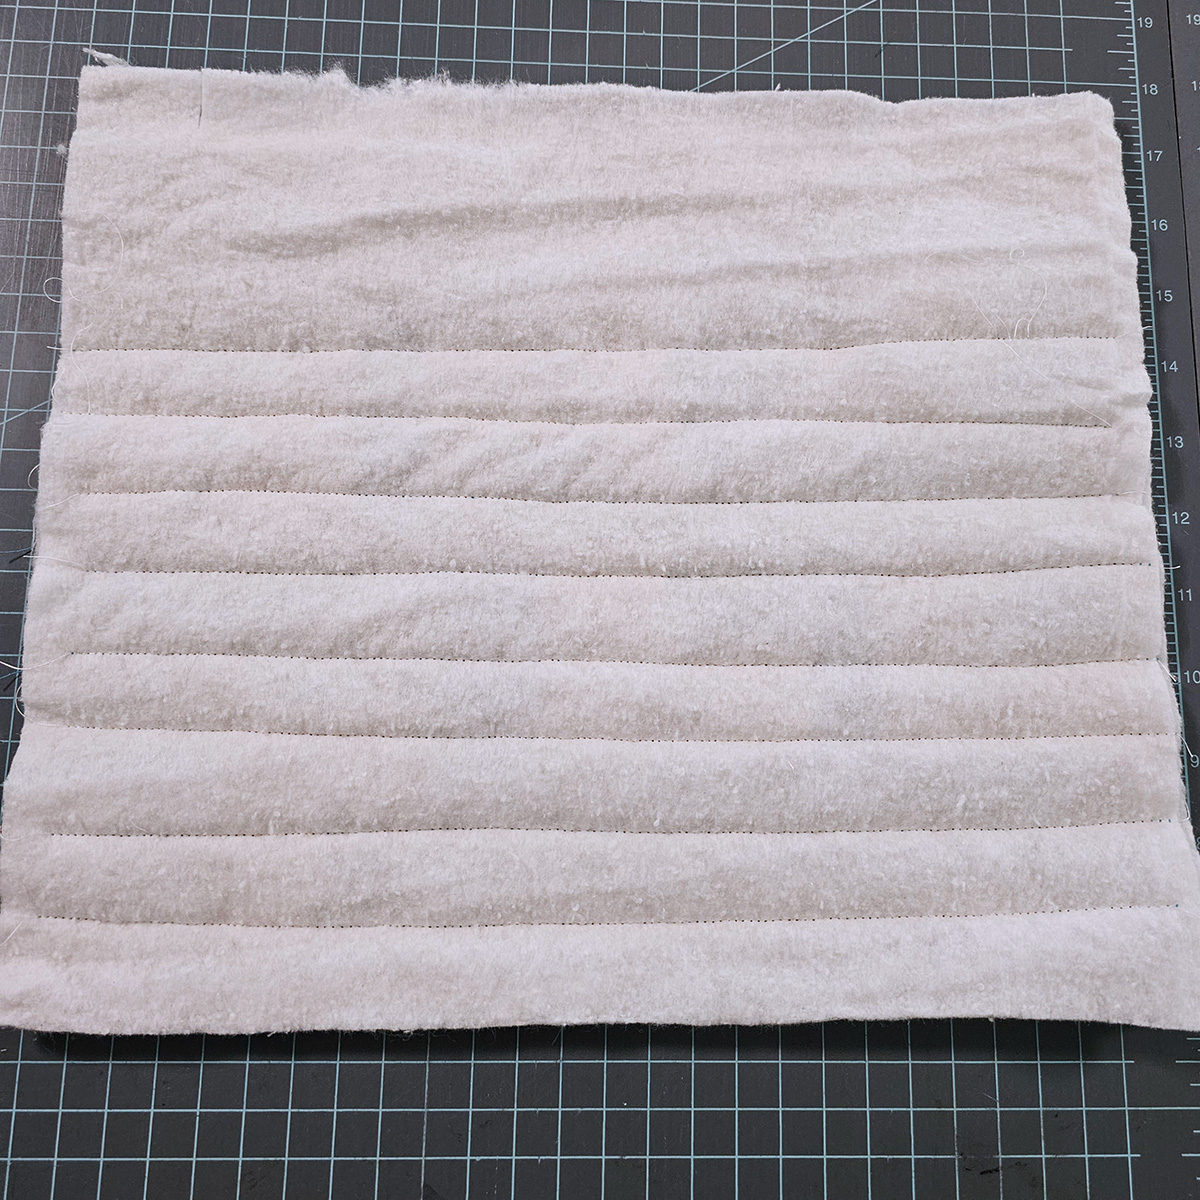
Quilting the Fabric
I added 2 scraps of batting to the back and then just did some straight line stitching to hold the batting to the fabric.
Adding a Strip of Fabric
I realized my fabric wasn’t big enough to make the Snappy Pouch so I added a strip of blue to one side. Normally this is when I would make a mug rug.
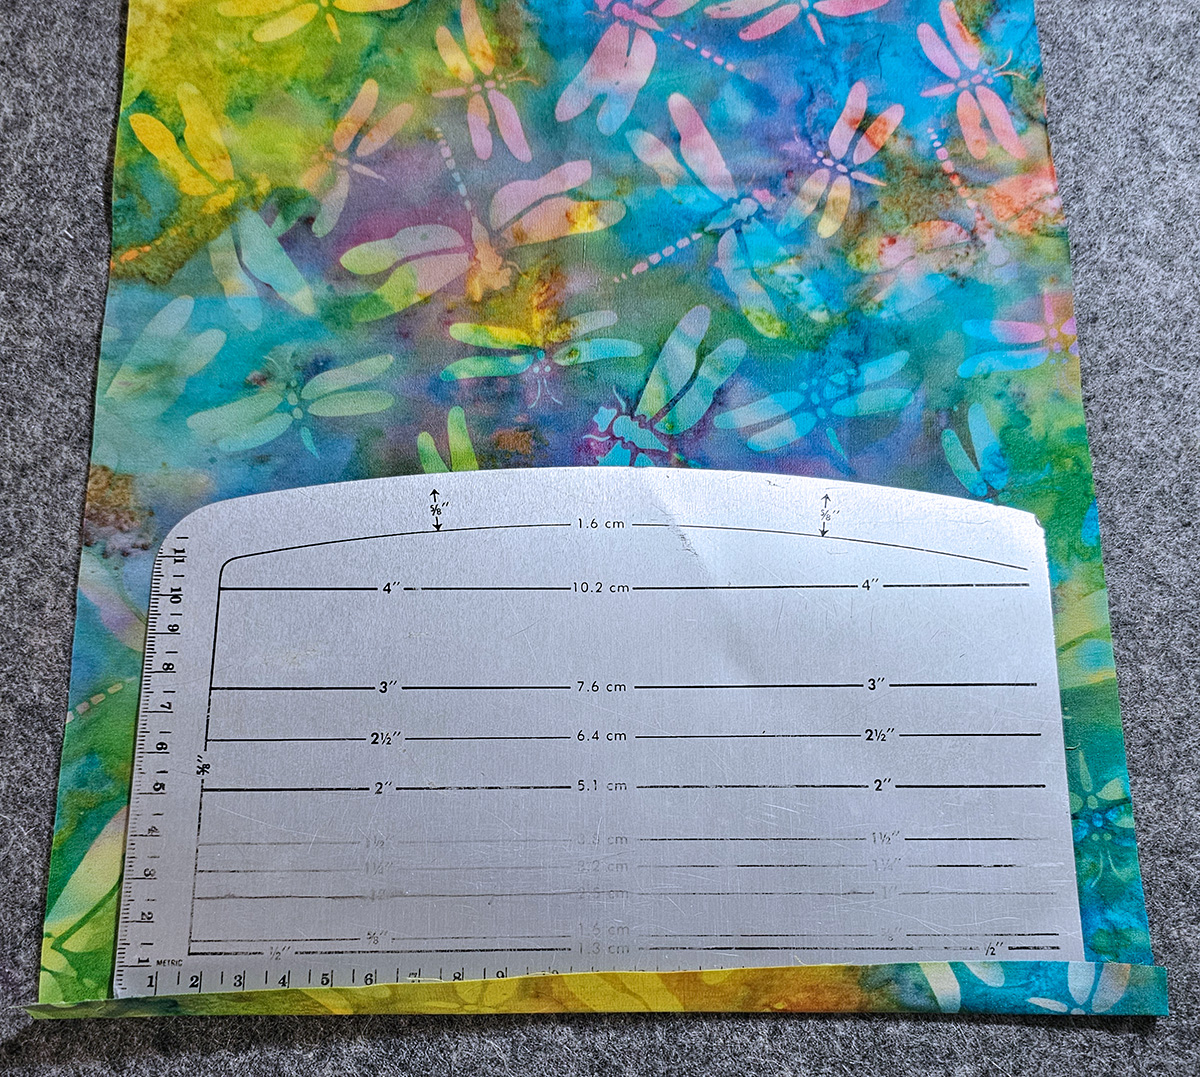
Metal Hem Gauge
I used to do a lot of clothing sewing and still have this Metal Hem Gauge that is wonderful to use to press with your iron. Can you see how worn the 5/8 to 2 inch lines are?
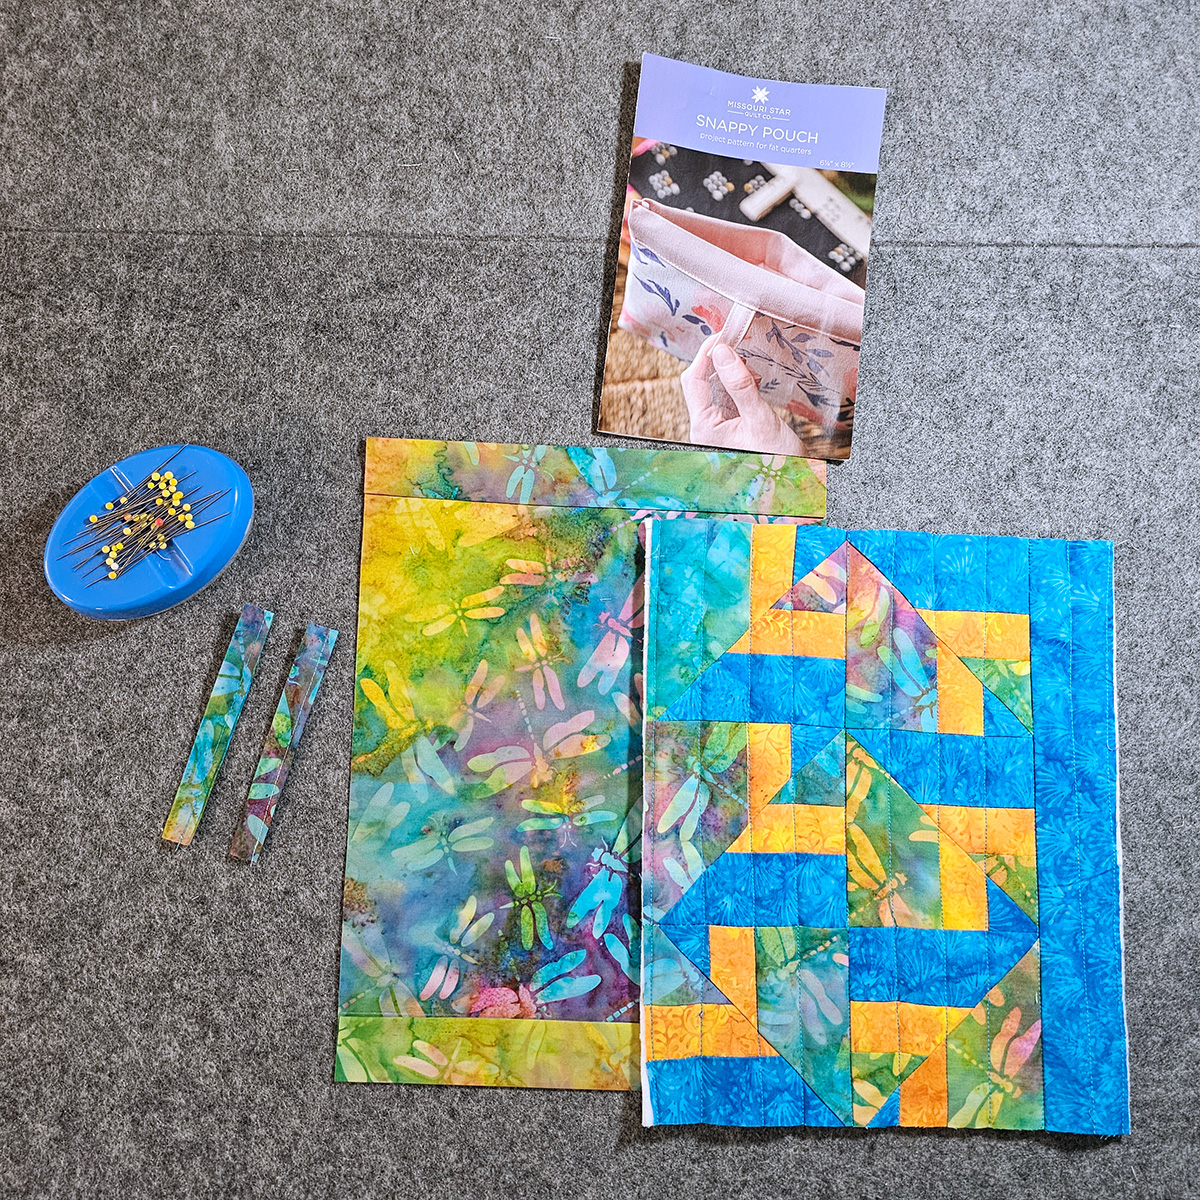
Snappy Pouch
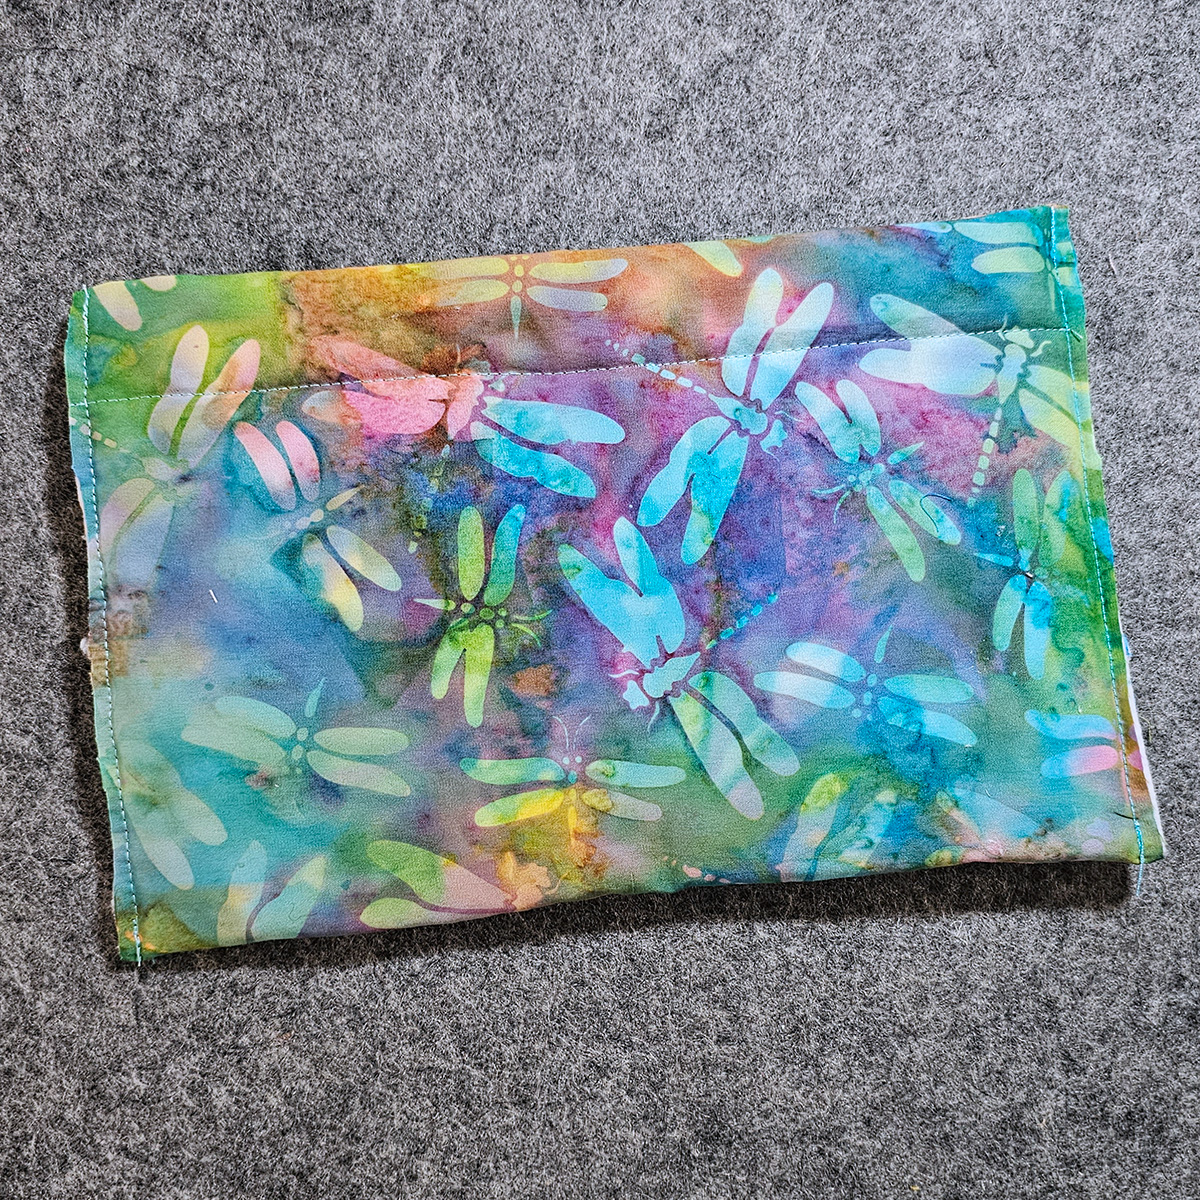
I received the Snappy Pouch pattern and bands from MSQ. I had enough of the butterfly batik fabric to use for the lining and tabs.
I really like how you lay the quilted piece on top of the lining when you are putting it together.
When you fold the lining over the front, that makes the casing area that you put the bands into.
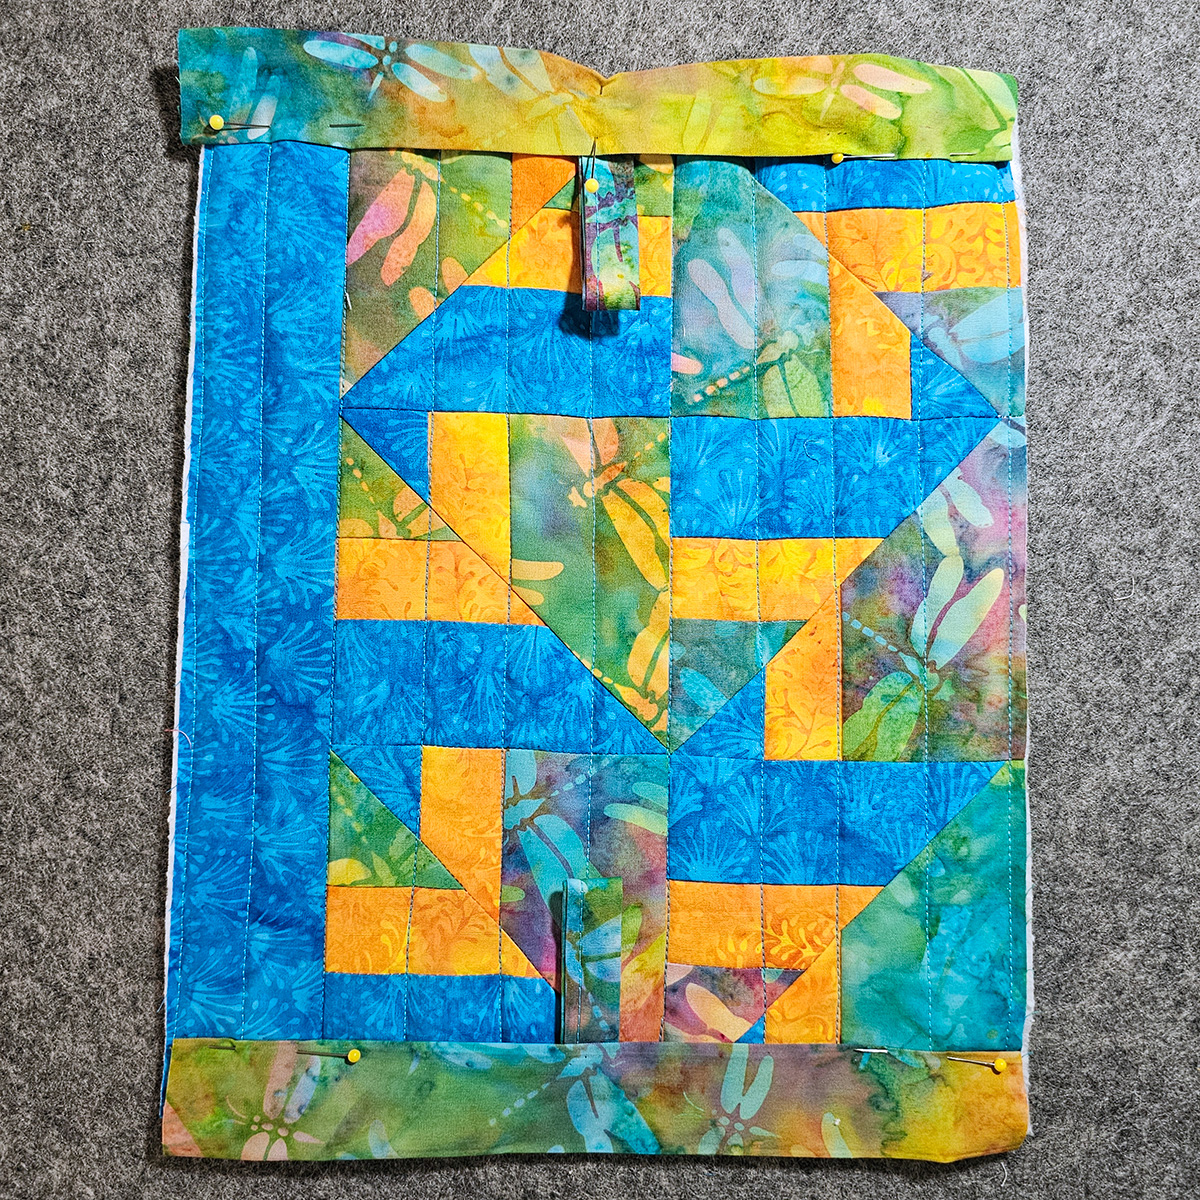
Adding the bands
Missouri Star Quilt Company sells a package of 12 Snappy Bands that you can use to make the pouches.

When you don’t follow directions
I didn’t follow the directions in the pattern. I was supposed to sew the sides seams from the right side of the pouch first. Then turn it inside out, trim and enclose that seam in another seam. I ended up stitching on the right side of my pouch.
Please note this post contains affiliate links, which means I’ll earn a small commission if you purchase through my link at no extra cost to you. Please see full disclosure here. As an Amazon Associate, I earn from qualifying purchases.
Great deals for you!
Looking for great buys on fabric and things? Check out these links
- Fat Quarter Shop Daily Deals
- Green Fairy Quilts – Daily Deals
- AccuQuilt Deals and current offers
- Connecting Threads
- Missouri Star Quilt Co- Daily Deals
- Cardmaking & Scrapbooking
- Sizzix
- The Quilt Keeper
- SewingMachinesPlus
- Electric Quilt
- My Amazon Store for all the quilting things I use and more

About Connie
Hi, I’m Connie Kresin Campbell, the quilter, writer, and photographer behind Freemotion By the River. I enjoy inspiring others with my quilt tutorials and patterns. You’ll also see my sweet adopted dogs from time to time.
Be sure and subscribe to my newsletter for more free tutorials and printables.
These are such cute pouches. I love the idea of the precut snappy strips. It’s nice to get reacquainted with them. It’s a smart way to use your pieced blocks, but I love your selvage one too.
Great tutorial, Connie. These snappy pouches were quite popular several years ago, though I never made one. I love how you made your blocks!