
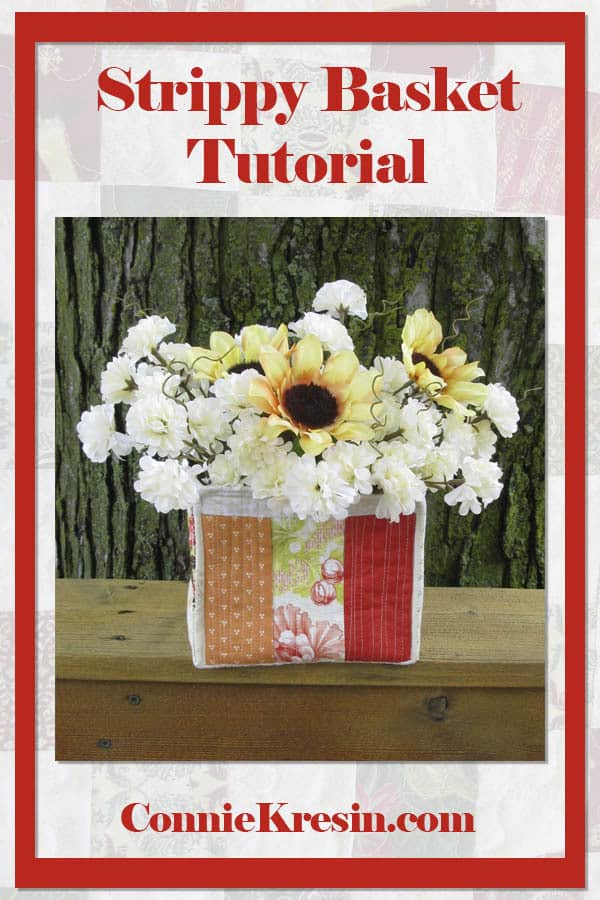
Strippy Basket Tutorial
This post may contain affiliate links which won’t change your price but will share a commission.
Sometimes it is fun to make a small, fast, and easy project like this Scrappy Strippy Fabric Basket and this tutorial will make you want to make all kinds of cute fabric baskets. These would make great gifts!
Grab a charm pack of your favorite quilt fabric collection or just use some of your stash to make this fun quilt project.

Strippy Basket Tutorial

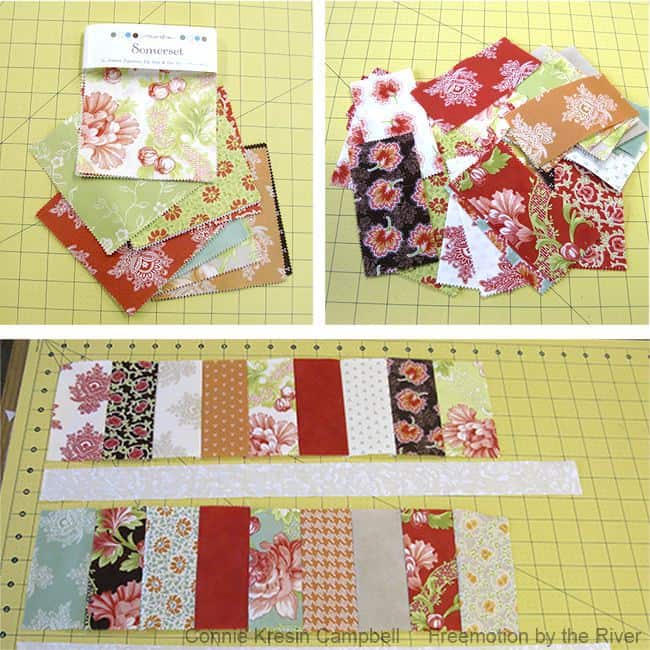
I used a charm square package of Somerset that I had leftover from my Piano Keys Table Runner project so I cut the 5-inch squares in half and then sewed them back together. We quilters are crazy people….according to Builder Bob.
Charm Squares – 5 inch squares of fabric
- Cut your squares in half – they will be 2.5 x 5 inches
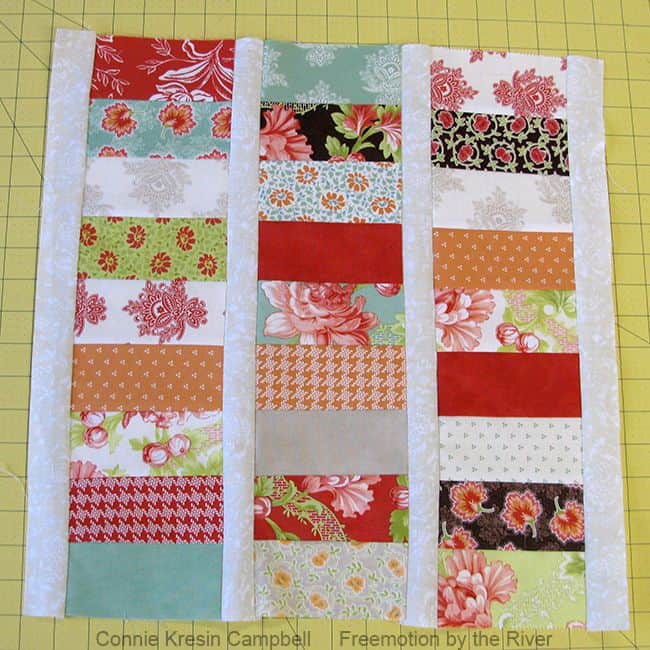
- Sew 9 of them together for a row
- Do this 3 times
- Add a 1.5 inch strip of a neutral fabric between each row (see note below)
Do you like to cut up fabric and then sew it back together? I think many of you do because one of my most popular posts is about that. I made a tote bag using a similar method.
Add a fusible fleece, I used Pellon 987F Fusible Fleece and quilt your new fabric.

I just did some organic free-motion straight stitching on my fabric and then did a free motion stipple quilting on the inside lining piece.

I thought you might like to see a closer photo of the organic free motion stitching I did on my vintage 15-91 Singer sewing machine. I used a darning foot, not a walking foot to do it.
It looks like it is curved but it isn’t, I had the quilted fabric at an angle to show the quilting better.

I am including the photos of the steps for making my scrappy strippy basket. I made the 18-inch basket but I think I would have liked it better if I hadn’t added the 1.5-inch strips of fabric. I could have just added another row of the 2.5 x 9-inch pieces.

There is one more thing that I goofed up on. I should have stay stitched the top of each piece before I sewed them together.
What is stay stitching?It is a single line of stitching that will stabilize your fabric and prevent it from stretching.
You can see in the photo that it is pretty obvious that I stretched the top of the basket when I sewed the lining to the outside. I also think I stretched it more when I did my topstitching.
I went ahead and sewed up the sides as I did in my Fabric Boxes tutorial. That helped a little bit.

Don’t forget to read about the first strippy basket I made and get the link to the free pattern.

Take look at my Batik Strippy Baskets, and get the link to the free pattern.
The baskets turned out nice and I also made a set of coasters with the leftovers. This would make a beautiful Mother’s Day gift!

Please note that this post contains affiliate links, which means I’ll earn a small commission if you purchase through my link at no extra cost to you. Please see the full disclosure here. As an Amazon Associate, I earn from qualifying purchases.
Great deals for you!
Looking for great buys on fabric and things? Check out these links
- Connecting Threads
- AccuQuilt Deals
- Fat Quarter Shop Daily Deals
- Green Fairy Quilts – Daily Deals
- Missouri Star Quilt Co – Daily Deals
- Scrapbooking
- The Quilt Keeper
- SewingMachinesPlus
- Electric Quilt
- My Amazon Store for all the quilting things I use and more

About Connie
Hi, I’m Connie Kresin Campbell, the quilter, writer, and photographer behind Freemotion By the River. I enjoy inspiring others with my quilt tutorials and patterns. You’ll also see my sweet adopted dogs from time to time.
Be sure and subscribe to my newsletter for more free tutorials and printables.
Thanks Connie – for all the lovely ideas in this post.
The baskets are so cute and great for gifts or just having around the house to put things in.
Kids will love the baskets for toy caddies.
Thanks for your inspiration.
Connie,
I had forgotten about your basket tutorial — this will make a great gift!
I bo0kmarked this post as I just have to make one of these garden baskets! LOVE IT!!
I think the fact that the baskets flared out at the top are an added design feature rather than a mistake. The flare softens the basket look and makes it look more like a vase.
That is a great way of looking at it! I like the way you think 🙂 Thanks!
Hi Connie,
I just stumbled on your Blog and Website, and signed up for your Newsletter! It’s Great!!
I loved the Strippy Baskets, and found the tutorial for them, but it won’t let me print it so I can try to make them as soon as I gather the materials. What do I need to do to print the tutorials, or don’t you allow members to print them?
Thank you.
Susie
Hi Susie, you can find the link to download the pattern here. https://conniekresin.com/2015/01/strippy-catch-all-basket.html
Enjoy!
I really like the way your basket looks Connie. Super cute.
I know it’s early, but I hope you have a wonderful Mother’s Day.
I love scrappy ideas. (scraps stress me out no wonder!) a perfect gift idea for mother’s day!
Adorable
This is so cute! I have tons of charm squares that I’ve never figured out what to do with. It made me smile to see you are doing ‘organic’ straight quilting now instead of straight lines that aren’t straight.