
Mariners Compass Table Topper
This post may contain affiliate links which won’t change your price but will share a commission.Have you ever wanted to make the Mariner’s Compass quilt block but thought it was too hard? Accuquilt now has a die that will make it much simpler to make this block.
This is still not a beginner quilt block to make, if you have been quilting for a while or are looking for a challenge, try it!
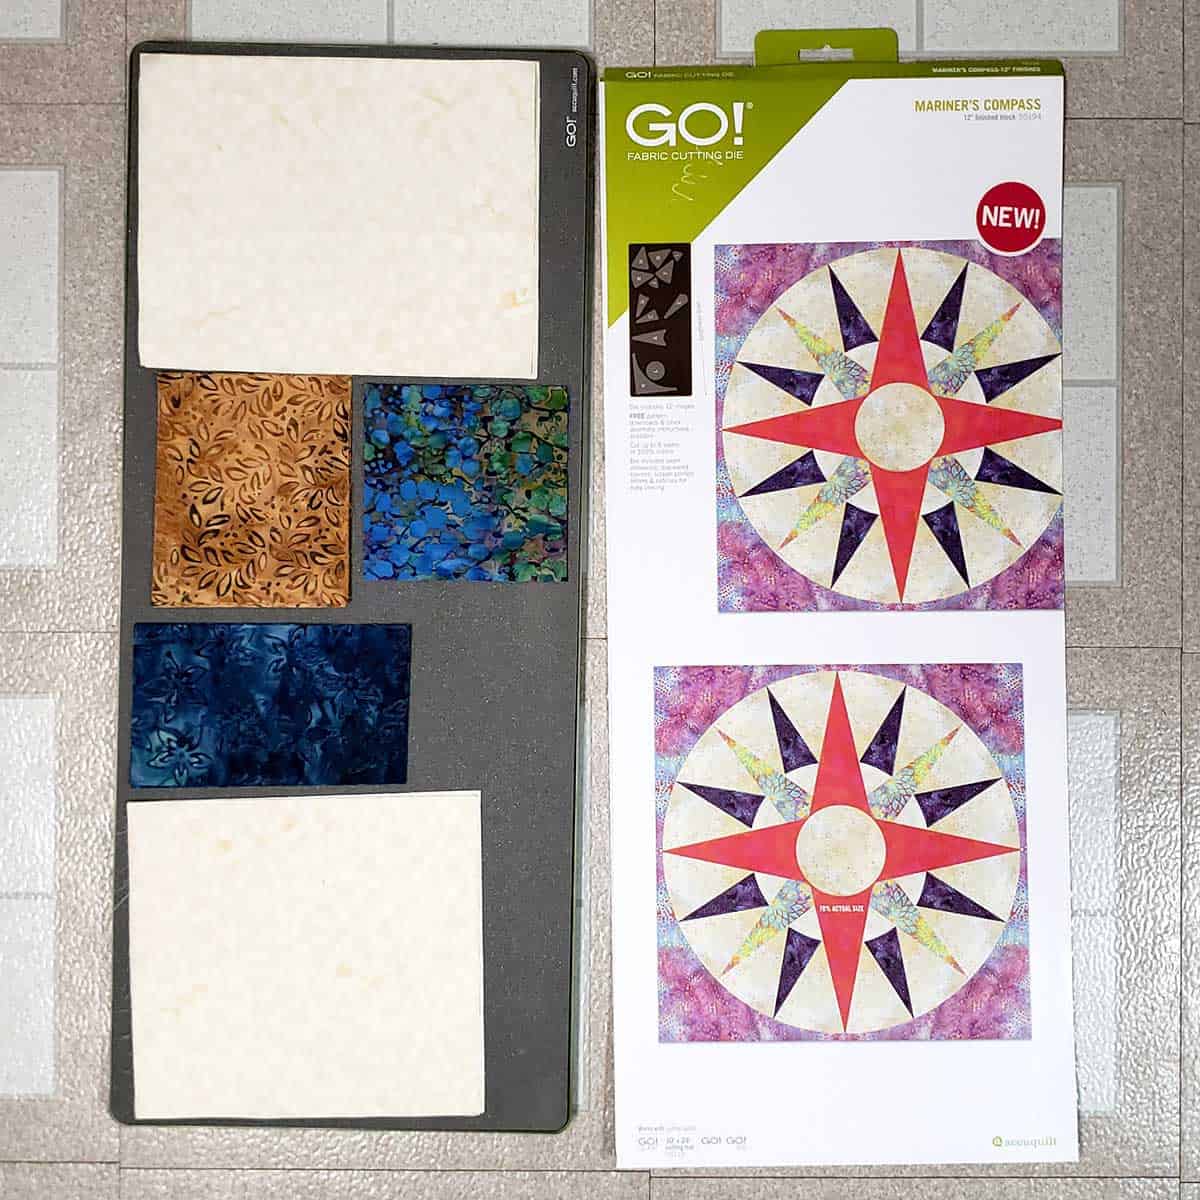
Most of the time you will see the Mariner’s Compass as a paper-pieced quilt project so I couldn’t wait to buy the die and try it out. I actually bought it as a Christmas gift for myself and finally used it.

Piecing the Mariner’s Compass block
Watch how I put the Mariner’s Compass quilt block together. You might decide you want to make it!
Directions
The Mariner’s Compass die has complete directions on the package including the sizes you will cut your fabrics and how to lay them on the die. I am using leftover batiks I have from when I was an ambassador for Island Batik.
Whenever I make a new quilt block, I always make just one to find out how I like the block, if I have the colors right, and so I don’t waste fabrics in case I don’t like it.

Piecing the block
I took the die with the cut fabrics on it to my sewing machine along with the directions. I found this the easiest way to work on the quilt block. I just moved the fabrics over a little bit so I could see the letters on the die pieces.

I made each group four times before moving on to the next instruction. Be sure and press your seams open to help eliminate the bulk.


Dog ears and Notches
There are dog ears and notches on all of the block pieces and this makes it very easy to piece the sections together. Adding the curved corner looked tricky but went together pretty well. I did have one I had to use my seam ripper on and resew.

You just keep following the instructions, matching up the notches and dog ears to complete the Mariner’s Compass block.


Applique
Here is my block with piecing completed. You will have to applique the center circle. My edges look a little wonky but not bad for the first time. I am not a perfectionist. I can work with this block.
This shows a cream center circle but I decided to change to a brown center circle.

I think the circle die should have been cut a little bigger. My piecing on the center was off a little which might have made a difference.
I ended up cutting a paper template with the die and then pinning it to two pieces of the brown batik and then stitching around that. Then I cut an opening in the center of one, turned it right-side out, and then added Heat n Bond to the outside of the circle.
I appliqued the circle after I added the backing and batting.

Quilting and Finishing
Free motion quilting
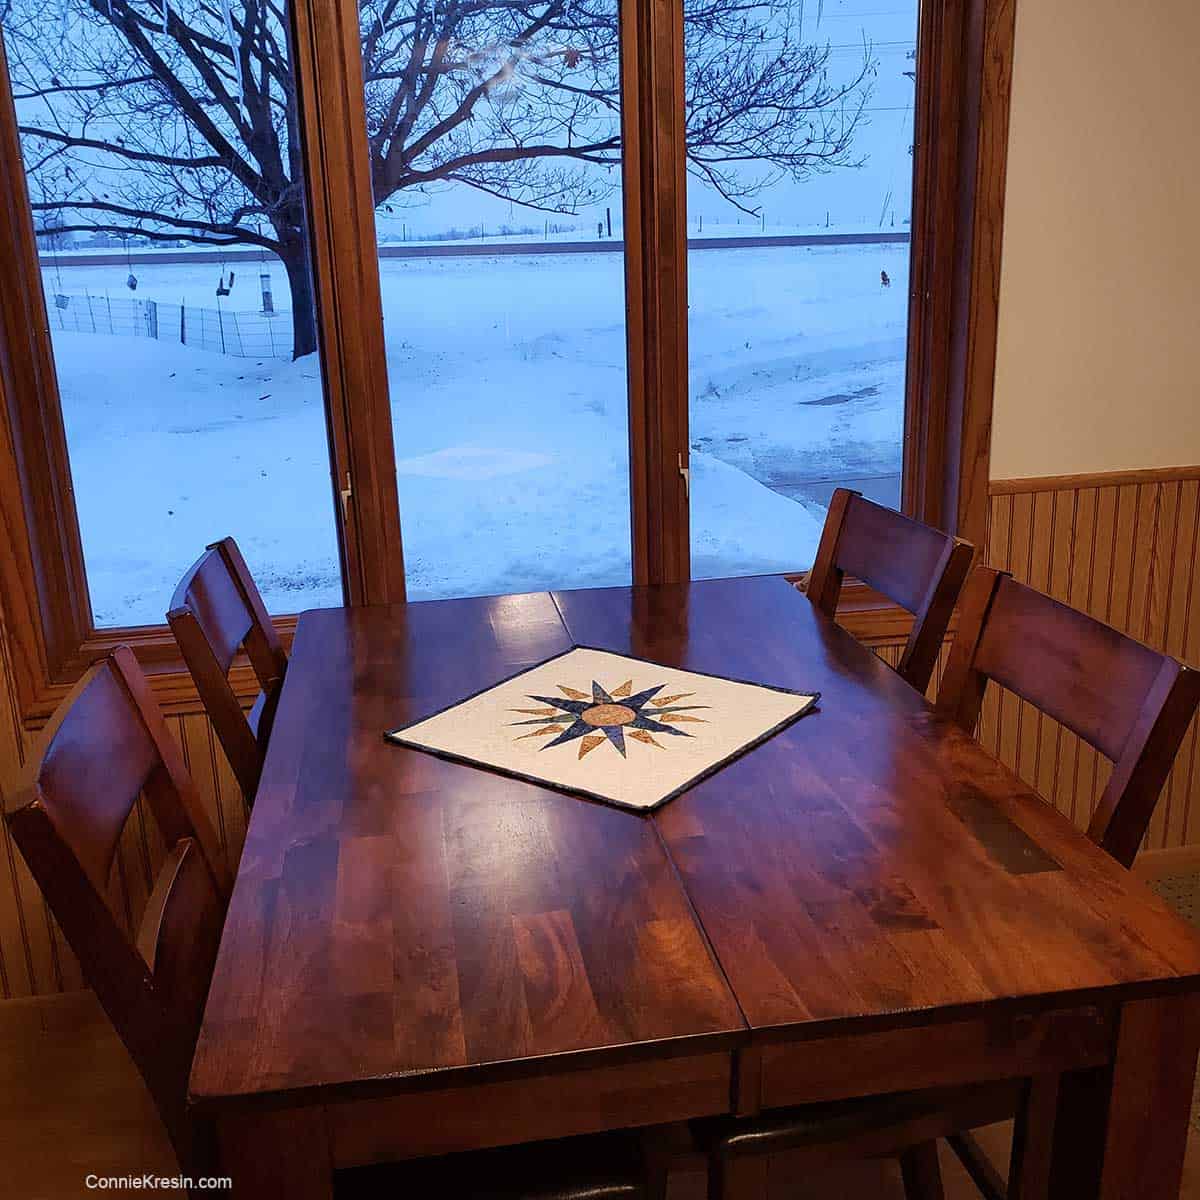
Quilting always adds so much, I used a muslin 50wt Aurifil thread and an 80/12 Schmetz needle. When I made the Mariner’s Compass block, I knew it would become a table topper and I wanted the compass to be the focal point. That is why I used the cream fabric for all of the background pieces and then added a 3-inch border.

I cut my binding using my Accuquilt fabric strip cutter 2½-inch strips die and then finished the table topper using my machine binding tutorial.
I even got Mr. Mickey to pose with my new Mariner’s Compass table topper!
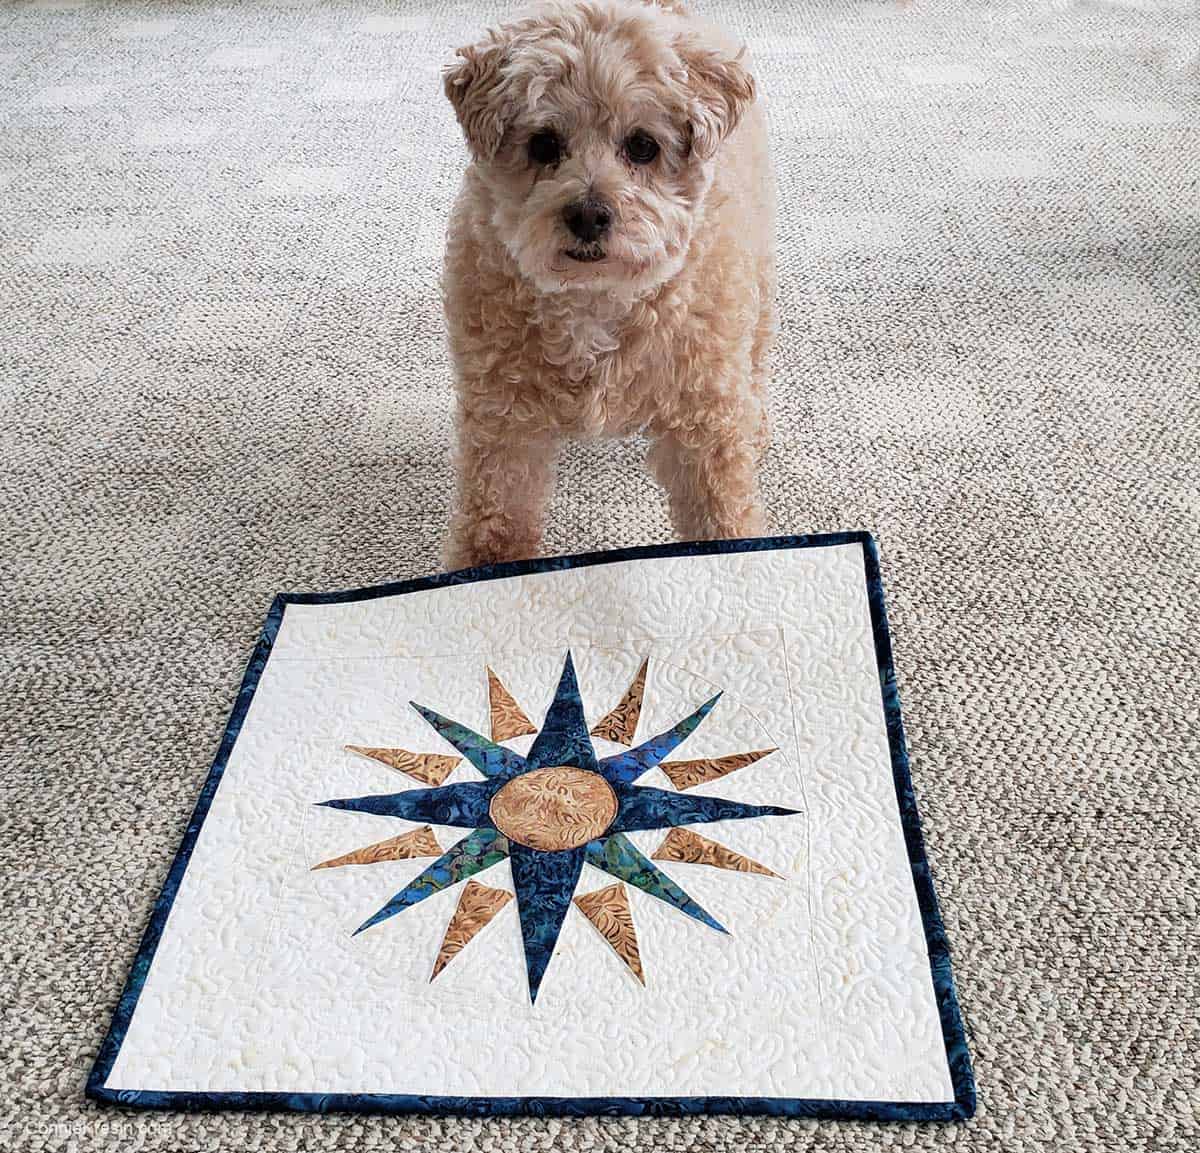
I took it outside so you could get a better look at it. I am still trying to get used to working with blue (teal is my favorite) since our kitchen has blue countertops.
I thought the contrast was good between the two blue batiks but the values were right. The smaller spokes should have been a lighter blue.

One Mariner’s Compass quilt block could also be made into a pillow.

Now I feel confident to remake the Mariner’s Compass block and create a table runner for our table. I think three blocks will do it and a smaller border between the blocks.
Deer in our yard
I took this photo last night of deer in our front yard. We had the electric company install a light on our pole as I love being able to see outside at night. There are five deer, can you see all of them? Look to the left in the evergreen tree, there is one there.

I hope you have enjoyed learning how I made my Mariner’s Compass table topper and I would love to see your quilt project made with the die.
Mariner’s Compass Die
The Mariner’s Compass die is large and uses a 10″ x 24″ cutting mat, if you don’t have that size mat already, this bundle includes it.
The die is compatible with the following Accuquilt cutters.
Great deals for you!
Looking for great buys on fabric and things? Check out these links
- Connecting Threads
- AccuQuilt Deals
- Fat Quarter Shop Daily Deals
- Green Fairy Quilts – Daily Deals
- Missouri Star Quilt Co – Daily Deals
- Scrapbooking
- The Quilt Keeper
- SewingMachinesPlus
- Electric Quilt
- My Amazon Store for all the quilting things I use and more

About Connie
Hi, I’m Connie Kresin Campbell, the quilter, writer, and photographer behind Freemotion By the River. I enjoy inspiring others with my quilt tutorials and patterns. You’ll also see my sweet adopted dogs from time to time.
Be sure and subscribe to my newsletter for more free tutorials and printables.
I soooooo love the compass block and want to make one. Thanks for sharing!
Thanks, it was fun to make.
I love the fabrics in your Mariners Compass. I am looking forward to making this.
I always read the comments as well and had to go back and count the deer! So wonderful! The compass is fabulous! Favorite block but have never tried. Thanks for the tutorial – maybe I’ll be able to step up to this. You made it look – if not easy – at least doable. Nice to see Mr. M as well. Thanks!
That is really beautiful and will make a fabulous runner. The colors are so pretty and I love how the quilting makes the star pop. That’s a lot of deer……and snow! Stay warm with the cold blast.
I actually spotted 6 deer. There is a larger one behind the pine and there is a small one in the front left. Plus the four to the right. We sometimes get deer in our yard too. Fun to see them!
Love your Mariners Compass project! Great colors. Thanks for sharing! Sad I don’t have I don’t have an Accu Quilt Cutter – any chance of getting the sizes for rotary cutting, Please?? Noticed there are five deer in your yard photo – counting the heads/ears, four grouped together to the right & one to the left in evergreen tree.
Hi Dixie, you have to have the Accuquilt die to make the quilt block this way otherwise you would have to paper piece it.
A truly amazing star! Lovely work.
Your compass block looks great, Connie! I’ve wanted to try one, but have been a little hesitant because of the curves. Your explanation is good. I might be able to do this! LOL Mr. Mickey looks so cute posing with your topper. We used to see a lot of deer roaming in our yard from the woods behind our house, but have only seen a couple this year. Your snow is beautiful. I hope we might get a little bit this year. Of course, our largest snow I remember was in March of ’93. So we still have some time! LOL