
AccuQuilt HST Pillow Tutorial
This post may contain affiliate links which won’t change your price but will share a commission.
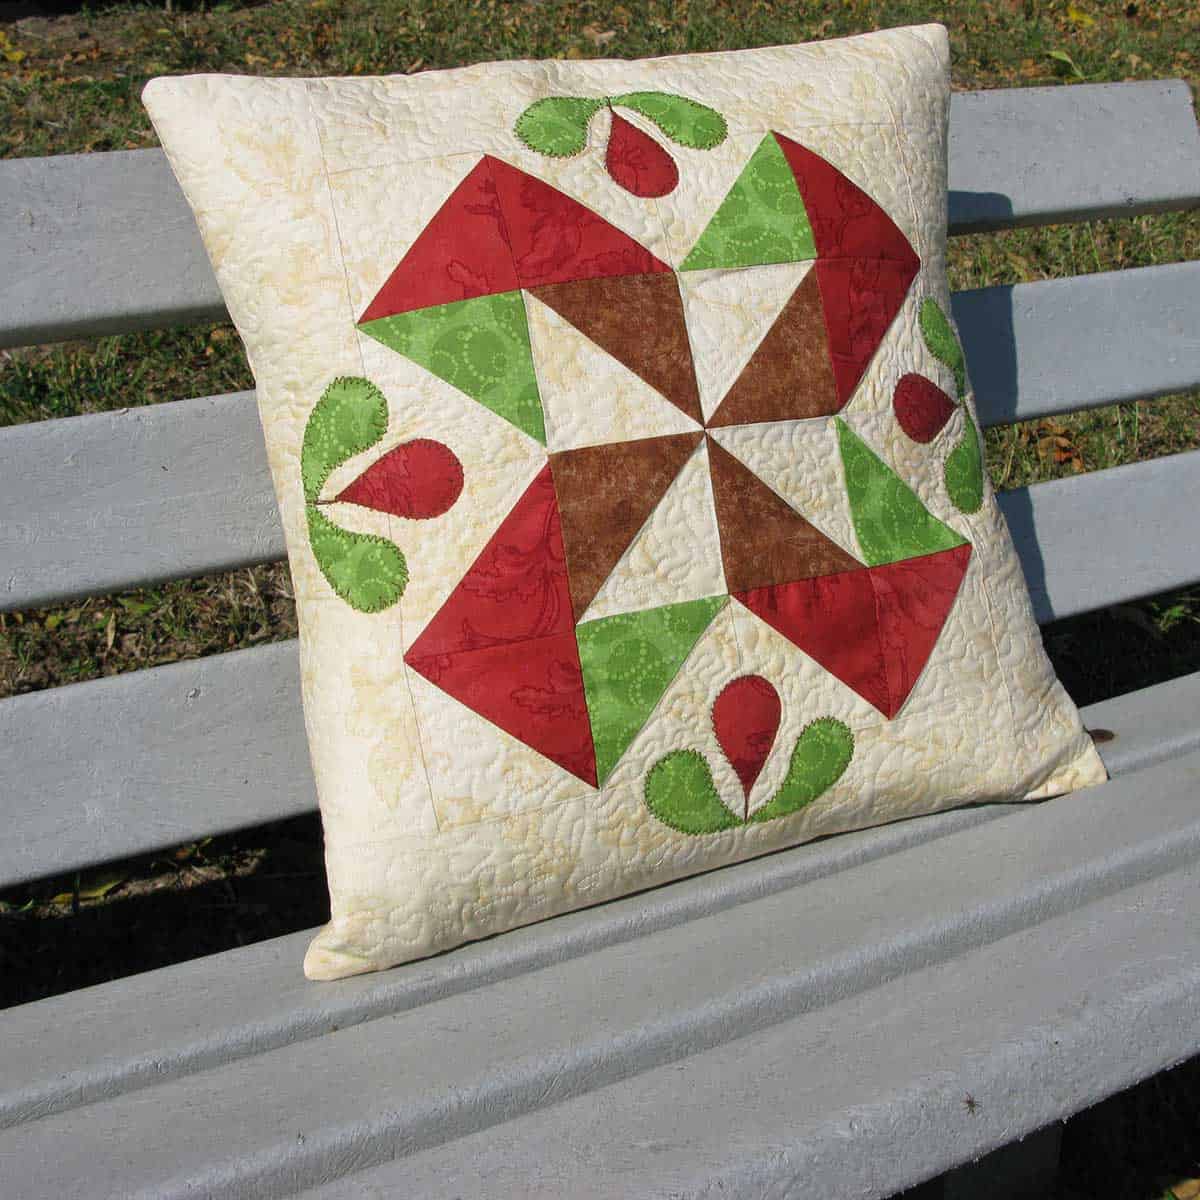
I always enjoy making a fast and easy design that can be used for a pillow. This would be the perfect gift and takes no time at all to make!
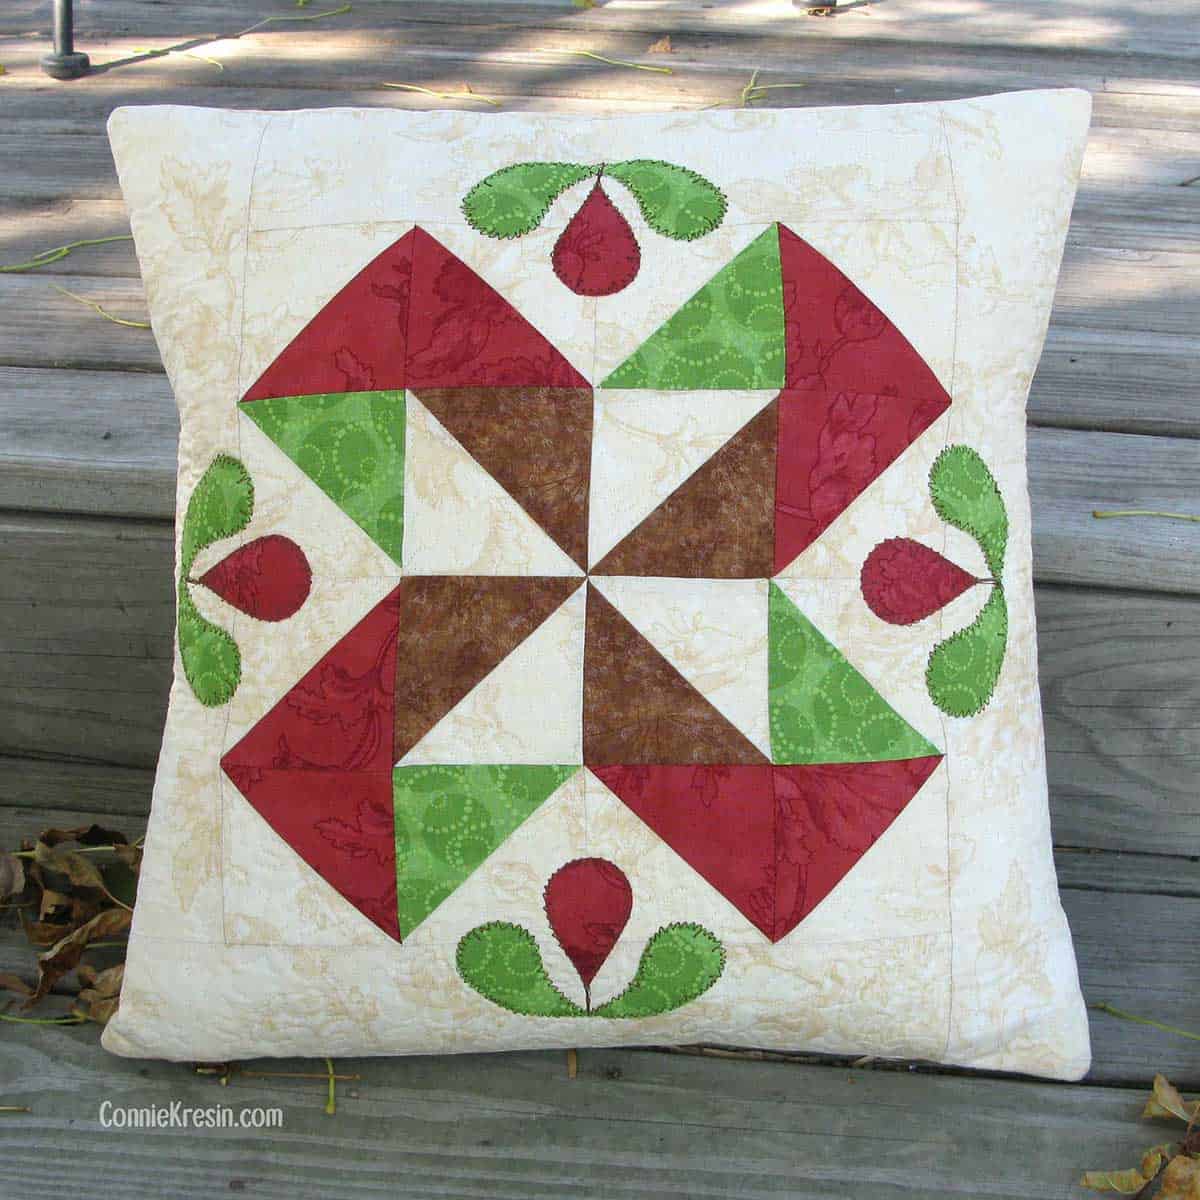
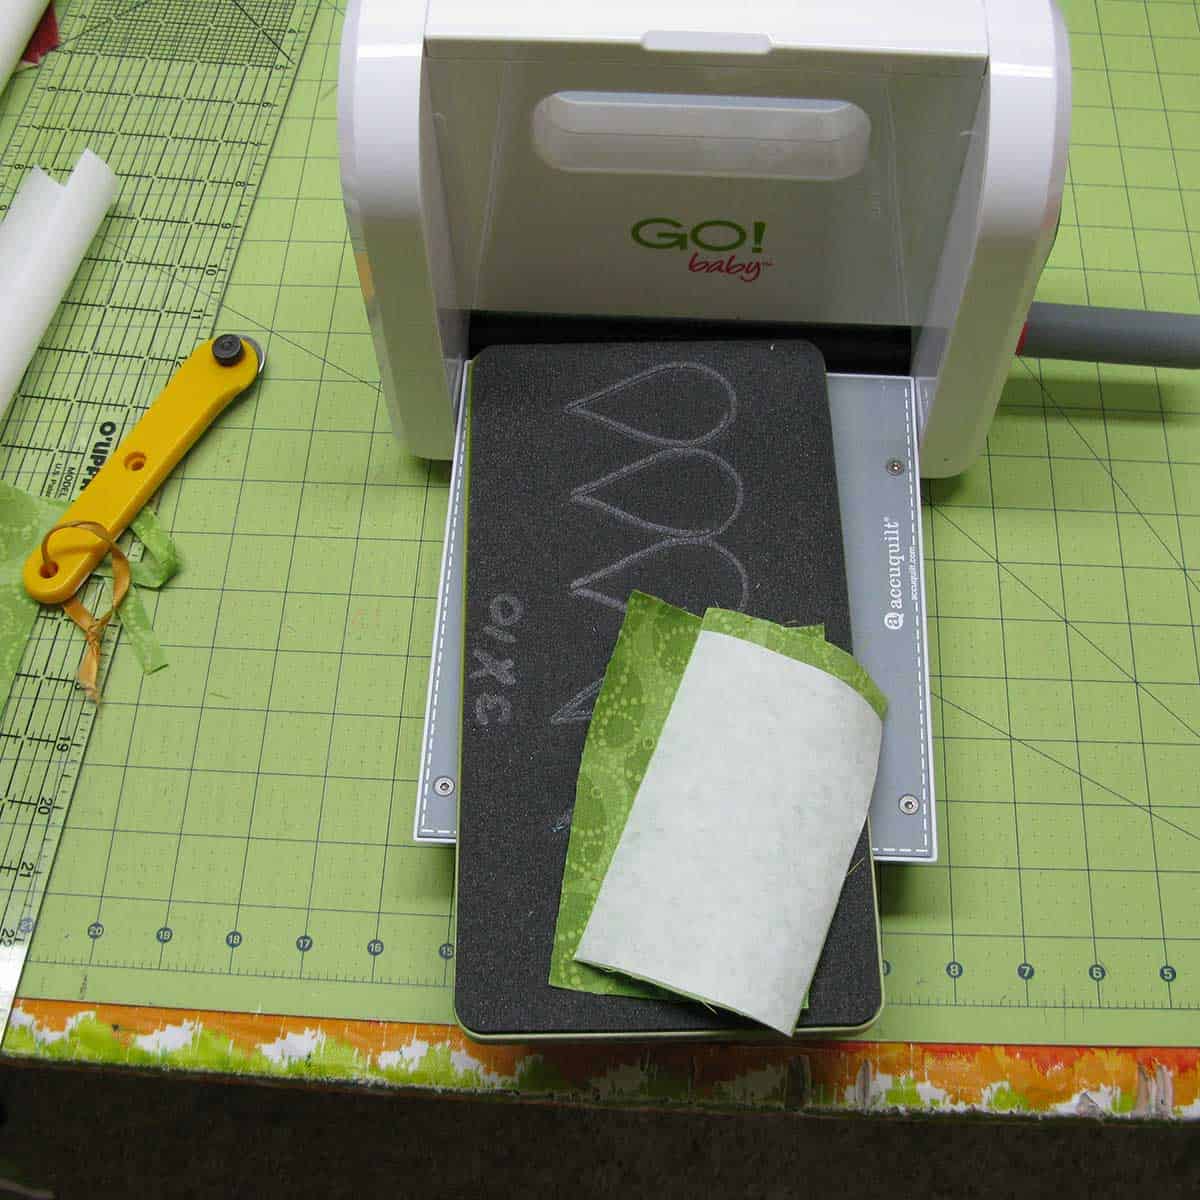
I made this pillow using my AccuQuilt GO Me, the 3″ finished Half Square Triangle die and the Feather die.

Take a look at the next photo to see how I lined up my fabric on the die. This is the right way to cut to get the correct grain.
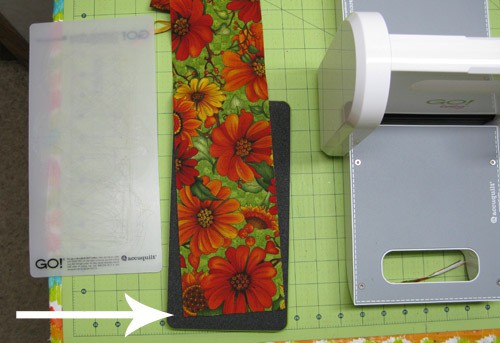
I cut strips of fabric about 4″ wide and you can see that there is very little waste.

I usually cut 4 layers at a time. I think the AccuQuilt GO! Baby 3″ finished Half Square Triangle die is my favorite one for basic quilting and was the first one I bought. The corners are dog-eared so it is fast and easy to match your seams.

I couldn’t believe how fast I could make the Half Square Triangles (HST). If you don’t have a GO! Baby you can make 3″ finished size HST’s using another method and still follow the tutorial.

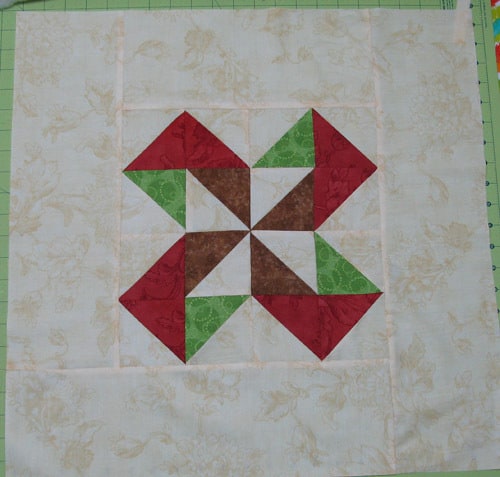
I made quite a few HST’s and changed my mind on what I was going to make so you will see a sunflower fabric instead of the rust print when I am showing how to put the block together. Don’t worry, I’ll have a couple more things to show you using the rest of the HST’s soon.
Now to make the 18″ pillow tutorial

If you would like to rotary cut your pieces, just cut 3 7/8″ squares and cut each one diagonally to get your HST pieces.
Make:
- 4 – brown/creme HST blocks
- 4 – green/creme HST blocks
- 8 – rust/creme HST blocks (photo shows the Sunflower print, sorry)
- Arrange the blocks as shown below

Sew the blocks together as shown. Making it in 4 sections works better for me instead of sewing long rows.

Now sew these 2 sections together.

Completed 12″ block in the correct colors.

Add a 3.5-inch strip to each side.
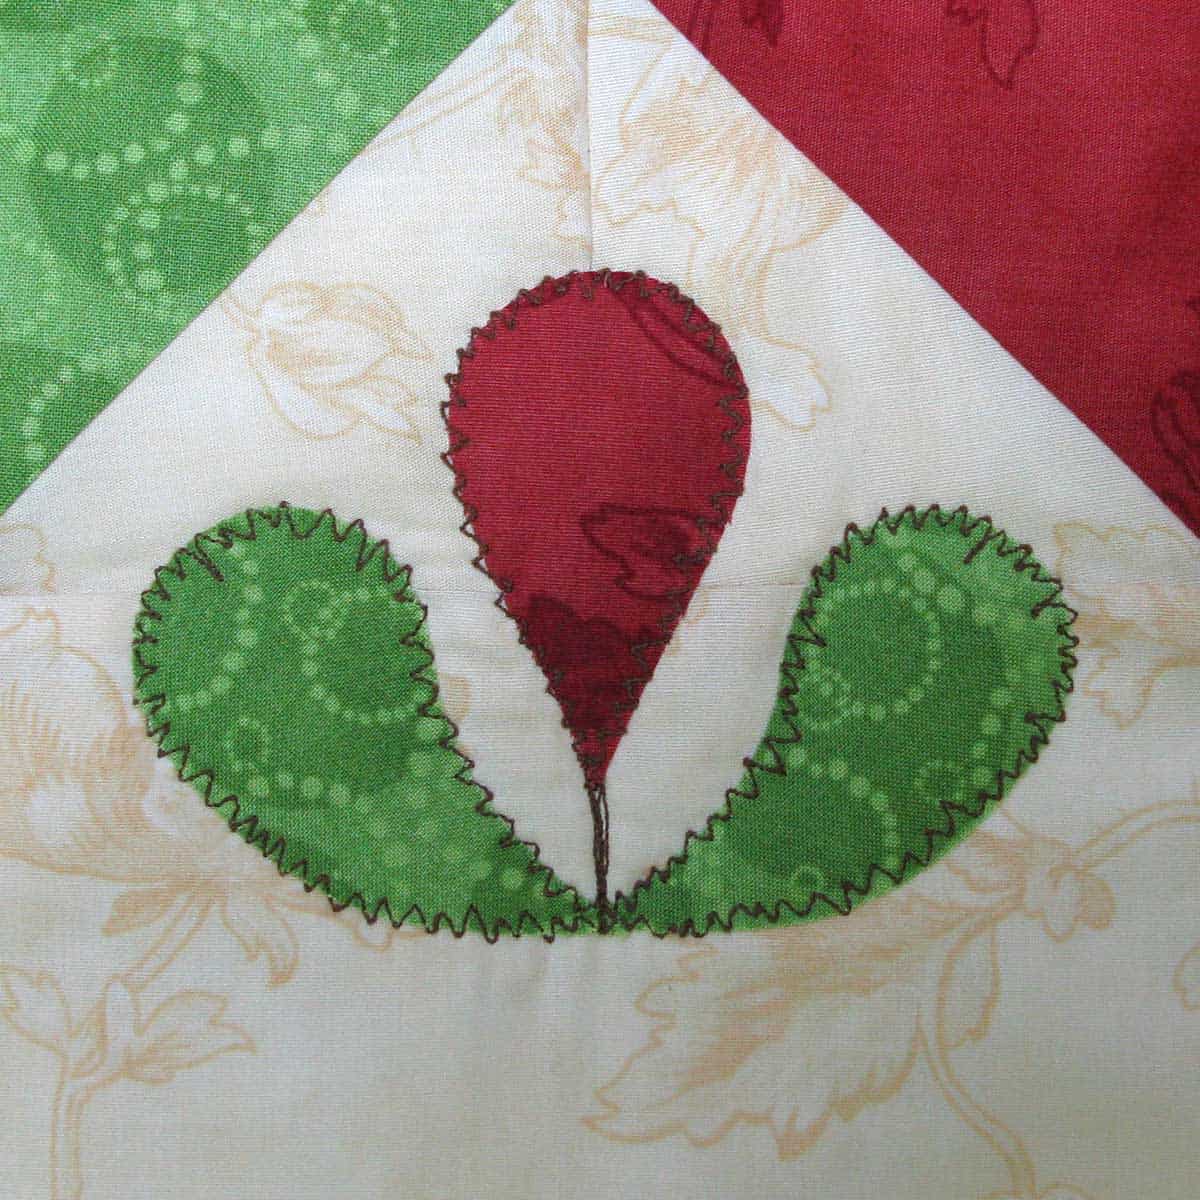
Now we’ll make the feathers.

I cut my fabric just a little bigger than the size of the curved feathers and then cut pieces of Heat & Bond Lite just a hair smaller. Then fuse the Heat & Bond Lite to the wrong side of the fabric.
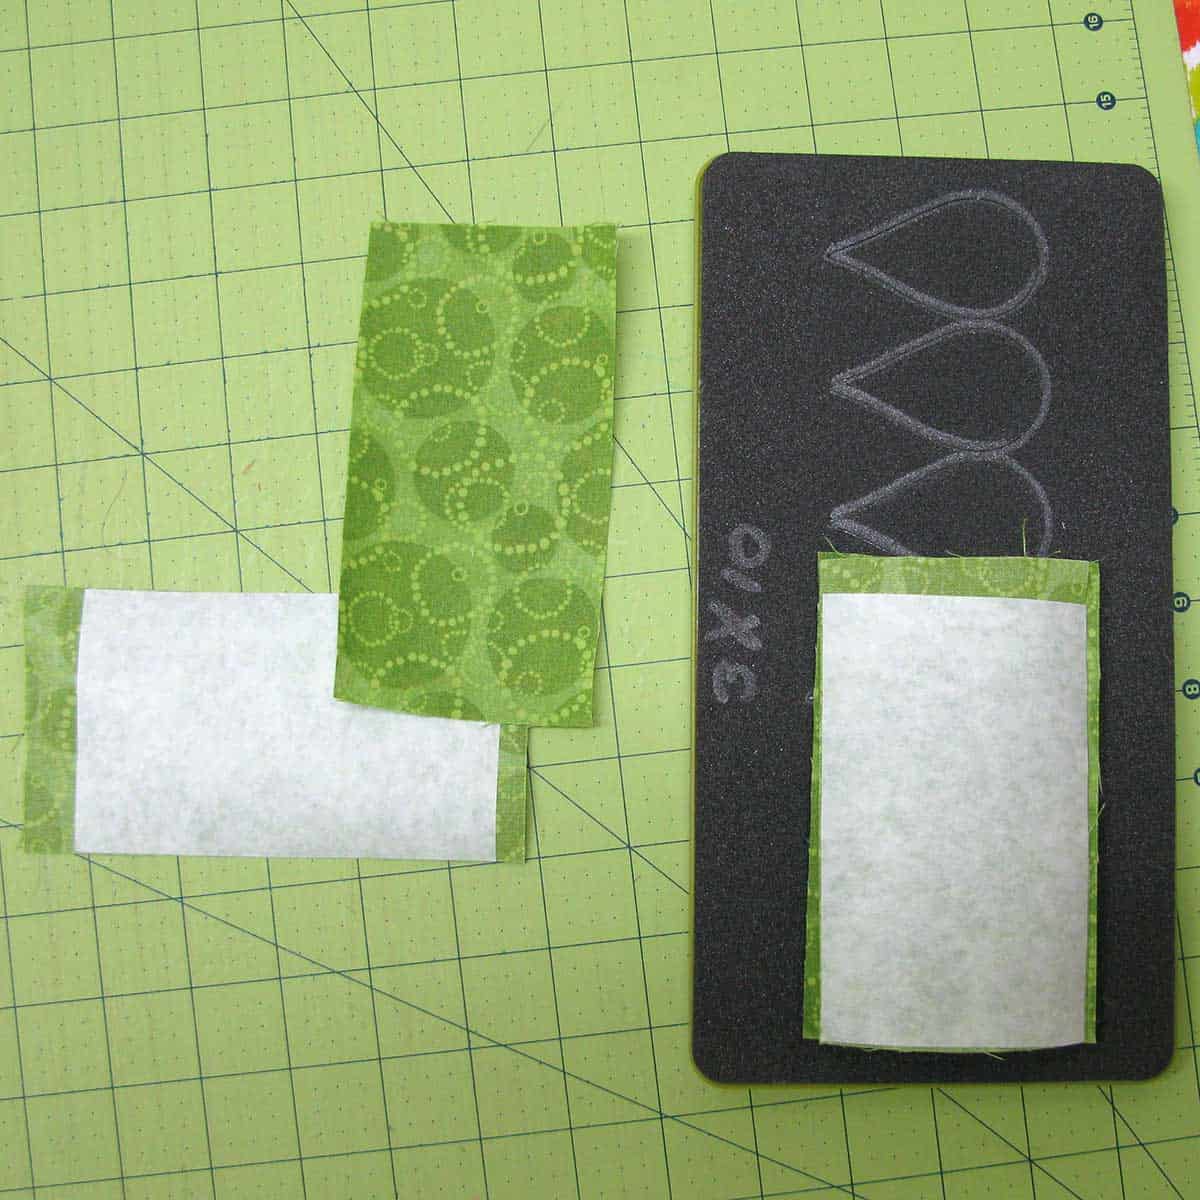
I want feathers curving in two different directions so I lay one piece of fabric on the die with the Heat & Bond Lite side down and the next fabric piece with the Heat & Bond Lite facing up. Follow the directions on the package for the heating time.
You will need a total of 8 curved feathers with 4 being reversed. It is easier to cut your fabric to fit 3 feathers and have the leftovers for something else.
Again you see very little wasted fabric.

Next, do the same thing and cut 2 strips of the straight feathers. You will only use 4.

Remove the paper backing and fuse your pieces to the pillow top. I overlapped the green feathers just a little.

Now cut a piece of batting and inside backing a little bigger than your block.
NOTE: I am using an old sheet that I pieced for my backing as it will be inside the pillow and not seen. I like a backing because I wash my pillow covers and don’t want to worry about the batting. Save your matching fabric for the actual back of your pillow.
This pillow was made using my 15-91 Singer sewing machine which is 70 years old and only has a straight stitch.
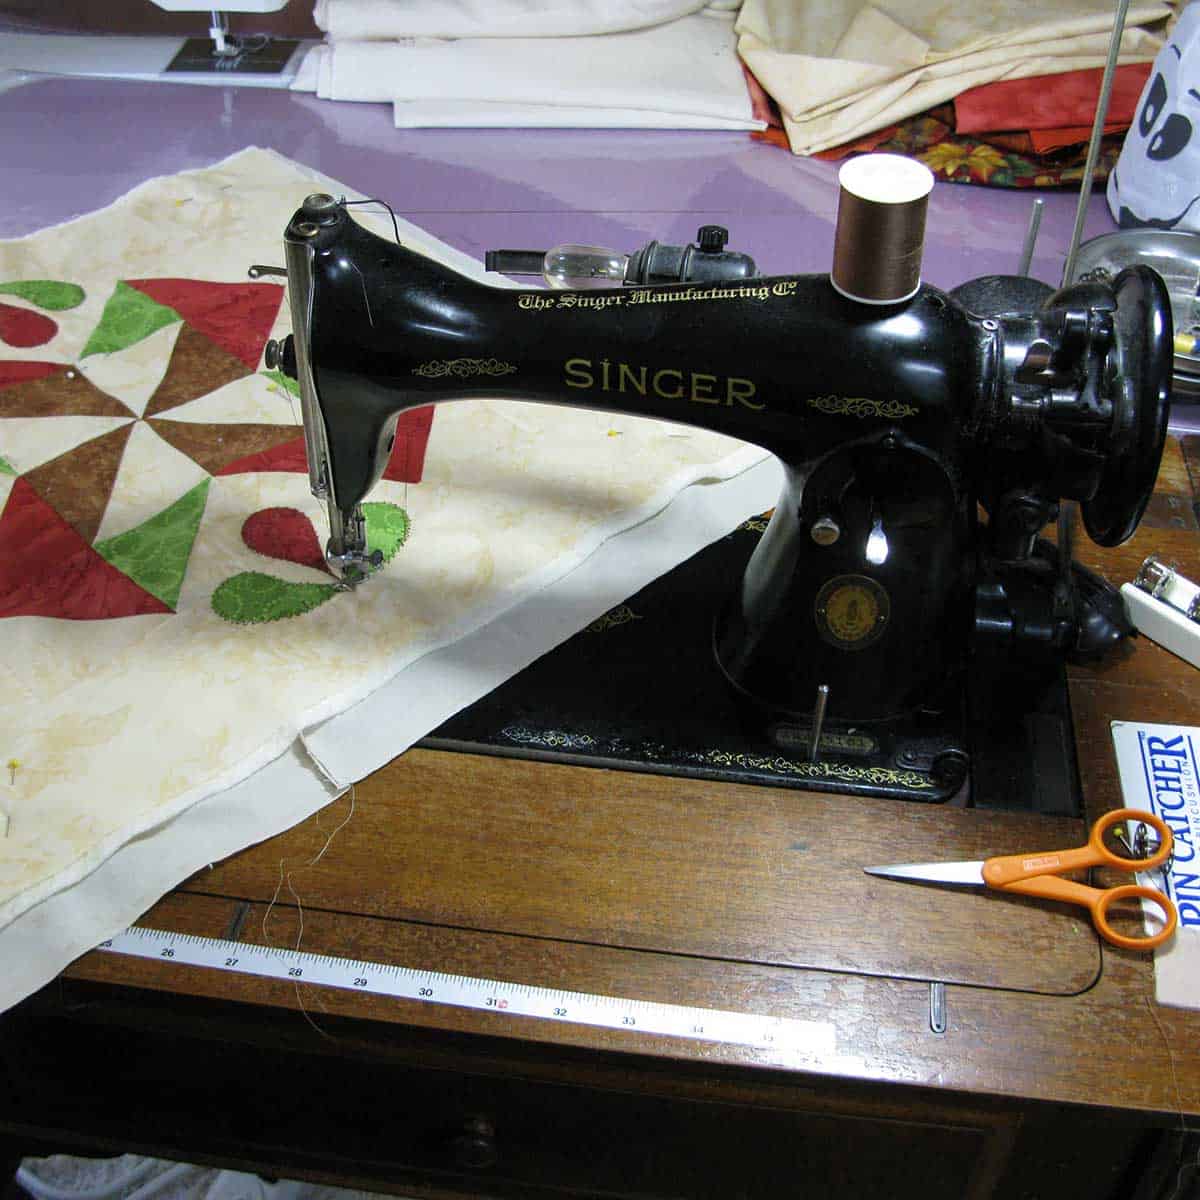
I did a free-motion applique but you can applique your preferred way. I used a dark brown thread to accent the feather pieces.
Next I switched to an ecru thread and stipple quilted my background.

Trim your pillow to a 19-inch square. Then cut 2 pieces of fabric for the pillow back.
- 1 piece 13 x 19
- 1 piece 11 x 19
- Take each piece and fold one 19 inch side over 1/4″, press and fold over 1/4″ again.
- Topstitch
- Have a supervisor make sure you do the next step correctly. Simon loves this job!

Have your pillow top lying face up and then lay the 11 x 19 piece face down on your pillow front.
Next put the 13 x 19-inch piece face down on top of the 11 x 19-inch piece. Pin and stitch a 1/2 inch seam around the pillow. Remove pins, trim the corners and turn right side out.
Great deals for you!
Looking for great buys on fabric and things? Check out these links
- Connecting Threads
- AccuQuilt Deals
- Fat Quarter Shop Daily Deals
- Green Fairy Quilts – Daily Deals
- Missouri Star Quilt Co – Daily Deals
- Scrapbooking
- The Quilt Keeper
- SewingMachinesPlus
- Electric Quilt
- My Amazon Store for all the quilting things I use and more

About Connie
Hi, I’m Connie Kresin Campbell, the quilter, writer, and photographer behind Freemotion By the River. I enjoy inspiring others with my quilt tutorials and patterns. You’ll also see my sweet adopted dogs from time to time.
Be sure and subscribe to my newsletter for more free tutorials and printables.
Lovely pictures of the yard! Inspirational all the work you get done! This pillow looks like my next project! Add to the list! Really need to get your truck pattern started as well to have it done for Christmas. And my niece announced she is expecting and her brother is getting engaged! So an Eye Spy for her and a neck tie quilt for him. He carries the family name, gramps, then his dad then him so he got all the ties. Plus I collected some from other uncles & cousins. Wish me luck! Thanks!
I love that pillow. Also that is the block pattern I was looking for to make the quilt you showed in one of the earlier posts.
Today we have a high heat index warning, so I’m staying indoors as I have asthma. I’ll be working in the basement on my longarm on a large quilt that has been hanging in the closet for over a year. I figured it’s about time I got it quilted.
Simon is the best kind of supervisor you can have, they don’t get mad if you make a mistake. I have 3 supervisors, Happy, Sparky and Pancake, lucky it is using just one at a time. Have a good day.
Great pillow to make, and an awesome tutorial, love your stiches in your singer!!
thanks for sharing
Wow. What a beautiful pillow and awesome tutorial. Thank you so much.
so super cute
Beautiful pillow and great tutorial. I may need one of those pillows to go with my Christmas quilt.
luv luv it, i don't have an accuquilt I have a cuttlebug will try it.
I would love to have you join us at our linking party this week at
http://www.passionatelyartistic.com/2011/10/celebrating-fall-with-linking-party.html
Have a great week,
Maggie
http://passionatelyartistic.com
Wonderful!
what beautiful work you have done here! Popping over to say HELLO from Blogtoberfest.
Hmmm…I think I may need a Go! LOL! Cute pillow and nicely down on the tutorial! 🙂
Sweet pillow. Thanks for the tutorial.
What a wonderful pillow! An excellent tutorial, too.Thanks for sharing your pillow on Applique Thursdays.
Great pillow and great tutorial! Thanks for sharing. The Go sure looks like it makes things a lot easier!
Great pillow and fabulous tutorial!
I don't have that HST die yet but see it in my near future. ;o)
I love my Go! It makes cutting fun. Esp when I have helpers. :o)
Conni, I really like this pattern. It seems simple enough. I will keep this pattern in mind also. Once again you have made something so beautiful.
Have a great day!
How was the ghost hunt?
Della
What a great pillow design! I'd not wanted the feather die until I saw this…now I might have to get it!
So beautiful. Have to try the feathers free hand, since I dont have a GO Cutter, yet. lol Thanks for the tut.
Beautiful pillow! Thanks for the wonderful tutorial. You make everything look so easy 🙂
This is another great project and tutorial. I don't have the Go! baby, but do have the Sizzix big shot. Do you find you favor one over the other?
This is a very good tutorial, thank you! I am hoping Santa will bring me an Accuquilter this Christmas, either Baby Go or the big one, so I am looking at all of the posts using them. I am pretty excited with anticipation!
Hi, Connie,
Wow, that machine really makes things go fast, doesn't it? I guess you really like it, as opposed to hand cutting and piecing?
I like little lap projects so I do a lot of hand work but I like that cutter!
The pillow is very pretty, the colors are very good together and the design is really nice.
It's really nice that you give us the tutorials for your project. My sister said that your leaf candle mat that I had on my blog post is really pretty. She ooh-d and ahh-d!
Warm Regards,
Susan
Precious pillow, Connie!! Something about that Go! that gets the creative juices flowing!!
cute cushion Connie – love the design and the colours!
Lovely pillow! and a great tutorial to show how it's made! Love the picture of your sewing machine too! Very cool!
Thanks for linking to a Round Tuit!
Hope you have a great week!
Jill @ Creating my way to Success
http://www.jembellish.blogspot.com/