
Fast and Easy Table Runner tutorial
This post may contain affiliate links which won’t change your price but will share a commission.
Looking for a fast and easy table runner tutorial? You’ll be able to make this up in no time and it is the perfect quilt project to try out some simple free motion quilting.
Fast and Easy Table Runner tutorial
12″ x 28″
If you are like me, you may have a few quilt fabric charm packs or mini charm packs in your stash and have been wondering what to make with them.
One of my favorite things to make is a table runner. These can be made any size you like depending on where you’ll use it. This makes a great last-minute gift or a fast and easy quilt project.
I used a little pack of Luna Notte by 3Sisters for Moda. It has 40 pieces of 2½ x 5-inch fabric, I don’t believe you can buy this size anymore but you can use two mini charm packs or one regular charm pack. You could also cut 2½ inch squares of scrap fabrics.

Fabric requirements:
- 80 – 2½ inch squares
- batting – 14″ x 32″
- backing – 14″ x 32″
- 2 – 2½” strips the width of fabric for binding
Use a ¼” seam allowance
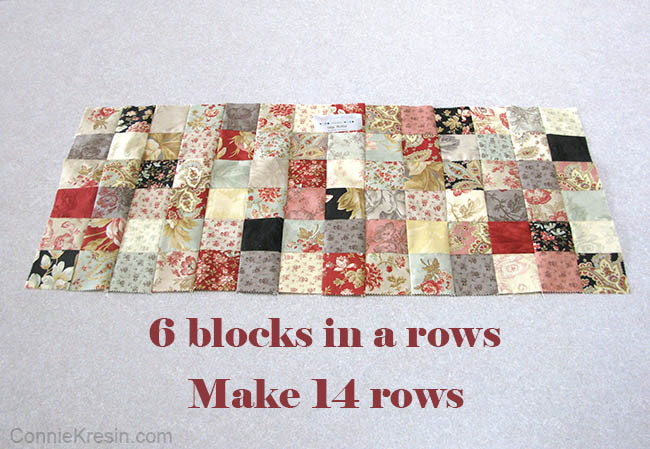
- Randomly piece the squares together
- You can sew rows of 6 squares first
- Make 14 rows
Then I just randomly picked the pieces and sewed them together. This piece is 6 x 14 blocks and used every single one of them.
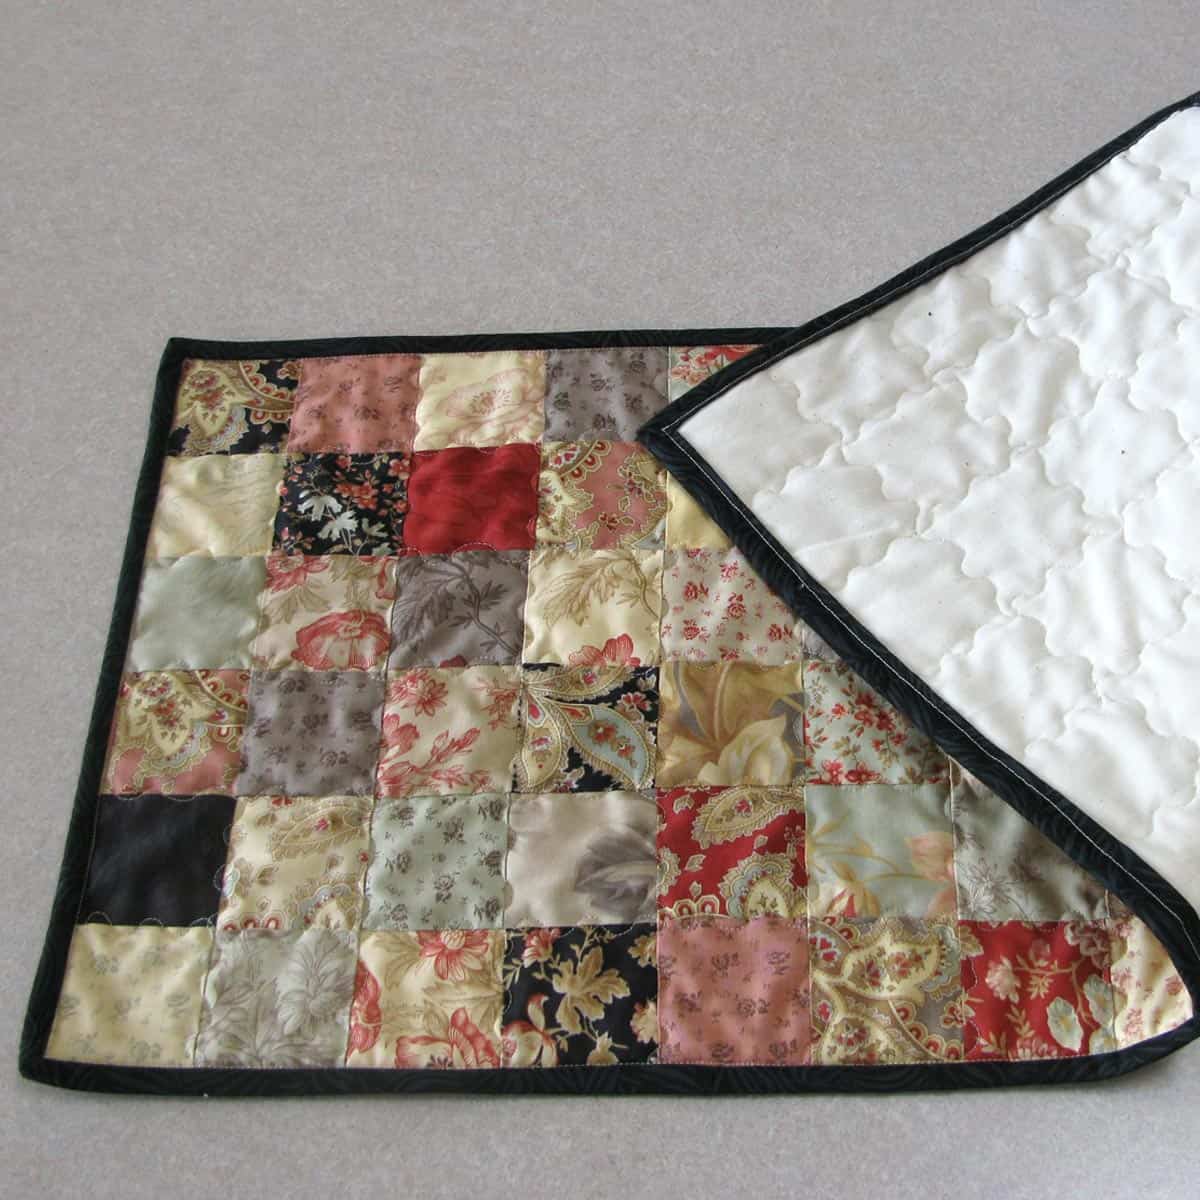
Place your backing and batting under the table runner and quilt as desired. I am using my vintage 15-91 Singer sewing machine which only does a straight stitch.
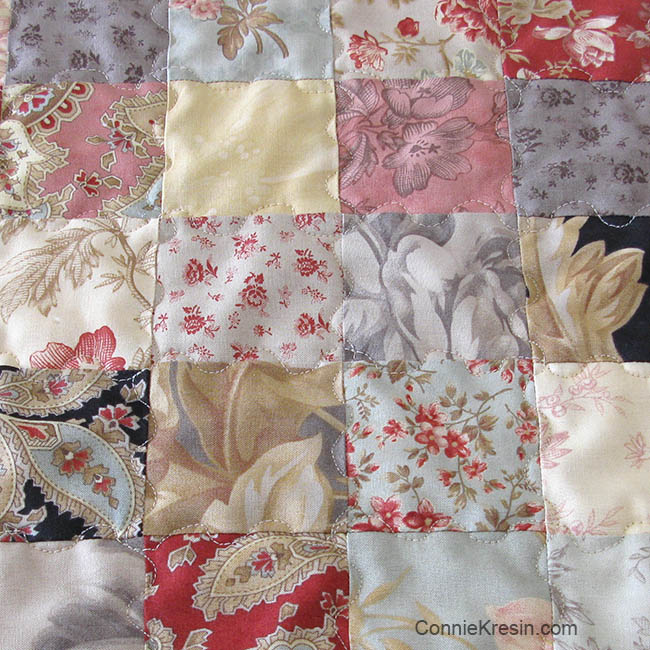
I did a little free-motion serpentine type of quilting along all of the rows. If you looked closely at the quilting you would see that it isn’t perfectly spaced but it works great for me.
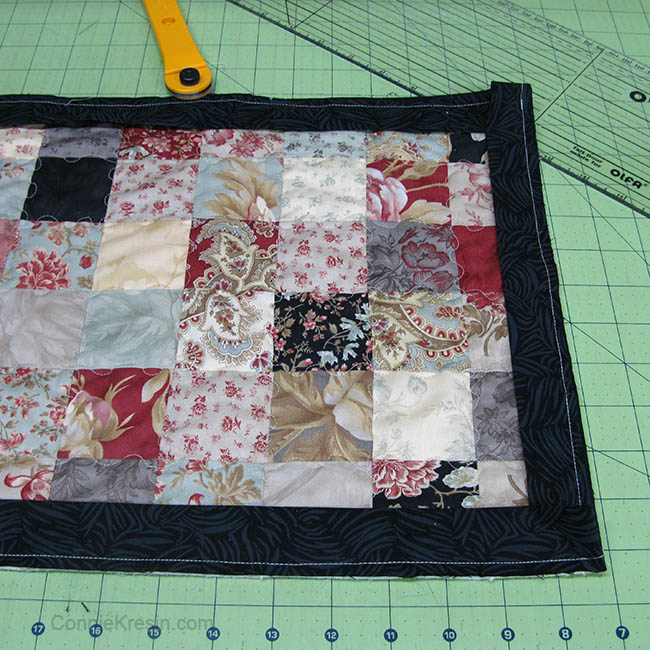
I had a black fabric in my stash that worked for the binding.
I cut two widths of 2½ inch strips and sewed my binding onto the top of my runner. Then I fold over and stitch in the ditch on top using my machine quilt binding tutorial.
The next photo gives you a better idea of what the quilting I did look like. You’ll see me use this style of free motion quilting a lot.
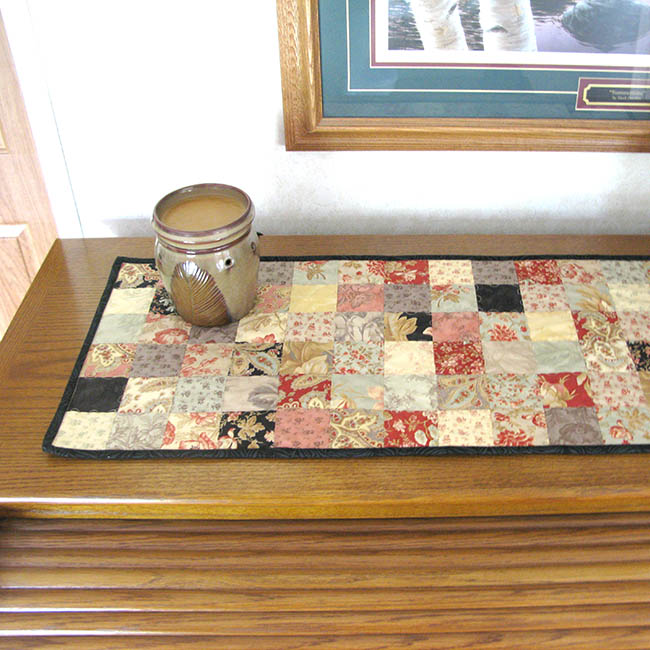
The finished size of this fast and easy table runner is 12 x 28 inches. I like small table runners. If you used a regular charm pack you could make, one to keep and one to give as a gift!

I think the table runner looks perfect on my great-grandmother’s trunk that she brought over from Norway.

I was planning on taking the table runner outside today but the wind is blowing so hard that it would end up in the next county…..or if it went towards the river in another state!
Posts you might have missed:
- Honky Tonk Table Runner
- Rainbow Teal Block
- Hidden Well quilt block tutorial
- Bulls Eye quilt block tutorial
- Summer batik table runner
Please note that this post contains affiliate links, which means I’ll earn a small commission if you purchase through my link at no extra cost to you. Please see the full disclosure here. As an Amazon Associate, I earn from qualifying purchases.
Great deals for you!
Looking for great buys on fabric and things? Check out these links
- Connecting Threads
- AccuQuilt Deals
- Fat Quarter Shop Daily Deals
- Green Fairy Quilts – Daily Deals
- Missouri Star Quilt Co – Daily Deals
- Scrapbooking
- The Quilt Keeper
- SewingMachinesPlus
- Electric Quilt
- My Amazon Store for all the quilting things I use and more

About Connie
Hi, I’m Connie Kresin Campbell, the quilter, writer, and photographer behind Freemotion By the River. I enjoy inspiring others with my quilt tutorials and patterns. You’ll also see my sweet adopted dogs from time to time.
Be sure and subscribe to my newsletter for more free tutorials and printables.
Yes Connie that is the one. Thank you so much for finding it.
Enjoy your little fur babies!!
Love this table runner. And I love the quilting!!
Great minds…
I just did a quickie with another 3 Sisters line. Stop over and see it! I used insul-brite & made it more of a place mat size.
Yours is great…just wish I had more of their fabric!
I really like the quilting lines. It looks really pretty.
Love how that looks on the trunk! Gorgeous fabrics!
Your little table runner is just what I have been looking for. Just the "kick start" I needed. I am going to use more nuetral muted squares and them applique some funky posies to sort of match a wall hanging I made from a kit. That's my plan, will let you know.
That came out lovely. I'm a sucker for Moda packs! I may just have to put this one on my wish list!
Love the colors, especially on the hope chest. Lovely as always Connie 🙂
Cute – and I like the quilting!
Such a cute table runner. Thank you for reminding me that sometimes, something as simple as sewing squares together can give stunning results!
Thanks for a great idea to use some of my Luna Notte scraps.
thankyou i love this simple pattern.xx
Really enjoyed the tutorial. The quilting you did is perfect for the runner. Thanks for sharing.
Beautiful Connie. I love how you quilted it too.
Super cute table runner and perfect for a gift. Thanks for sharing!
Love the fabrics in your little table runner. Very pretty
sweet little table runner Connie. I need to make one just like that.
Love the quilting you did on that! Darling!
Love the fabric and your quilting on this cute runner Connie! TFS
~Terry~
Lovely fabrics. It's simple, but beautiful.
Love your runner and the tutorial looks great. I know your river is pretty beautiful as a setting for your projects, but that chest is pretty wonderful too!
Nice project, Connie. I especially love the quilting pattern you did. Super!
Great tutorial. Another good way to use up scraps, too!
Love the table runner and the quilting stitch you used. I think my machine might have that.
lovely work!