
Alcohol Ink On Tiles Tutorial
This post may contain affiliate links which won’t change your price but will share a commission.I worked played with alcohol ink on ceramic tiles last weekend and I thought I would share a blog tutorial based on what I learned from the videos about alcohol ink that I watched on YouTube.

I decided to “play” a little after watching a couple of YouTube videos on creating art with alcohol ink tiles on ceramic tiles. You can learn so much from all of the videos and……spend a lot of time there.
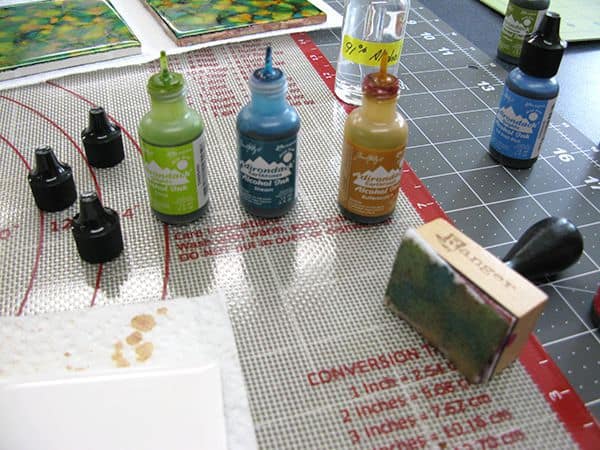
I used Alcohol inks and a YouTube tutorial from Joggles.com. It is an excellent video and I am just sharing a small part of it. You will also want an ink applicator like the Ranger one I used for dabbing on the alcohol ink. There is Velcro on it and I cut felt to the size when I need a new one.
I picked up a few 4 x 4 tiles from Menards and yesterday I went back and bought some more as they were on sale for only 10 cents, normally they are 16 cents.
I also stopped at Walmart and bought some 91% alcohol as I only had 70% and the video said to use 91% alcohol. So far I haven’t noticed a difference in the alcohol. I googled it and the higher the number means that there is more alcohol and less water which means it dries faster.
Important Steps
- You will want to wipe off your tile with the alcohol to clean any finger prints and dirt from the tile.
- Cover your table top, wear old clothes……the alcohol inks are permanent on porous surfaces.
- I also filled a mister with alcohol but I have read that you shouldn’t do this because the alcohol will be air-borne. I was very careful.

Next
- Choose several colors of the alcohol ink and hold the tip for 2 seconds on your ink applicator. Just make several dots on it.
- Start dabbing or pouncing on the tile.
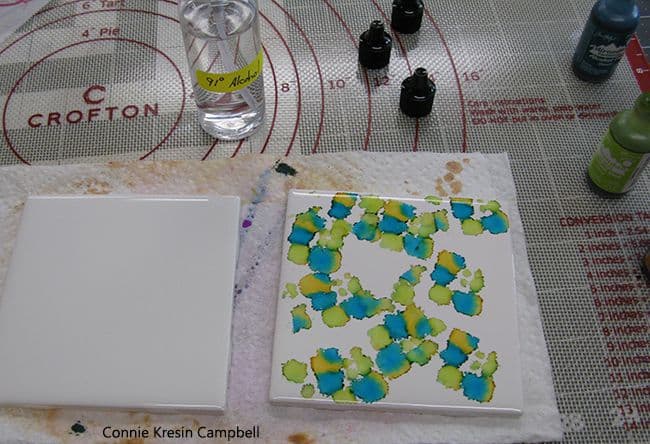
- The alcohol ink will start spreading.
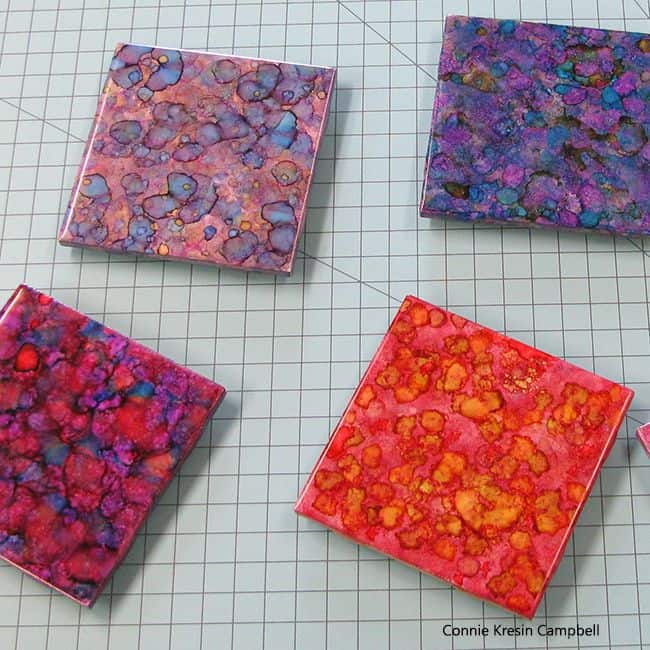
- Continue dabbing until you like the look.

- I also like to dab along the sides of the tile.

- Let it dry a little and then add other colors if you like.
- Notice the ink applicator in the photo – you can see the dots I dabbed on.
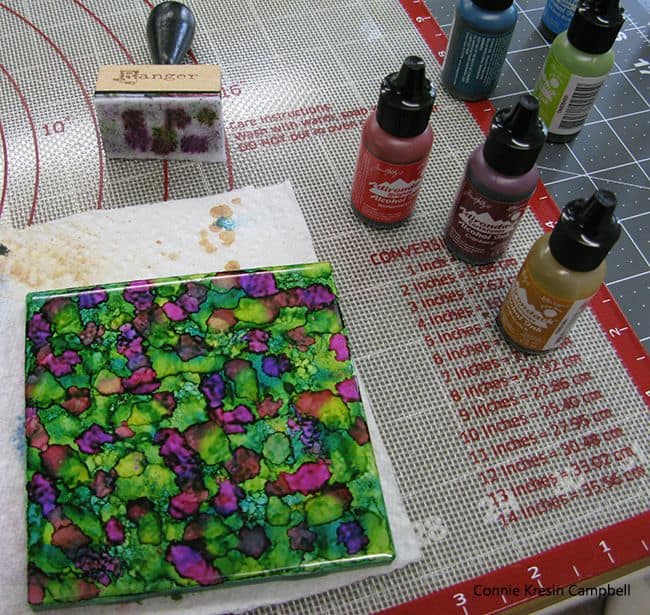
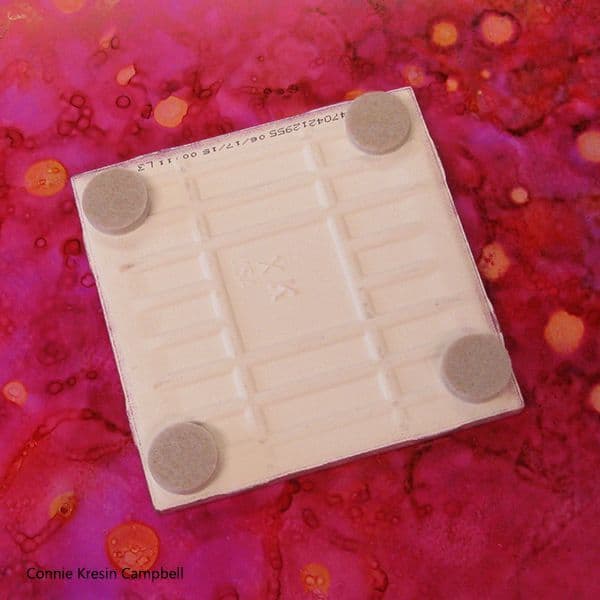
Carefully set your tiles aside and let them dry. I had some chair pad protectors that I thought I could use for the bottom of the tiles but they are too thick. I am going to use cork or felt……I forgot to buy some yesterday.
It sounds like the best sealer for the alcohol ink tiles is Krylon Kamar Varnish. I tried to find it locally – no one carried it so I have ordered it from Amazon and it should be here by the end of the week. I’ll update this post when I put the varnish on my titles.
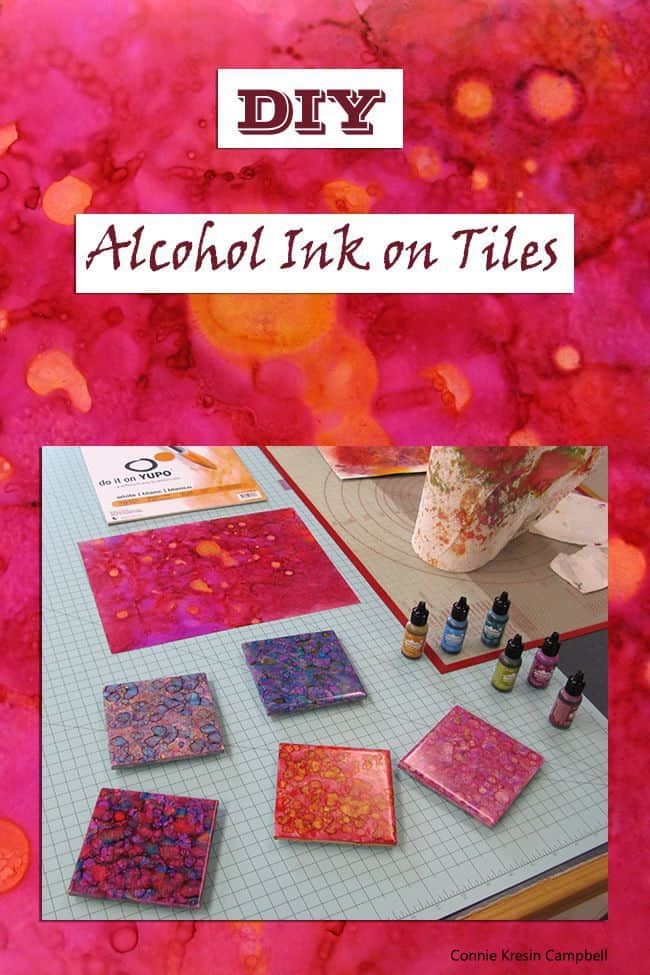
Did you notice the beautiful red background in my first picture? This is alcohol ink on Yupo paper. Yupo paper is actually a non-absorbent synthetic paper. Supposedly you can’t rip it…..I haven’t tried.
Right now the tiles and also the Yupo paper design are NOT permanent as I worked on a non-porous surface. I could just wipe off the design with alcohol if I didn’t like it. I actually did that several times at first.
I have also used alcohol ink on fabric and watercolor paper and THAT is permanent!
Have you worked with alcohol ink? I have used Sharpies on fabric and then did some freemotion quilting. I also did something with my granddaughters on shirts but….I can’t find that post. If I do I will link it here. I recently bought tennis shoes and some cute white tops for them and the next time they come over….we’ll be playing!
Be sure and PIN this post in case you want to try this technique in the future.
Great deals for you!
Looking for great buys on fabric and things? Check out these links


How do you ever find time to do crafts when you are also making so many beautiful quilts? Question – after making these tiles whether permanent or not – what do you use the for??
Connie ~ These are awesome! They’d be beautiful to use as the backsplash in a kitchen if they were sealed well enough. Or even behind your little counter in your new quilt/sewing room where your coffee pot is. Wouldn’t that be pretty?
Interesting! I really like your tiles and red paper. You’ve created gorgeous designs on them and you’ve mixed the colors beautifully. ?
Pinned
The tiles look fabulous, Connie! I also love the one you did on Yupo paper. Beautiful colours. Thank you so much for the tutorial.
-Soma
They look like beautiful batik fabric tiles. You always try the coolest things Connie!
What fun. I bought a ton of those inks a few years back when I was doing polymer clay. Never opened any of them yet. Now I might have a reason to! 🙂
Those look great. I may have to give that a try too. You are an instigator!!
Amazing! Can’t wait to try this. Thank you!
Wow those tiles are sooo pretty! You are going to use them as coasters? Hmmm I need to find a way to get more time in a day, LOL
Lovely gorgeous colors you have achieved on the ceramic tiles. How fun it will be to. Decorate tennis shoes and shirts. Your girls will triple the fun.
I probably could Google this question, but, does one work in a well ventilated area with alcohol?
Hi Nancy, I would say you should work in a well ventilated room. My room is large so I don’t really worry about it but I will go outside when I varnish them.
The tiles are really pretty but I can see the possibilities for fabric would be terrific. Love the idea of tennis shoes.
Those are beautiful Connie! i bought a small set of I think 3 alcohol inks an still haven’t tried using them yet. I think that was 3 years ago! you have inspired me to try them. I ran across DIY alochol ink tutorials on Pinterest too, so if I get hooked, I will try making my own so they are cheaper.
Very pretty and such an interesting technique. I haven’t tried this at all but am sure tempted after seeing that it wasn’t too complicated.
Very, very cool.