
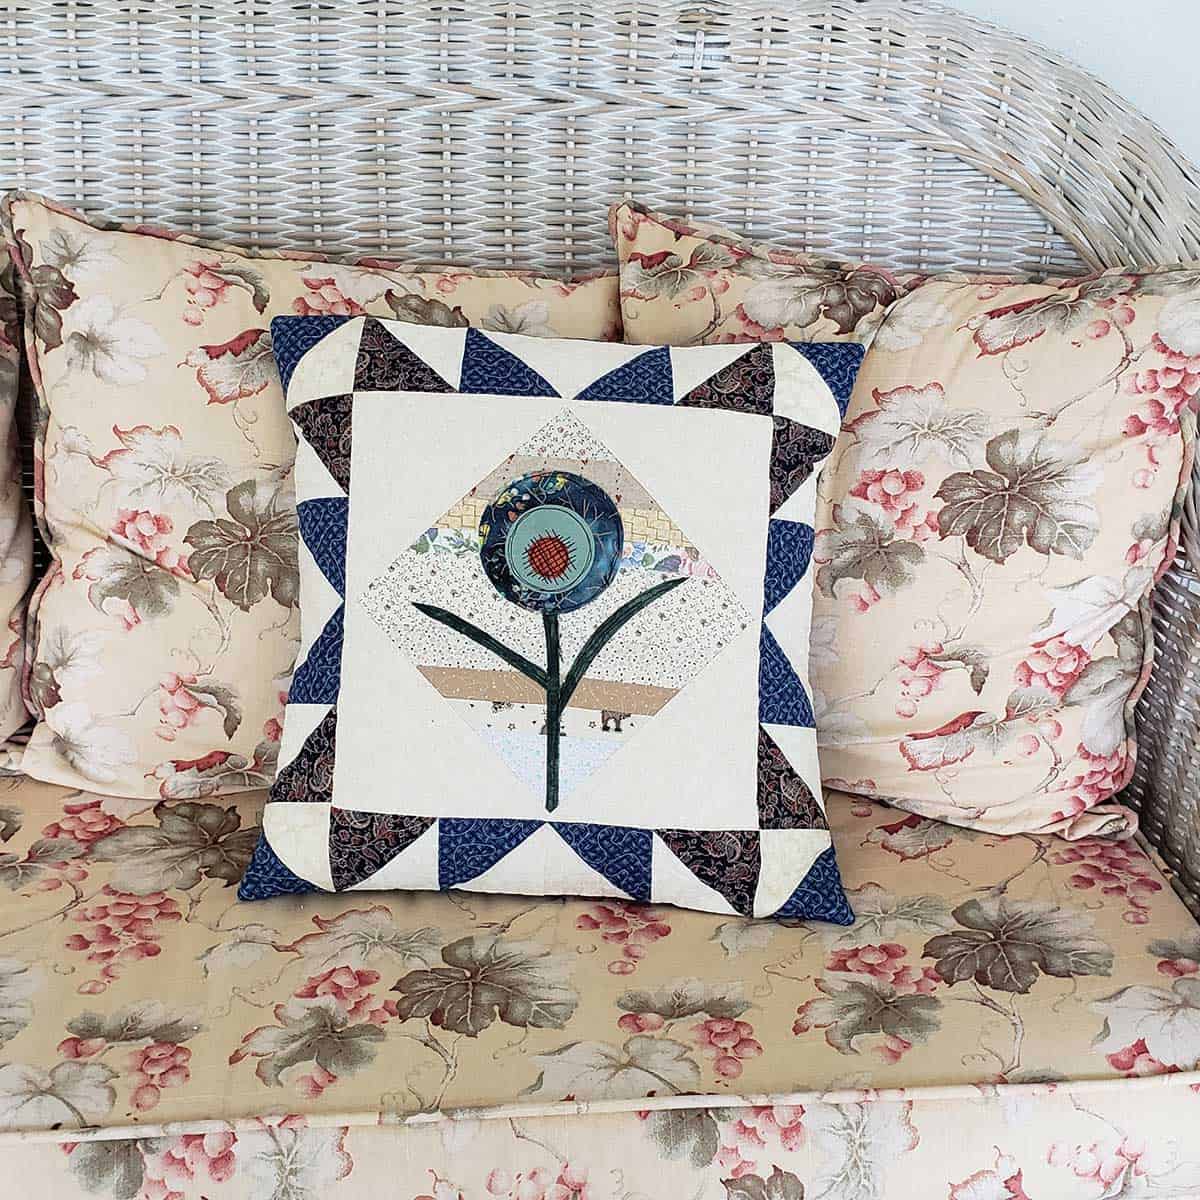
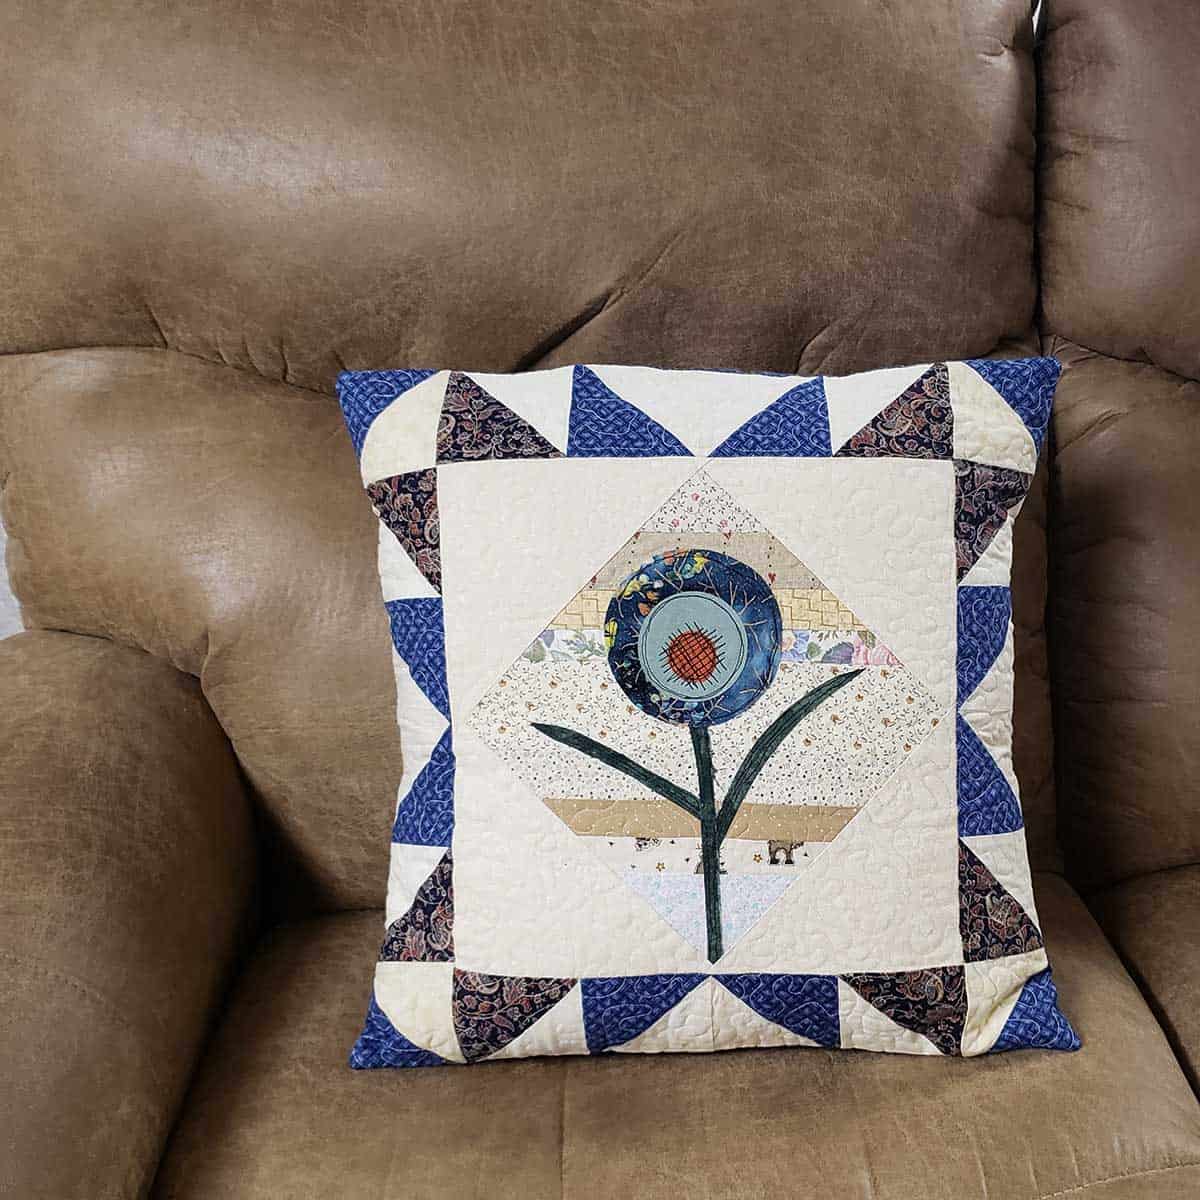
18 inch Applique Flower Pillow
This post may contain affiliate links which won’t change your price but will share a commission.Pillows will always be one of my favorite things to make and they are a great quilt project for a gift or when you want to try out a new quilt block.
I like to cut up some of my scraps into strips that range anywhere from 1-inch to 2-inches for background blocks like this.
Fabric needed
- cream scraps for the string block
- 3/4 yard dark blue for half-square triangles, large flower and pillow backing
- 1/8 yard another blue for half-square triangles and middle flower section
- 1/2 yard cream for half-square triangles, block corners, and some for strings if desired.
- You could also cut the center square 12 1/2-inches if you don’t want to string piece it.
- Scrap of dark red for flower center and green for stem and leaves
String pieced block 9-inch square
The string pieced center is 9-inch x 9-inch. I always use a page from our old telephone books for the string piecing. I cut the paper 10″ square and then trim the strings before I rip off the paper.
This is a good time to use an old needle as going through paper will dull your needle. Change your stitch length to 15-20 stitches per inch for something shorter than you normally use for seams. This will make it easier to tear off the paper afterward and keep your seams from coming apart.
I start in the center and add strips to each side. Press each strip before adding another one. You can also cut half-square triangles to use on the ends.

Add corner pieces
- Cut two cream blocks 7″ square and cut diagonally.
- Add them to sides of the string pieced block by matching the center of the string block and the cream squares.
- Trim the block to 12½” x 12½” square.

Make the Half Square Triangles
- Cut 6 dark blue 3 7/8-inch squares
- Cut 4 medium blue 3 7/8-inch squares
- Cut 10 cream 3 7/8-inch squares
Follow the directions below to make your half square triangles (HST)

Add HST border
- The border is made up of 3½” half square triangles.
- The diagram below shows you how to arrange your blocks and rows.

Here is the pillow front with the rows all sewed together. Your pillow front should measure 18½-inches squares.

Raw Edge Applique
Raw-edge applique is my favorite way to applique quilt projects. It is fast and easy to do.
This technique uses fusible web like Heat n Bond Lite. There are other brands like Wonder Under, Steam a Seam and, Soft Fuse but this is my favorite.
- Trace the applique flower templates to the back of the fusible web. I usually just use a pencil for my tracing
- Cut out the pieces leaving a little room around each piece
- Place the rough side of the fusible to the wrong side of your fabric
- Press following the manufacturer’s instructions.
- Cut the pieces out
- Remove the backing paper
Using a clear open-toed foot when doing applique makes it easy to see what you are doing. I used my vintage 15-91 Singer sewing machine to do my applique and all of the quilting.
As I mentioned, I prefer straight stitch applique and stitch about ⅛ or ¼ inch from the outside edge of the pieces using a Schmetz 80/12 needle or Schmetz Jeans needle.
I will usually put a piece of newsprint paper behind my piece before I stitch it but it isn’t usually necessary if you are doing the straight-stitch applique. If you do any kind of applique where you go off of the template piece then definitely use something on the back of your piece.
Finishing the pillow
For this pillow, I decided to do an envelope-style pillow back instead of adding a zipper.
Envelope style pillow back:
Cut two pieces of the print 18 1/2″ x 13″ for the pillow back. On each piece fold the one side under ¼” and press.
On one piece fold under another 1” and topstitch it. On the other piece fold under ¼″ and topstitch.
Place the 1″ top stitched piece face down on the pillow top, then place the ¼” top stitched piece face down on top of it. Pin the pieces to the front of the pillow.
Stitch around the pillow with a ¼” seam allowance. Double stitch over the area where the back pieces overlap. This will make the stitches stronger.
Turn the pillow right side out and press. Now all you have to do is add an 18-inch pillow insert. Enjoy your beautiful pillow!

Download the free templates for the flower
Be sure and checkout my other tutorials below.
Great deals for you!
Looking for great buys on fabric and things? Check out these links
- Connecting Threads
- AccuQuilt Deals
- Fat Quarter Shop Daily Deals
- Green Fairy Quilts – Daily Deals
- Missouri Star Quilt Co – Daily Deals
- Scrapbooking
- The Quilt Keeper
- SewingMachinesPlus
- Electric Quilt
- My Amazon Store for all the quilting things I use and more
Love your pillow projects.
Great pillow with cute applique. I love the HST border and the lovely colour combinations.
Loved the pillow pattern, my question is ” do you have any pattern for aprons, bright and cute”?
Thanks for the pillow tut. Beautiful and looks like funn to do. Your yard is beautiful and pleasant. Lovvvvvve it!!
Hi Connie
I love your pillow, thank you for sharing. I think I will make it.
Doreen
I love this pillow! The darning stitching on the center of the flower is perfect! I love the accent and texture. Your projects always inspire me. Thank you for sharing!
I like making pillows too. I’m working on one right now that I can’t decide whether to make it a bench pillow, or use it in some other way.