
15 Minute Mask with elastic
This post may contain affiliate links which won’t change your price but will share a commission.
Masks – it seems like we will be making and wearing them for some time.
In my last newsletter, I mentioned that I was making masks again with a different pattern and how I liked the way it fit. At least 40 people emailed me asking which one it was and I figured if that many asked, there were probably twice as many who were wondering but didn’t ask so I thought I would share the information here.
My granddaughters are 11 and 13, they are almost as tall as me! They are doing online learning so we took this selfie yesterday when I brought them lunch.

The pattern I used has 3 different sizes, I started out with the adult female mask and then switched to the kid size face mask.
Kid Size Face Mask
I ended up making most of the masks with the kids template (link below).
I used muslin for the lining of the masks. All seams are 1/4-inch. Sew the center seam and then clip the seam allowance so the piece will curve.

She calls this a 15 minute mask and that is about all the time it took to make one. Here is my mask ready to be turned right side out.

I made the mask exactly like her directions other than I added a wire for the nose. I top-stitched the bottom of the mask and then inserted the 2-inch nose wire in the top before I top-stitched it being careful to not hit the wire.

I found the rubber covered wire at The Dollar Store last March but I haven’t seen it there lately. I really like using it, make sure you use a wire cutter and not your good scissors to cut it. Here is the Garden Flexible Tie on Amazon, unfortunately, it isn’t one dollar.

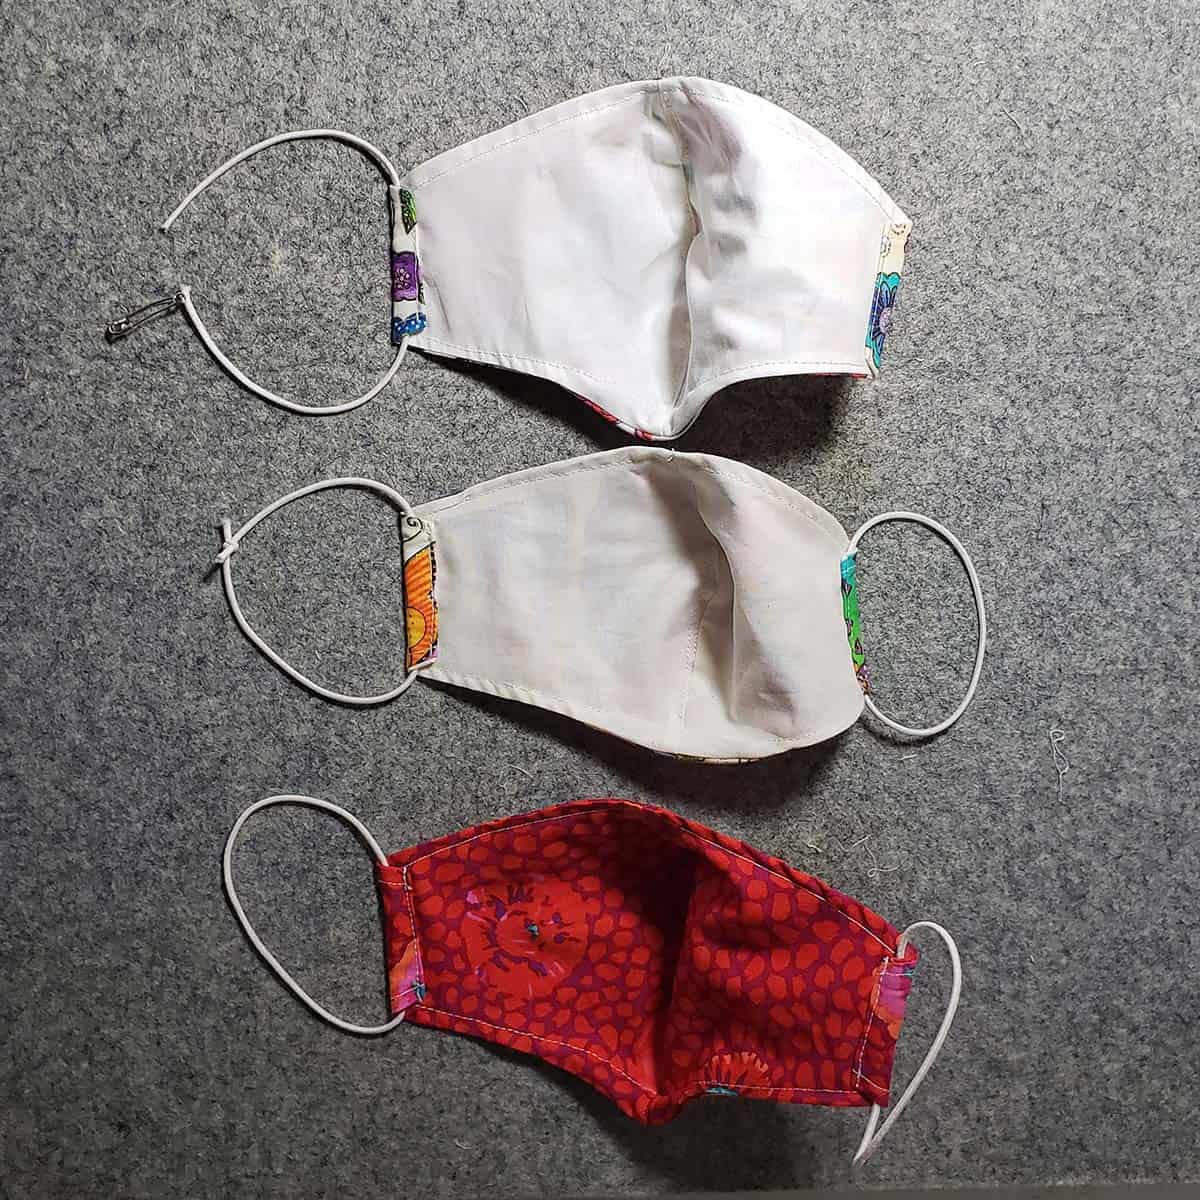
Elastic Cord
When I was first making masks, elastic was impossible to find and I made them with ties. Now that elastic is available that is what I prefer to use.
At first, I was using 1/4-inch elastic and then I tried this elastic cord which really works well. You can get it in many different colors but I just went with neutral. I cut the pieces 10-inches long and used a safety pin to thread the elastic through the sides.
Then you just tie a knot and pull it so the knot doesn’t show.
One other thing that I did was to top-stitch down the center of the mask right below where the nose wire was (you don’t want to hit that). I think this helps the mask stand out from your face a little better.

If you were making a mask for a young child I would just cut down the mask template a little bit.
Adult Male Mask
Last night we went out to eat and my grandson was going to meet us so I quickly whipped up the adult male mask for him. You can see the difference in the size as my daughter is wearing the kid mask. I also cut the elastic 12-inches instead of 10-inches.
He said he liked it and I told him to try it out and if he likes it, I’ll make him several more as he has to wear a mask every day for work.

Here is a short video showing how this mask is made. The link to her mask goes to a site that is blocked. I deleted the link to her pdf after people telling me it wasn’t a safe site. I couldn’t even get back to it. I have a pdf for masks in 3 sizes that are very similar. The kids’ mask seems to fit my granddaughters and me the best.
Great deals for you!
Looking for great buys on fabric and things? Check out these links
- Connecting Threads
- AccuQuilt Deals
- Fat Quarter Shop Daily Deals
- Green Fairy Quilts – Daily Deals
- Missouri Star Quilt Co – Daily Deals
- Scrapbooking
- The Quilt Keeper
- SewingMachinesPlus
- Electric Quilt
- My Amazon Store for all the quilting things I use and more
Hi Connie – I just love your blog. Don’t know what I would do without you; have made several table runners and placemats and enjoyed your many, many tips. Also, feel like I am a friend enjoying your many personal updates. God Bless!
Hi Connie. These are clear instructions you have provided for the masks. As always, I enjoyed this post of yours. Keep up the good work. I continue to really enjoy my quilting. I have made many table toppers and am now launching into lap and baby quilts. I have used a couple of your patterns and will be using more. They are wonderful.
Take care…happy quilting!
Jeanette Baker
Good job on the masks. I expect to make more for my grandkids as the school year progresses. For now they are doing face-to-face school and I really hope they can all continue that option and not go back to online learning.
Thank you so much for sharing the different sizes for masks along with the pattern. I haven’t tried this one yet, but plan on later today. Looks easier than the one I am currently making.