
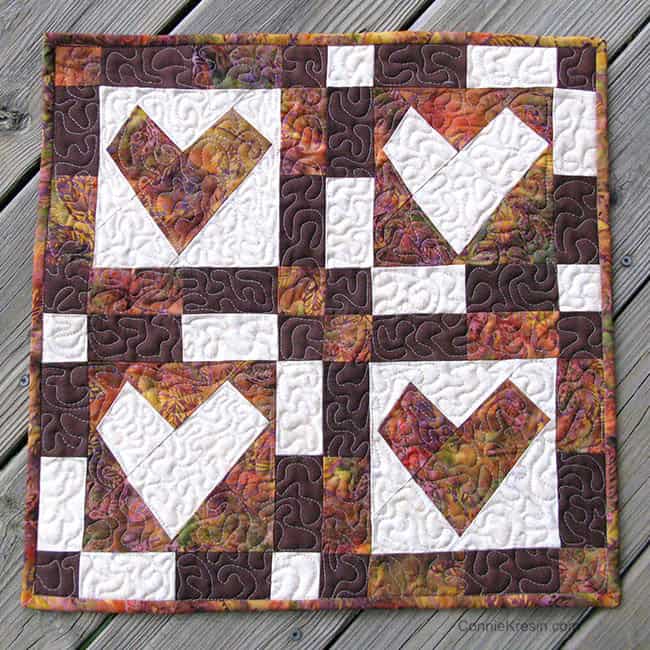
Wonky Heart Table Topper Tutorial
This post may contain affiliate links which won’t change your price but will share a commission.Have you seen the new Wonky Heart die from AccuQuilt? It makes a finished 6″ block and there are all kinds of creative things you can make with it. I decided to make a quick and easy table topper that is perfect for the autumn weather we are starting to get. The first time I shared a post about this die was using some fun orange batik wonky hearts, and still, need to finish that!

I shared this Wonky Heart table topper on AccuQuilt’s blog a couple of months ago but thought I would post the Wonky Heart Table Topper tutorial here in case you missed it. It is even on sale right now!
Wonky Heart Autumn Table Topper Tutorial
18″ x 18″
Fabric Cutter:
GO! Fabric Cutter (55100S) or GO! Big Electric Fabric Cutter (55500)
GO! Cutting Dies:
- GO! Wonky Heart 6″ Finished #55471
- GO! Qube Mix & Match 6″ Block #55775 – #2 GO! Square-2″ (1 1/2″ Finished) #8 GO! Rectangle-2″ x 3 1/2″ (1 1/2″ x 3″ Finished)
- GO! #55017 2 1/2″ Strip Cutter for the binding
 |  |
I used a combination of batiks that I received from Island Batik as an ambassador, a Bella solid, and a cream cotton fabric that had been in my stash for quite some time. I think this is just about the last of it and it was great for a background fabric.
Materials Needed:
- 1/2 yard cream fabric
- 1/2 yard brown multi-print batik (this includes the binding)
- 1 Fat Quarter brown batik
- 2/3 yard backing and batting
Sew with a 1/4″ seam allowance
- Cut 2 cream – 10″ squares
- Cut 2 brown multi-print fabric – 10″ squares
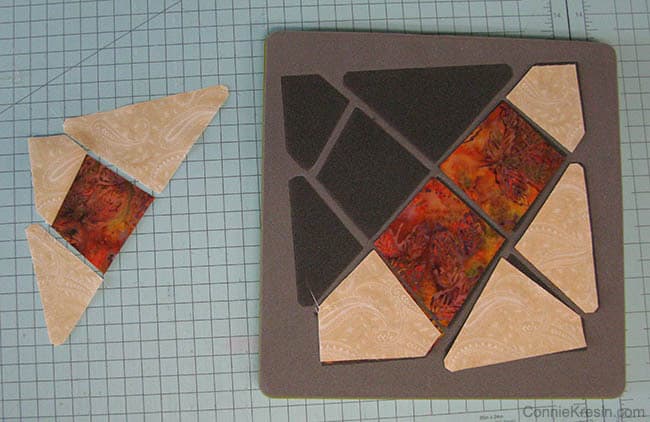
Lay all 4 fabrics on the Wonky Heart die and cut out. Remove the center 3 sections as shown in the photo – that will be your wonky heart. There are great diagrams on the Wonky Heart packaging to help you also.

Start with the top left corner and sew the sections together.
You will join the center two first.
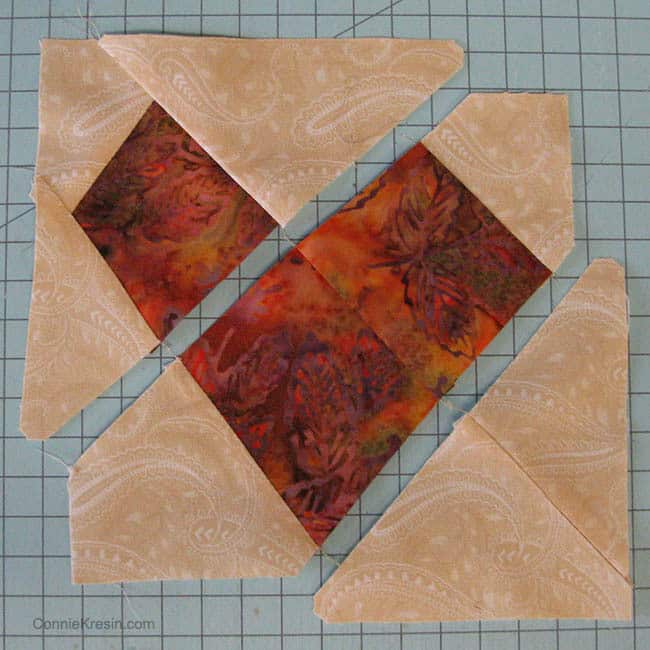
Next, join the center sections and finally the bottom right sections.
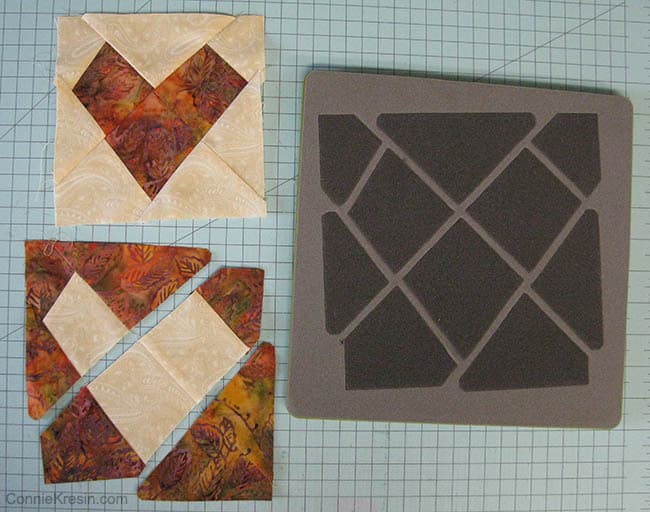
Make 2 of the blocks with the cream wonky heart and 2 with the brown multi-print wonky heart.
You will be surprised at how easy it is to make this block.

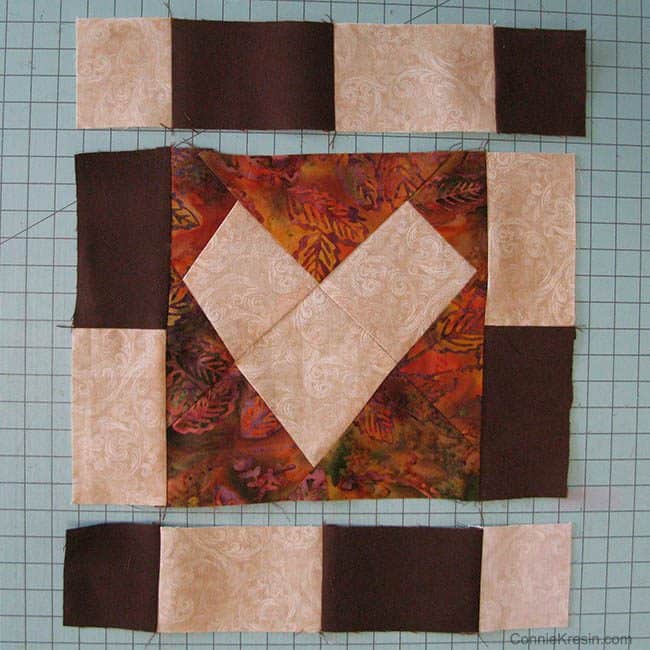
Borders for the blocks:
Using the #8 GO! Rectangle-2″ x 3 1/2″ (1 1/2″ x 3″ Finished)
- cut 16 brown rectangles, 8 multi-print rectangles, and 8 cream rectangles.

Using the #2 GO! Square-2″ (1 1/2″ Finished) die, cut 8 brown squares, 4 brown multi-print squares, and 4 cream squares.
Follow the diagrams below to lay out the borders for the blocks – make 2 brown/multi-print.
Make 2 with the fabric selections shown below.

Stitch two rows together using a cream wonky heart block and a brown multi-print wonky heart block.
Stitch the rows together, and add your batting and quilt as desired.

Cut your binding using the 2 1/2″ strip cutter die.
You now have a cute little Wonky Heart Autumn Table Topper for your table.
Wonky Heart Table Topper Tutorial

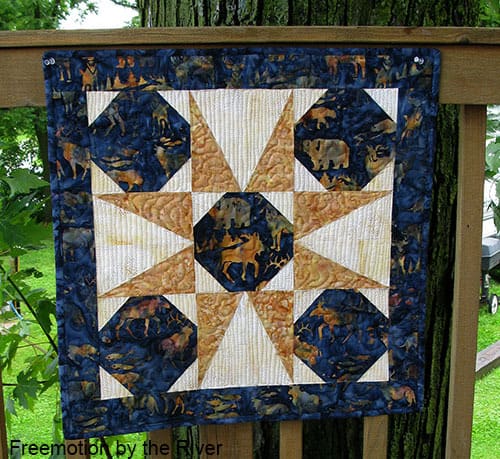
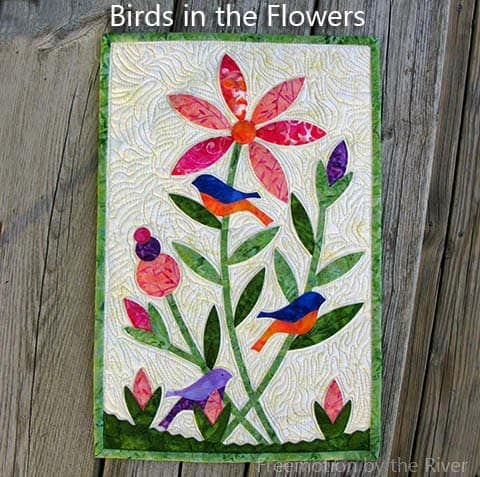
I hope you have enjoyed the Wonky Heart Autumn Table Topper tutorial made with the AccuQuilt GO! Fabric Cutter and GO! dies. If you are looking for more ideas you might enjoy some of my previous tutorials using AccuQuilt GO! dies.
More tutorials you might like!
- Snow Fla ke Table Topper
- Purple Shadows Pillow Tutorial
- Rosey Applique Pillow Tutorial
- Summer Flower Table Runner Tutorial
- Chinese Forget Me Not Wall Hanging
- Harrison Rose Table Runner Tutorial
- Crystal Table Topper Tutorial

Wonky Heart Table Topper Tutorial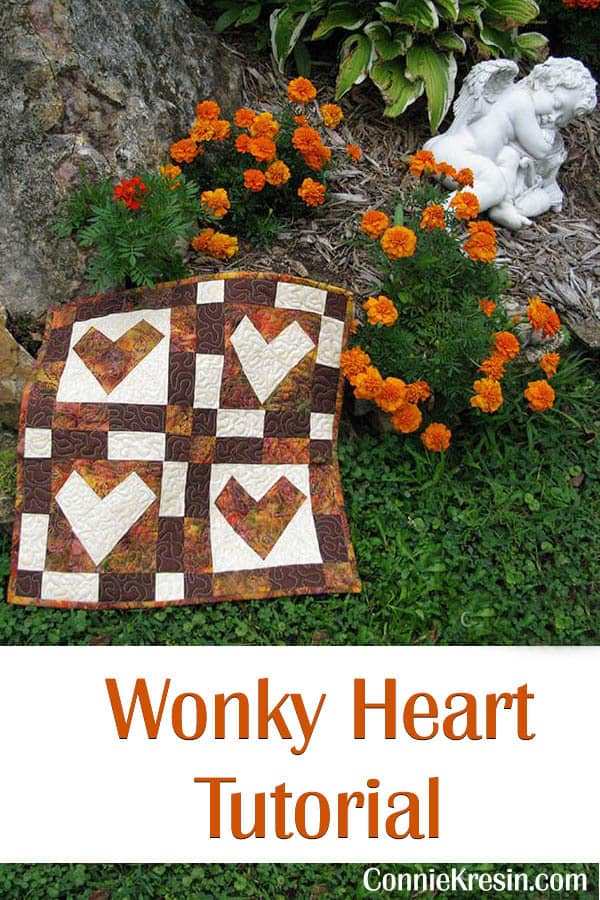
Please note that this post contains affiliate links, which means I’ll earn a small commission if you purchase through my link at no extra cost to you. Please see the full disclosure here. As an Amazon Associate, I earn from qualifying purchases.
Great deals for you!
Looking for great buys on fabric and things? Check out these links

About Connie
Hi, I’m Connie Kresin Campbell, the quilter, writer, and photographer behind Freemotion By the River. I enjoy inspiring others with my quilt tutorials and patterns. You’ll also see my sweet adopted dogs from time to time.
Be sure and subscribe to my newsletter for more free tutorials and printables.


Great topper. Funny I used rectangles on my spool topper too.
Very nice, Connie and perfect for fall in those colors. Happy Thanksgiving.
Very cute topper, Connie. I hope you and your family have a lovely Thanksgiving.
My quilting friend shares her Accu Quilt cutting system with me and we use it quite often. Yet, we only have a few dies. I really like this table topper that you have shared with us today, so I think that this will be my next save up money to buy die set. I especially enjoyed the brown batiks you used in your table topper, Connie. It is perfect for Fall or to use around the house in an area that has a certain type of wood or upholstery. Thank you for sharing and have a wonderful Thanksgiving.
I did miss it and it is so adorable that I am glad you posted it on your blog!