
Eerie Halloween Quilt Tutorial
This post may contain affiliate links which won’t change your price but will share a commission.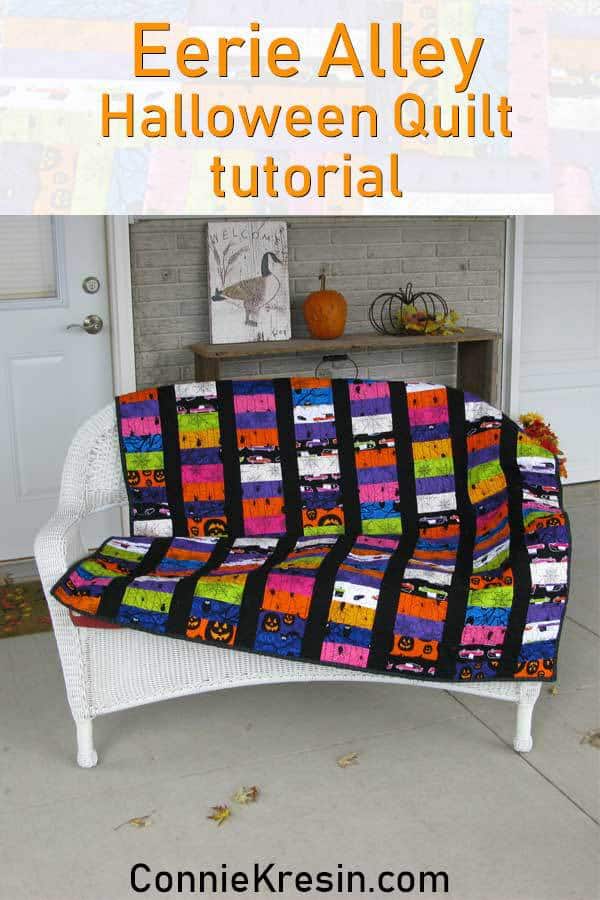
Are you getting ready for fall? Leaves changing colors and falling, pumpkins and of course Halloween! This is my favorite time of year.
This Eerie Halloween Quilt Tutorial is based on a sweet little quilt that I made some time ago using fun Halloween fabrics, can you guess how long ago I made it? I’ll share at the end.
Eerie Halloween Quilt Tutorial
Approximate size 50″ x 54″
I used a Jelly Roll of 2½” fabric strips to make this quilt. Can you see the spiders, pumpkins and owls? This Jelly Roll is no long available but Fat Quarter Shop has 2 really cute Halloween Jelly Rolls that would be perfect to use!

Grab a Jelly Roll or some 2½” strips and make this!
Just choose 5 strips and sew them together. It is always recommended to sew the rows together in opposite directions as this helps your piece stay straight. Your strip will measure 10½” wide.
Press the seams all in the same direction and then sub-cut into 10½” squares. I was able to get four 10½” squares from each strip set. There are usually 42 strips in a Jelly Roll so you should be able to make 8 strips using the different prints.
I also thought about doing a design like this, wouldn’t that have been fun!
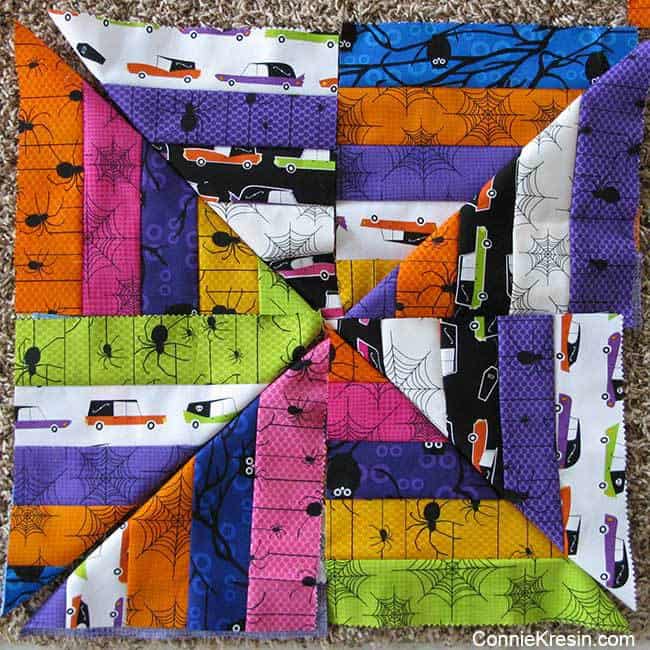
Here is another quilt design that would have been fun to make with these strips.
Eerie Halloween Quilt Tutorial
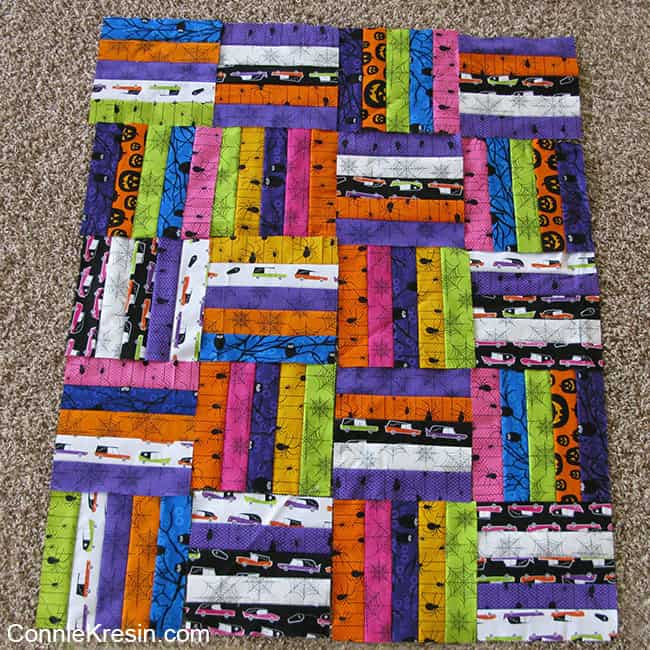
- I sewed 5 blocks together and then decided to cut them in half so my rows were only 5¼” wide.
- Just turn one of the rows the opposite direction as I did.

- Measure your rows.
- Cut 2½” black sashing strips the length of your rows and sew between the rows.

I am pretty sure that the piece of fabric I had for the backing was just a little bit too small so I ended up cutting off a little bit of the quilt rows to make it work. Like I mention before….it has been a while since I made this.
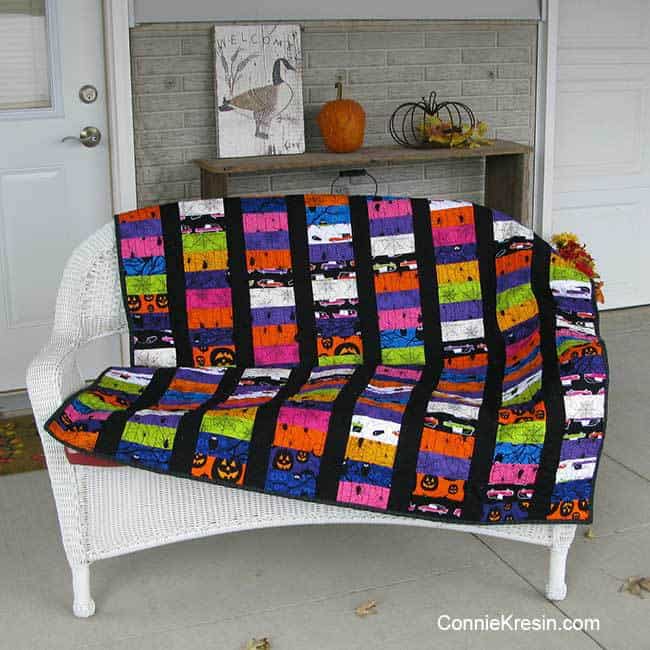
Add a backing and batting and then quilt it. I did a fairly large stipple quilting design on the quilt using my 15-91 Singer sewing machine.

Did you notice that the back of the quilt has a blue fabric? This was something I had in my stash for some time. I used a black fabric for the binding on the quilt.
You can read my tutorial on adding binding to your quilt by machine. This is the way I always do it.
This tree was one of my favorite props for my quilts. It was a Rosebud that and a storm took it out several years ago.

See the tree in the background down by the river? That was our beautiful tree that was knocked down two years ago. I sure miss both of those trees!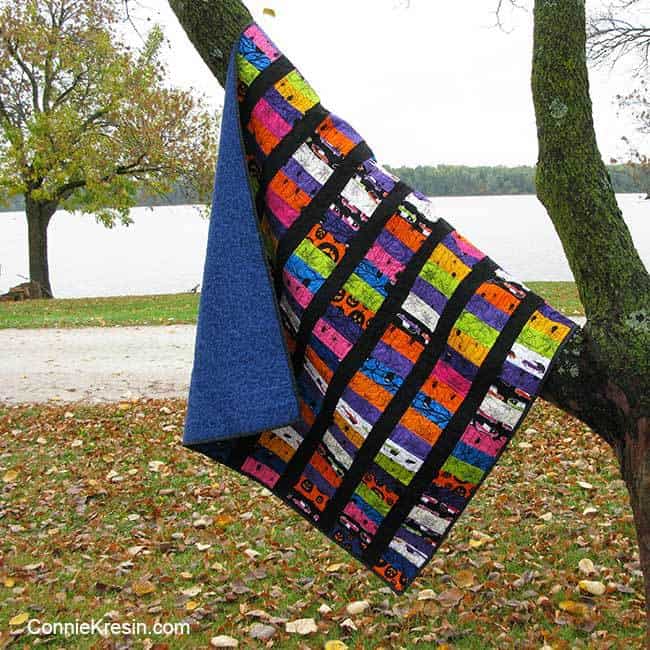
I remember that it was chilly that day and seeing this boat heading down river for the winter.
It is always fun to take photos next door outside my brother’s house. Would you believe I made this quilt and did a post about it in 2011? Wow, where does time go! I believe this quilt went home with one of my granddaughters.


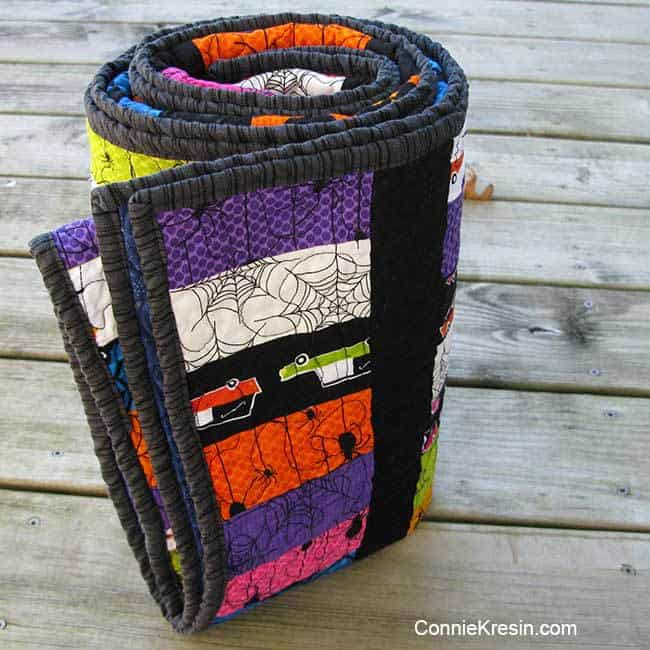
All rolled up!
Have you ever made a quilt or quilt project for Halloween? I have several others that I need to update and share. Feel free to save this to Pinterest.


Very cute!! I do think you need to do the triangle one too! Yes I love making quilty things for the seasons-as you know, LOL I think my IB October has to be a halloween one:)
Hi Connie. Wasn’t 2011 just last year? LOL. My how the time flies… Love your Halloween quilt. Happy Haunting Dear…<3
Hello Connie, This quilt is fun and fabulous with the fabrics you used and the great tutorial making it a quick quilt to make and enjoy! You would not believe the number of times when I see your quilts on pinterest. I do believe that quilters really like and use your patterns quite often! I can not resist looking and pinning a tad bit every day. LOL. I keep saying I will be done with this quilt I am doing, yet here I am still working on it. Ha, Ha, Ha….I am actually going to have the Scalloped bottom border all sewn on by days end, two more borders to go. LOL. I think it is fabulous that you are sharing projects over from years ago. So thank you for sharing these old but new great tutorials that still work wonderfully to make a snuggly warm quilt! Have a marvelous day!
That’s a cute quilt, Connie. I mostly don’t “holiday” quiilts, but I still think they are fun.