
Zu Zu Tote Bag
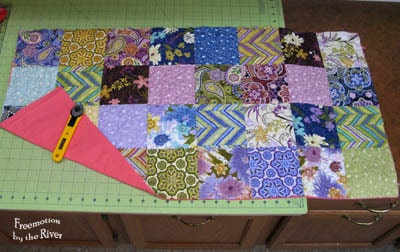
This post may contain affiliate links which won’t change your price but will share a commission.Yesterday I worked on a new tote bag….I had just ripped out a couple borders on my It’s All About Me project and just wanted a fun, relaxing project. I had a charm pack called Zu Zu’s Petals by Benartex that I have had for about a year and couldn’t figure out what to do with.

I decided to just sew the charm squares together and make a easy tote. So I pieced and then quilted this big piece of fabric. I had a big piece of salmon duck that had been in my stash for years and years and I used it for the backing.
If you think this is going to be a tutorial……you are so wrong….unless you want a tutorial on what not to do! I did take a bunch of photos because I thought it would go right….it didn’t. My original plan was to sew up the sides and add lining…..then I was looking at the backing and thought…that would be neat along the bottom and top!

I cut the piece apart, added a cute little outside pocket and straps….still going good…
Then, I made the bottom, quilted it and sewed it to the sides. This was definitely a denim needle project! The minute I had it all pieced I realized the bottom should have been a lot bigger. Forget it, I double stitched all the seams…it is staying.

I sewed up the sides and then boxed the corners. I knew before I ever started this whole bag that I wanted a wide bag which would have been fine if I hadn’t added the pinky salmon fabric. The bag was WAY too tall and……

the bottom was WAY too small. By this time I had decided I didn’t need to write notes on each step as this was a disaster!

Grab the scissors and chop chop….make the bag shorter. Ignore the bottom….

Then I made the lining and used some of the chopped off piece to make a couple of pockets inside. I used velcro as a fastener. Somehow the lining grew…..and was bigger than the outside. I made the seams wider but didn’t take the seam ripper to my lined boxed corners because I had triple sewed them so the inside is still a little big.

I stitched the pieces together and didn’t leave a big enough hole to turn it inside out….triple stitches again….love my seam ripper. Finally made a bigger section, turned it right side out and top stitched the edge. I was going to add binding but didn’t….who knows maybe I still will…but not today!

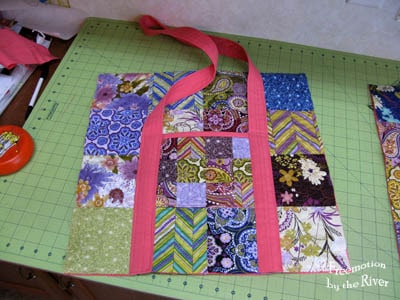
Here is a view of the bag side, I like how that came out. If I had added one more row of charm squares to the width of the bag it would have fit my laptop….I have a wide screen laptop.

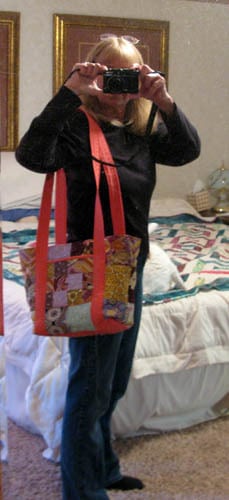
I took a self portrait so you could see the size of the bag. Sorry for the messy bed and that white blob behind me….a cat! Straps could be a bit shorter. Bob’s opinion of the Zu Zu bag…..this would look great on the beach….guess he doesn’t like the colors.
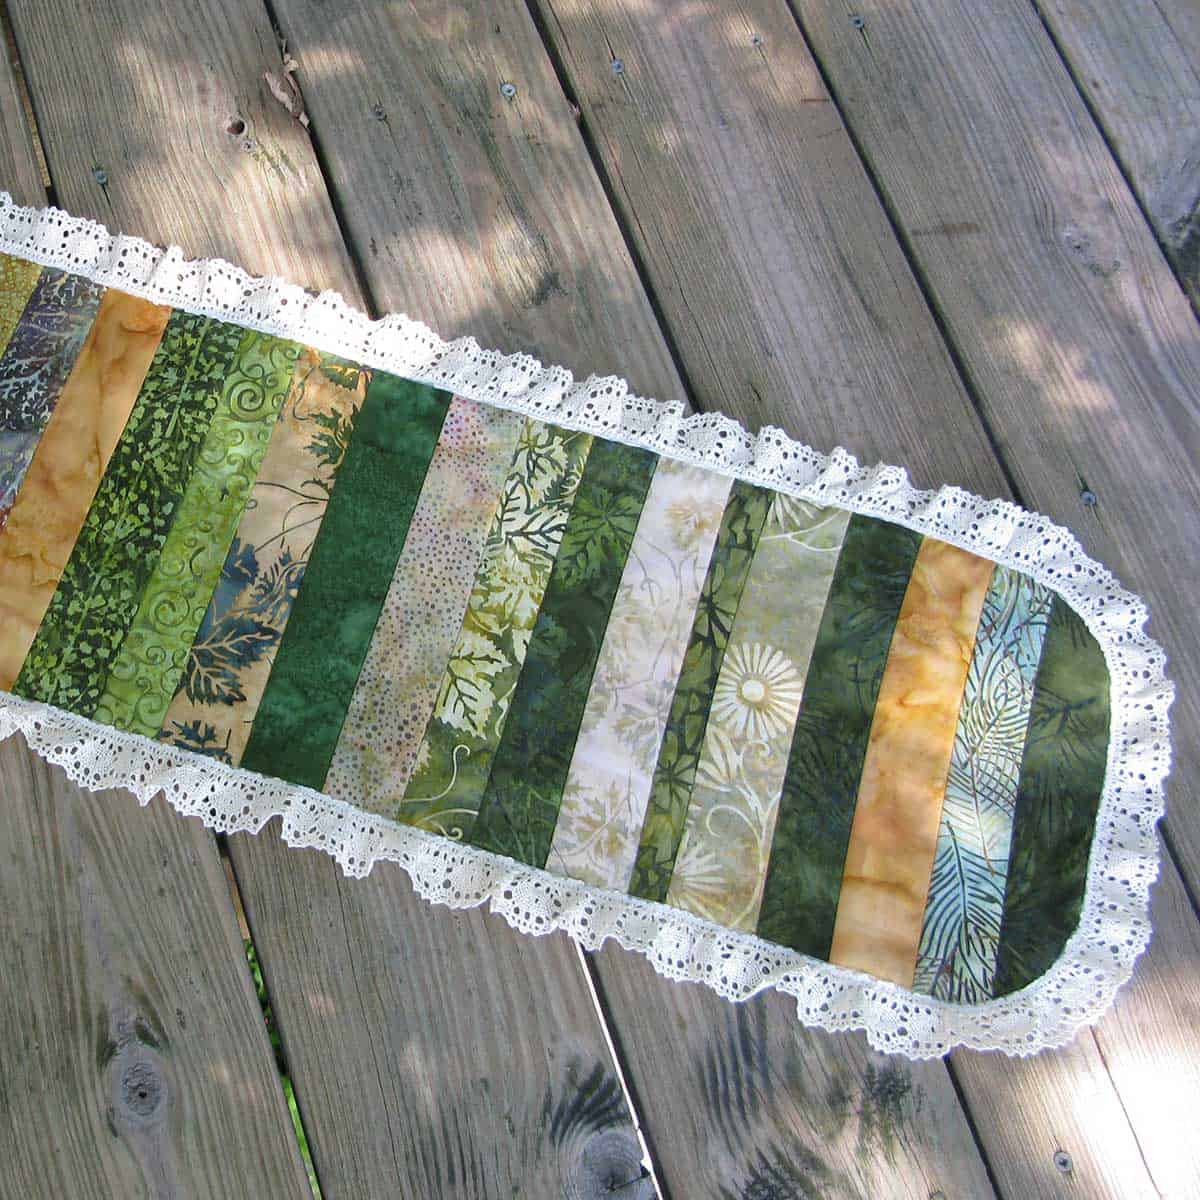
When I took this photo the colors were really over-saturated but I loved the way the straps look like cable stitching so I wanted to include it in my post. To make it more fun I changed the hues in Photoshop. Can you see the green on the deck board…..that isn’t real but….if I don’t finish cleaning and sealing my deck this summer you will see this!

I guess I should call this a Zu Zu bag tutorial of what NOT to do! There are actually tons of tutorials on the internet but sometimes it is just fun to play…..don’t you agree?


I can never have enough tote bags! This is a great one… I may have to make it!
I love this post, it's nice to know that we are all human and we can make mistakes. What I love, is your tote, finally is splendid. The colors, the proportions, no one ever could know everything that you did before. I like the way you've narrated us, all your adventure with this tote.
What I see is that you've done a beautiful job, your tote is beautiful.
Marisa.
The bag looks great even if it isn't what you originally intended. Sometimes it can be fun to let serendipity just take over. The fabric sure is pretty.
I love your bag especially the colour, looks like it will be great for the summer. I would also like it in green as your photoshop photo shows it. Maybe the straps are a little long but I often find on shop bought bags that they are too short.
I'm sure this was a lesson learned for you. I do like the colors that you used and I'm sure you'll use it for something.
Love you bag & LOVE that you shared the adventure of making it! I recently made my first bag (also with not pattern) from a scrap of pre-quilted paisley that was gifted to me and I fell in love with it at first sight! I decided it had to be reversible and found some scrap of tan corduroy (that came in the same bag of scrap LOL). Making something from scraps with NO pattern and adding to the design and changing it as you go is definitely challenging! My outside pocket and top trim took the absolute LONGEST out of the entire project! UGH! But, it's all mine, 100% and I adore it!
I hope you find the same love for that bag (I think you will). I know my bag is imperfect, which is perfect for ME. It's a gentle reminder to love myself in spite of my imperfections and to be patient with others imperfections as well. We can't all be "coach" or "gucci", right?
Love the bag! It's bright and cheery!
Connie your bag is terrific. I loved following your misadventures on making this bag…we have all done this.
Love the bag! I wouldn't have thought to use tangerine with the fabric charms. It makes the bag pop! What a fun tote!
I think the bag turned out really good. And of course I love the patchwork since I love patchwork. Thanks for sharing this with us. 🙂
I really like the bag and got quite a chuckle out of your adventure. I've only ever made one tote – maybe I will add it to Linky Tuesday – but I thought it was way more work than a quilt. I made it for a friend and since I've always liked handles I can throw over my shoulder, I made the handles longer. Later, I realized I probably shouldn't have as she is quite a bit shorter. Since we live on opposite sides of the country I don't really know if she finds it useful. 🙁 One can only hope. 🙂
I guess that is how the designing process goes —-trial and error. The end result is beautiful.
I agree, we really need to make more time for play! I'm glad you did and it turned out super cute!
I'm terrible at following patterns and am always making mistakes and usually end up just doing "whatever" happens! LOL Your bag looks great!
The bag is great! I'm so glad to know that others live in the land of "winging it thru a project"! You solved the bottom challenge perfectly by ignoring the salmon and getting closer to the size you wanted. Yes, it is fun to experiment and play.
I am always amazed to see people that make bags because this is something that I have not dared to try as of yet. I think your bag is beautiful but do agree that the straps do look a little long.
Your Zuzu Bag looks great. I'd never be able to tell you had any problems with this if you hadn't have shared it. Sometimes though, it's those same challenges that lets us design and finish a better project like yours with the interior pockets. :~)
Jane
The bag turned out wonderful! Love the colours and patterns. I agree that the straps could be a bit shorter, but the rest looks perfect.
I recognize your way of working!! I make bags, without a pattern and I love my seam ripper!
My kinda bag…change it up as you go along…LOL
bag looks great!!
Connie I love how it turned out!! And you know; it is nice also to see that others make those mistakes sometimes. So; great tutorial….it makes the rest of us feel human. lol I love the Zu Zu bag.
And the green color is my pick!!!!